How to Cut a Straight Blunt Haircut at Home: The Complete Step-by-Step Guide
One line. Every hair at the same point. Here’s how to do it yourself without ending up on a hair disaster forum.
Getting a blunt cut at a salon costs $50-120 depending on where you live, and half the time the stylist still doesn’t get the line perfectly straight. Doing it at home costs nothing after the initial tool investment, and you can check the line every five seconds without feeling like you’re micromanaging someone with scissors near your head. The catch: a blunt cut is actually harder to mess up than a layered cut, but it’s also harder to fix if you do mess up. There’s no layer to blend the mistake into. So precision matters more here than in almost any other DIY haircut. Here’s how to get it right the first time.
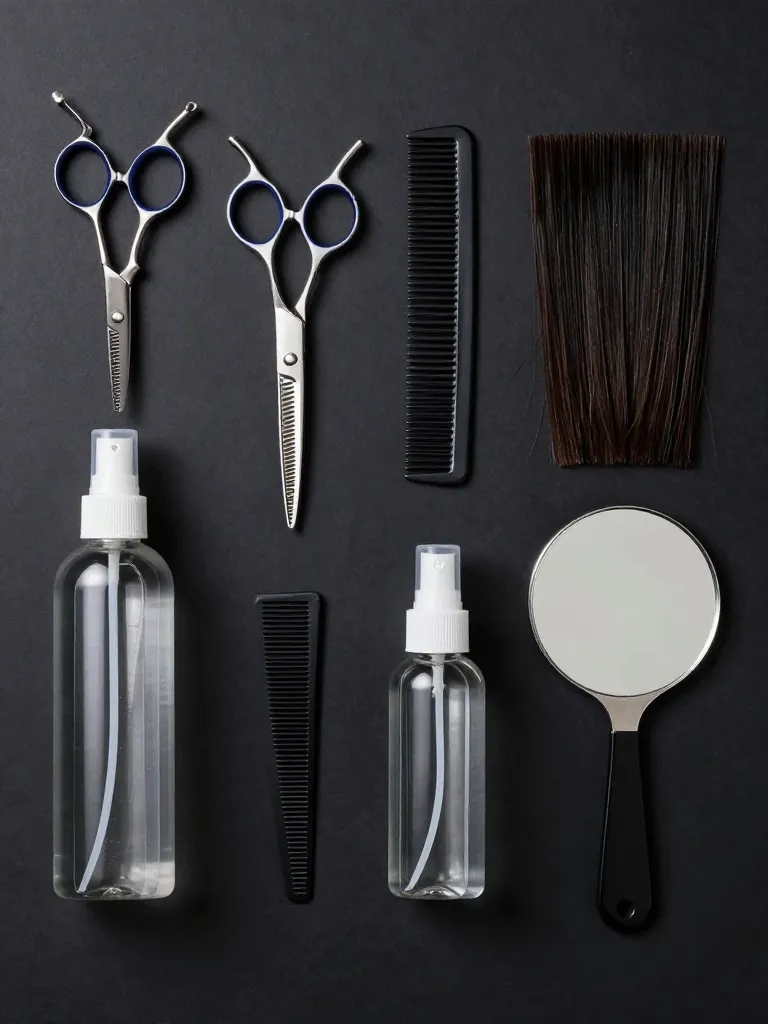
Step 1: Get the Right Tools
⏱ 5 minutes
Prerequisites:
- Professional hair shears ($20-40)
- Sectioning clips (4+)
- Wide-tooth comb
- Spray bottle
- Handheld mirror
You need professional hair shears — not kitchen scissors, not craft scissors, not the scissors you use to open packages. Hair shears have a specific blade angle that cuts cleanly without crushing the hair shaft, which matters because a crushed shaft splits faster and makes your blunt line look frayed within weeks. Budget $20-40 for a decent pair. You also need sectioning clips (at least 4), a wide-tooth comb, a spray bottle with plain water, and a handheld mirror. Skip the hair cutting cape if you don’t mind sweeping.
Step 2: Wash and Detangle
⏱ 10 minutes
Prerequisites:
- Clean hair
- Wide-tooth comb
- Towel
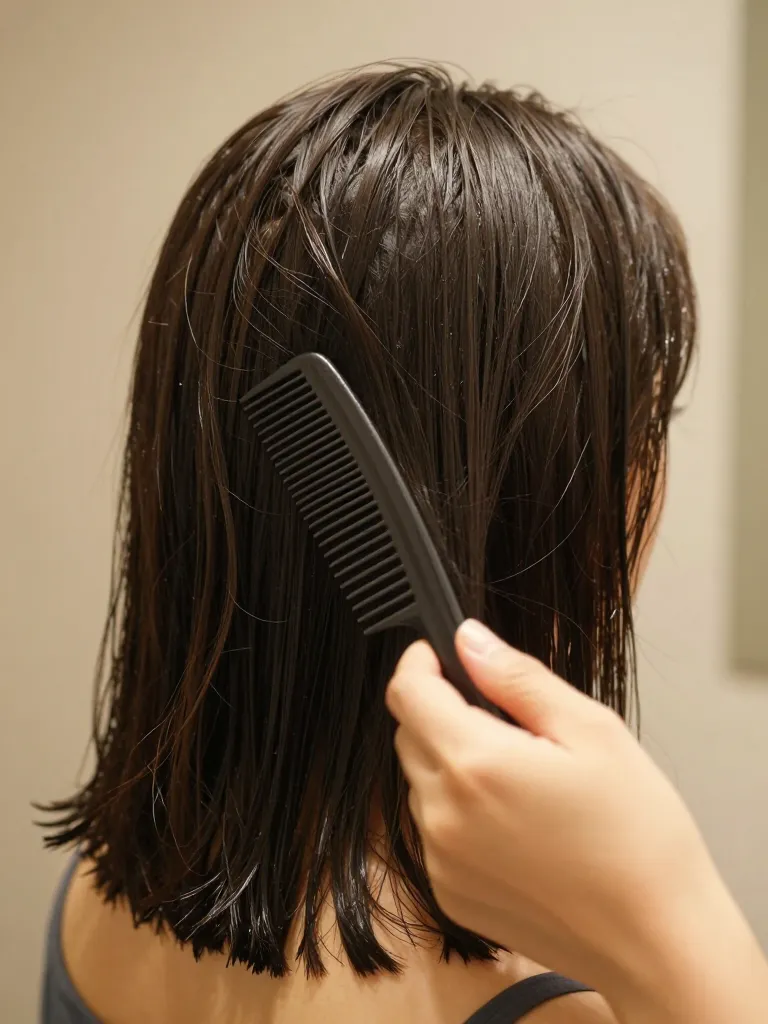
Start with clean, damp hair — not soaking wet, not dry. Damp hair stretches slightly, which means if you cut it wet, it’ll be shorter when it dries. The sweet spot is towel-dried hair that’s still cool to the touch. Detangle with the wide-tooth comb, starting from the ends and working up to the roots. This is critical: any tangles you leave in will create uneven sections, and uneven sections create an uneven line. For a blunt cut, ‘uneven’ is the enemy. Once the comb slides through from root to end without catching, you’re ready.
Step 3: Section the Hair
⏱ 5 minutes
Prerequisites:
- Step 2 complete
- Sectioning clips ready
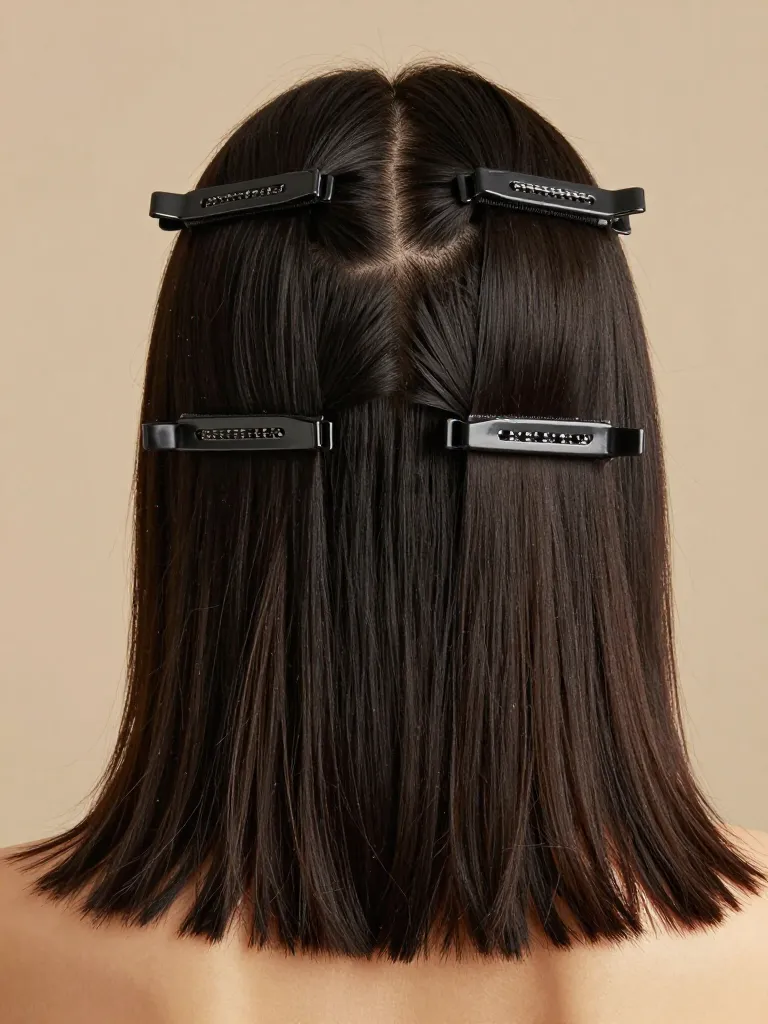
Part your hair down the middle from forehead to nape. Then part it from ear to ear across the crown. You now have four quadrants: left front, right front, left back, right back. Clip three of them up and leave one back section down. Starting with the back is strategic — it’s the hardest to see, so you want to establish your baseline length there when you’re freshest. The back section is also where most people’s hair is thickest, so getting the line right there sets the standard for the rest.
Step 4: Cut the Baseline
⏱ 10 minutes
Prerequisites:
- Step 3 complete
- Handheld mirror ready
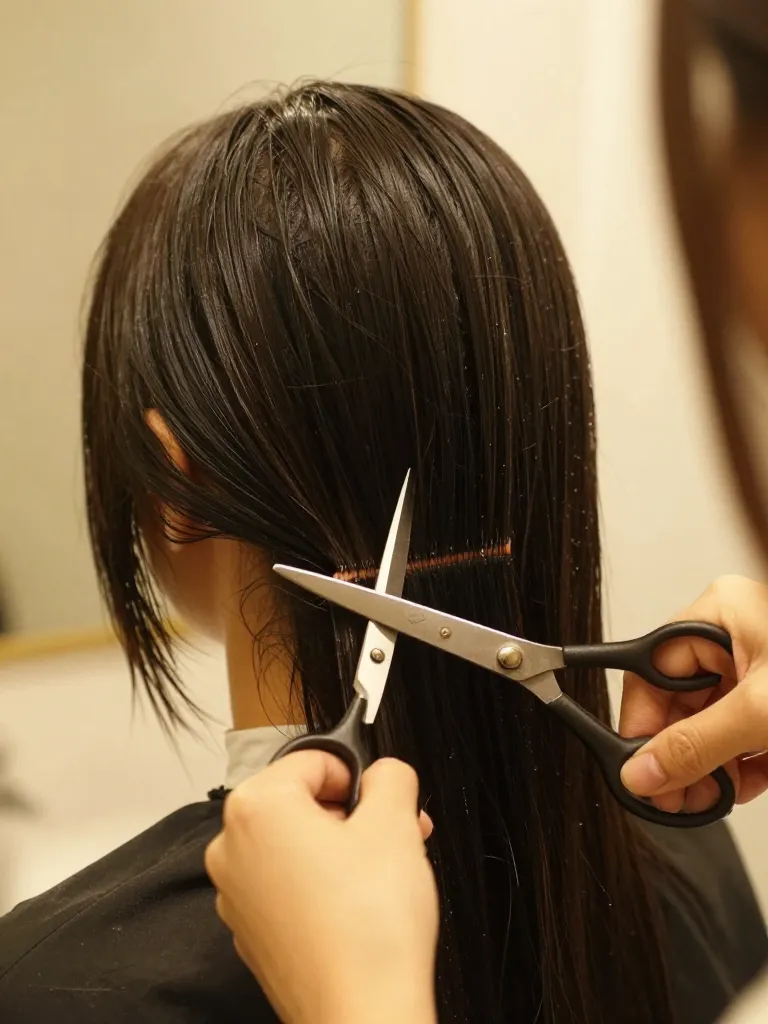
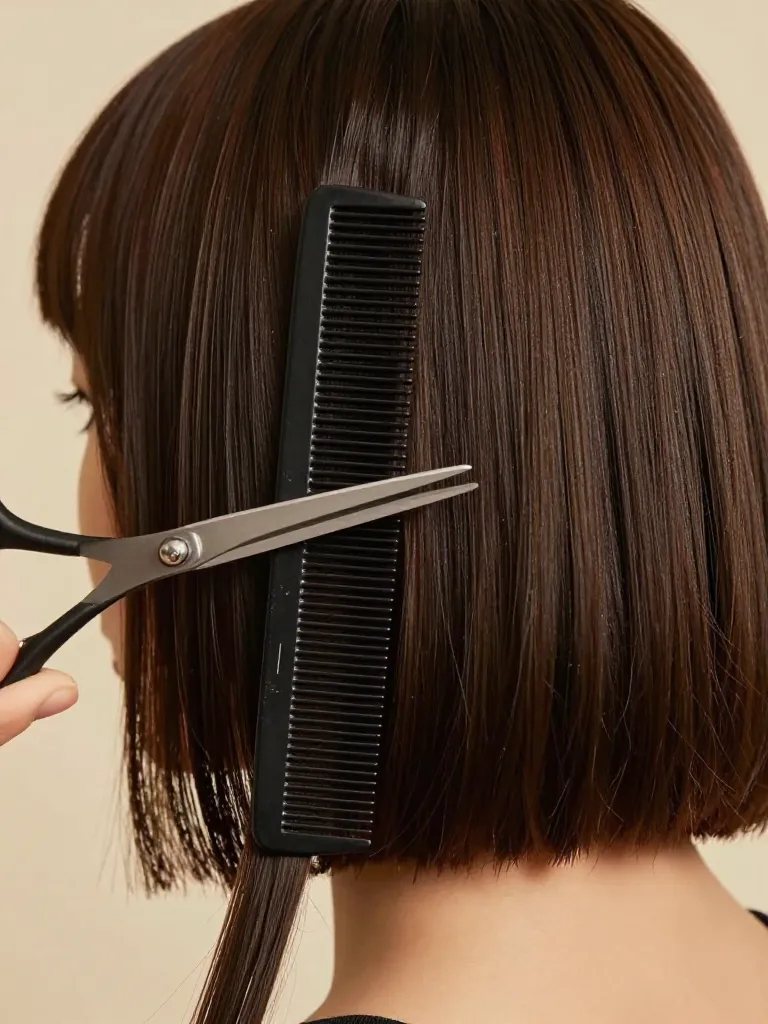
Take the back section you left down. Comb it straight down, keeping tension even — not too tight (that stretches the hair and makes you cut shorter than intended) and not too loose (that creates a wavy line). Hold the shears horizontally and make a single straight cut across the bottom. This is your baseline — the length everything else will match. Cut conservatively. You can always take more off; you cannot add it back. Once you’ve made the first cut, check it with the handheld mirror. Is the line straight? Is it at the length you want? If yes, move on. If no, adjust now before touching anything else.
Step 5: Match the Sides

⏱ 10 minutes
Prerequisites:
- Step 4 complete
Let down one side section. Comb it down and use the back baseline as your reference — bring the hair to the same point and cut to match. Then do the other side. The key here is symmetry: both sides should be exactly the same length. Check by bringing small pieces from each side to the center front and comparing them. If one side is longer, trim it to match. This is where most DIY blunt cuts go wrong — people rush the sides and end up with a subtle diagonal line that’s noticeable once it’s dry.
Step 6: Refine and Check

⏱ 10 minutes
Prerequisites:
- Step 5 complete
- Handheld mirror
Let all the hair down and check the line from every angle. Use the handheld mirror to see the back. Look for any spots where the line dips or rises — these are places where the hair was at a different tension when you cut it. Trim any inconsistencies by combing the section straight down and making a tiny correction cut. Once the line looks clean dry, you’re done. If you cut it wet, wait for it to dry completely before making final adjustments — wet hair is longer than dry hair, and the difference can be up to half an inch on some textures.
Safety Warnings
- Never cut dry hair with dull shears — they crush the shaft and create split ends that travel up the hair within weeks.
- If you nick yourself with the shears, clean the cut and apply a small bandage before continuing — blood on the hair creates uneven tension.
Why This Works
A blunt cut works because it concentrates all the hair’s visual weight at one point. In a layered cut, weight is distributed across multiple lengths, which creates movement but reduces density at any single point. A blunt cut puts every strand at the same length, creating a single line of maximum density. This is why blunt cuts make fine hair look thicker — there’s no graduation to thin out the ends. The horizontal line also creates a strong visual contrast with the body’s vertical lines, which draws the eye and makes the haircut look more intentional. The technique of sectioning into quadrants and establishing a baseline first ensures that every section is measured against the same reference point, which is how you get a straight line instead of a curved one.
Pro Tips
A DIY blunt cut is one of the few haircuts that actually looks better when you take your time. The slower you go, the straighter the line. The straighter the line, the more expensive it looks. And the best part? Once you’ve done it once and know your baseline length, every subsequent cut is faster because you’re just maintaining the line rather than creating it from scratch.
Get your shears. Section your hair. Cut the baseline first. Everything else is just matching it.
