How to Cornrow Natural Hair at Home: The Complete Step-by-Step Guide
No extensions, no salon visit, no excuses. Here’s how to cornrow your own natural hair.
Cornrowing natural hair at home sounds intimidating until you realize it’s just three things: clean parts, consistent tension, and practice. You don’t need extensions, you don’t need a braider charging $150, and you don’t need YouTube tutorials that skip the hard parts. This guide covers every step from sectioning to finishing — including the mistakes nobody warns you about.
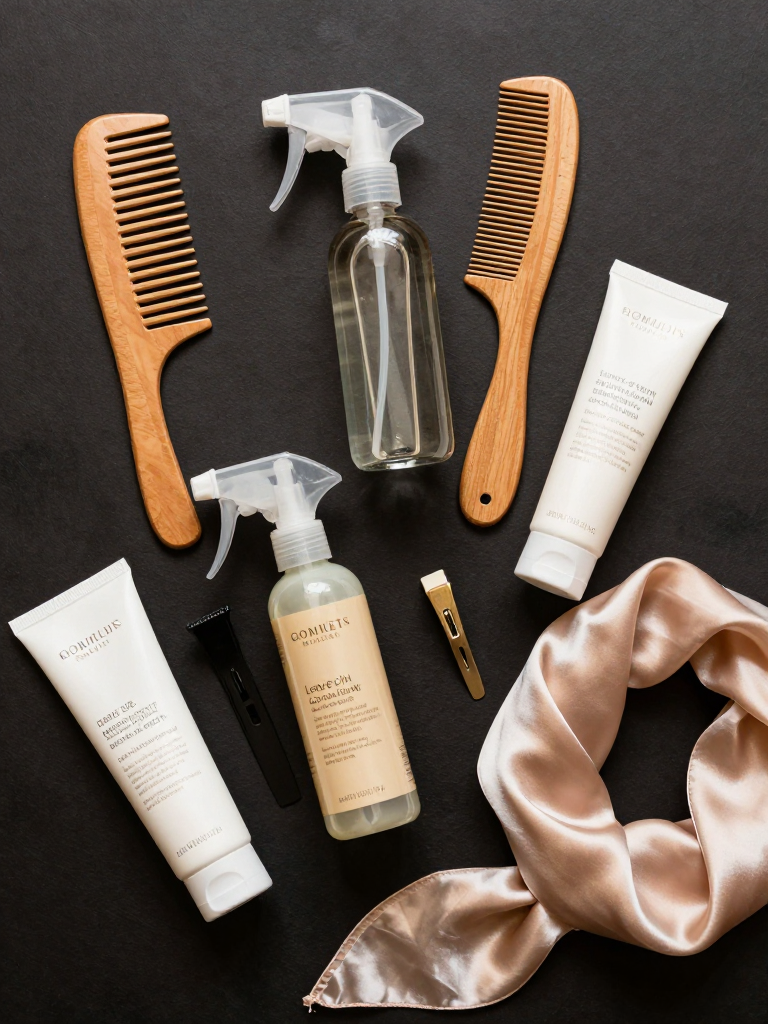
Step 1: Prep Your Hair
20-30 minutes
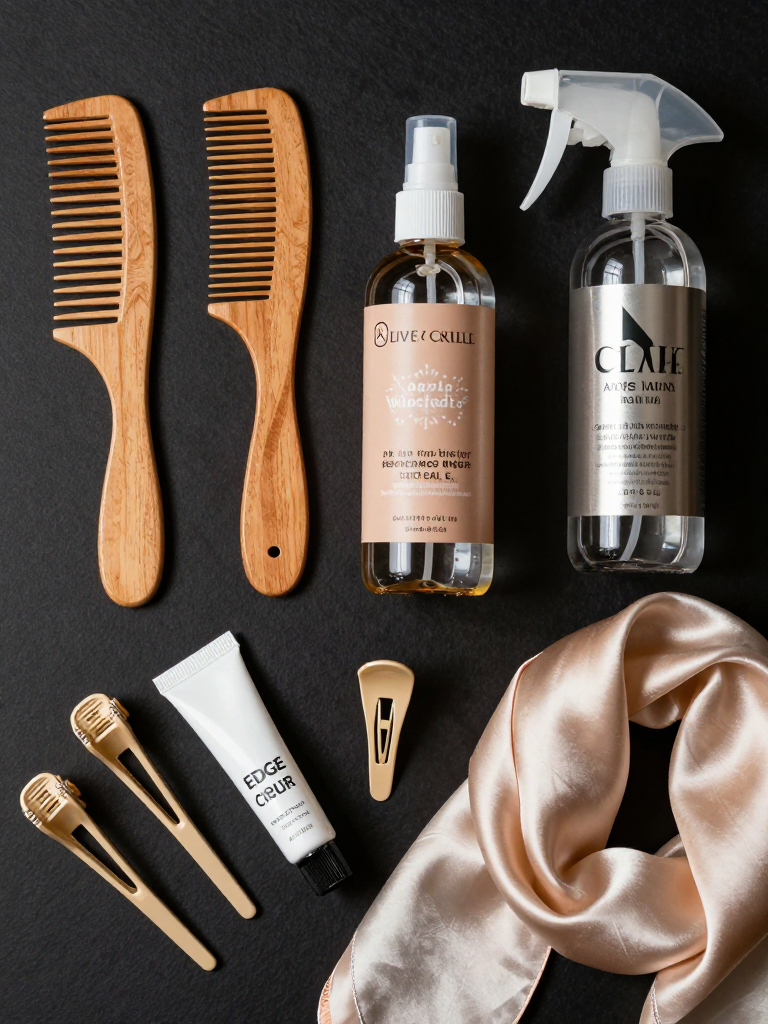
Start with clean, detangled, slightly damp hair. Wash and condition the night before — day-old hair grips better than freshly washed hair because the natural oils give the braid something to hold onto. Detangle with a wide-tooth comb while the conditioner is still in, then rinse and let it air-dry to about 80%. Before braiding, spritz with water and apply a lightweight leave-in conditioner. You want the hair moisturized but not dripping — wet hair stretches and creates uneven braids that loosen as they dry.
Step 2: Section and Part
15-20 minutes
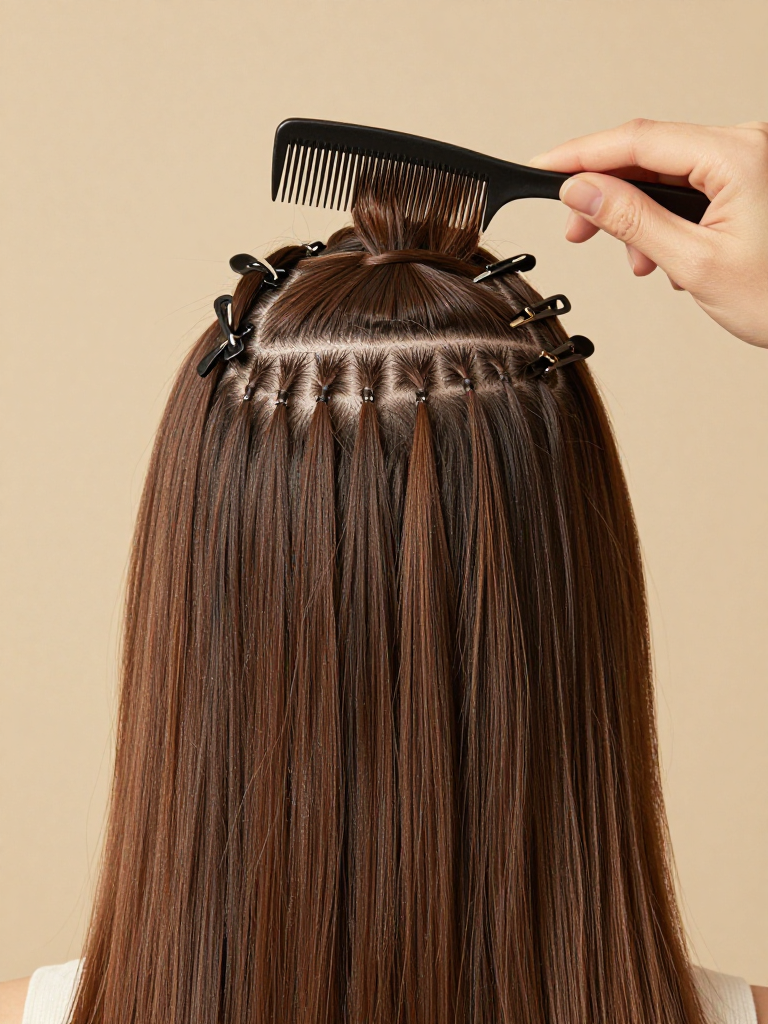
This is where most people mess up. Use the rat-tail comb to create your first part — a straight line from the center of your forehead to the nape. This is your anchor line. Everything else gets measured from here. Section off one side with a clip. On the other side, create parallel rows about half an inch to one inch wide, depending on how thick you want each cornrow. Wider rows = fewer braids, faster. Narrower rows = more braids, more detailed. For your first time, go wider — you can always do more rows next time. Use the pointed end of the rat-tail comb to draw each line, then follow with the comb teeth to separate the section cleanly.
Step 3: Braid the First Row
10-15 minutes per row
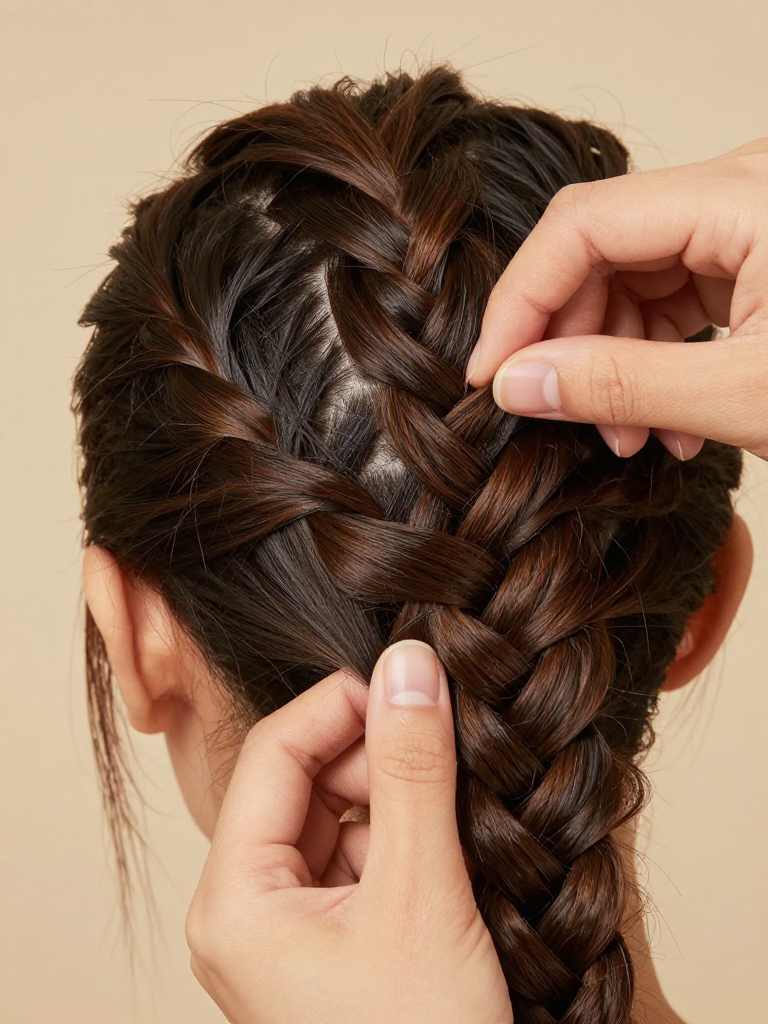
Take your first section and divide it into three equal strands at the hairline. Start a regular three-strand braid — right over middle, left over middle — for two stitches to anchor it. Then begin the cornrow: before each cross, pick up a small amount of loose hair from the section and add it to the strand you’re about to cross. This is the feed-in technique. The key is picking up the same amount each time — too much creates lumps, too little creates gaps. Keep your tension consistent. Not so tight that it pulls your edges, not so loose that it falls apart. You want firm, comfortable tension.
Step 4: Continue and Finish
60-90 minutes total
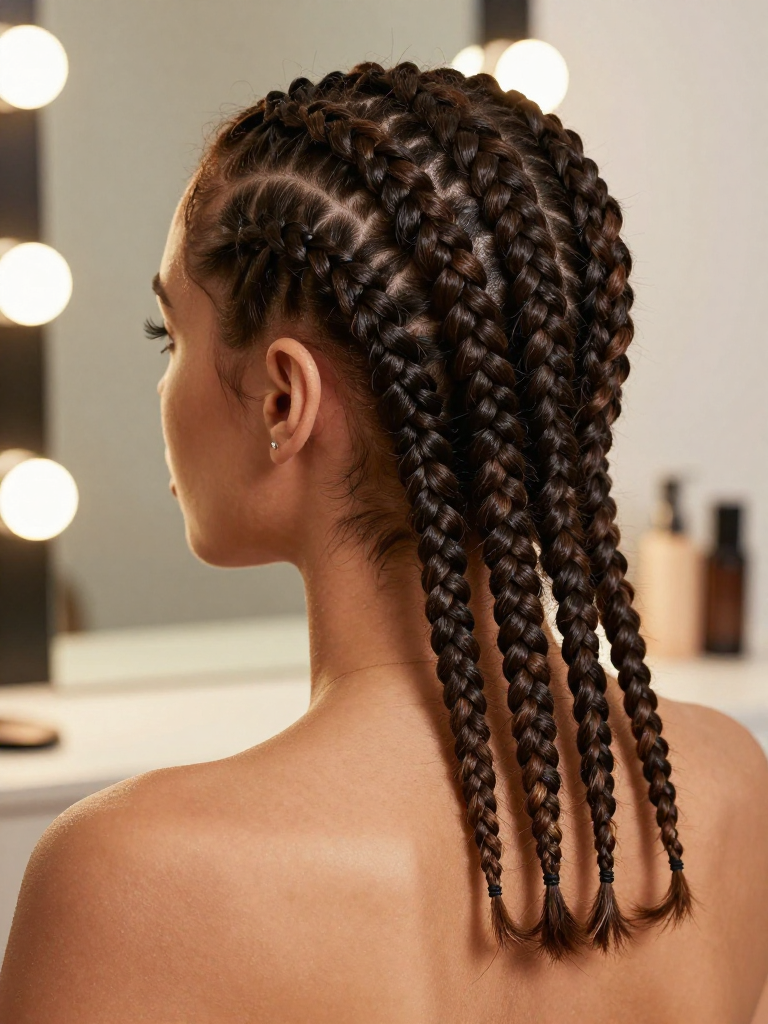
Repeat Step 3 for each row, working from the center outward. As you finish each braid, secure the end with a small elastic or simply leave it if the hair is long enough to hold itself. When all rows are done, apply edge control to your hairline and any flyaways. Use a soft brush to smooth the edges. If any braids look uneven, you can gently unbraid and redo them — natural hair is forgiving because the texture holds a redo almost as well as the original. Finish with a light oil on your scalp between the braids to keep everything moisturized.
Safety Warnings
- Never braid too tight at the hairline — traction alopecia starts at the edges and it’s often permanent.
- If your scalp feels like it’s pulling or you see bumps forming along the hairline, take the braids out immediately.
Pro Tips
Why This Works
Cornrows work on natural hair because the texture provides mechanical grip. Each coil and curl interlocks with its neighbors, creating friction that holds the braid structure in place without needing extensions for bulk. The three-strand braid pattern distributes tension evenly across the scalp, and the feed-in technique gradually incorporates loose hair so there’s no sudden weight change at any point. This is why cornrows on natural hair often last longer and look neater than extension cornrows — there’s no synthetic hair slipping against itself.
Cornrowing natural hair is one of those skills that seems impossible until you’ve done it three times, then you wonder why you ever paid someone else to do it. The first attempt will be uneven. The second will be better. By the third, you’ll have people asking who did your hair. The texture does half the work — your hands just need to learn the rhythm.
Part your first line. Braid your first row. It gets easier every time.
