How to Add Lowlights to Brunette Hair at Home: The Complete Step-by-Step Guide
You don’t need a $200 salon appointment to get dimensional brunette hair. Here’s how to lowlight your own hair without ruining it.
A salon lowlight appointment runs $150-300 depending on your location and the technique. The actual product cost? About $15-25. The rest is labor and markup. If you’re comfortable sectioning your own hair and can follow directions carefully, you can get 80% of the salon result for a fraction of the price. The key word is ‘carefully’ — lowlighting is more forgiving than highlighting (you’re depositing, not lifting) but bad placement still looks bad. Here’s how to do it right.
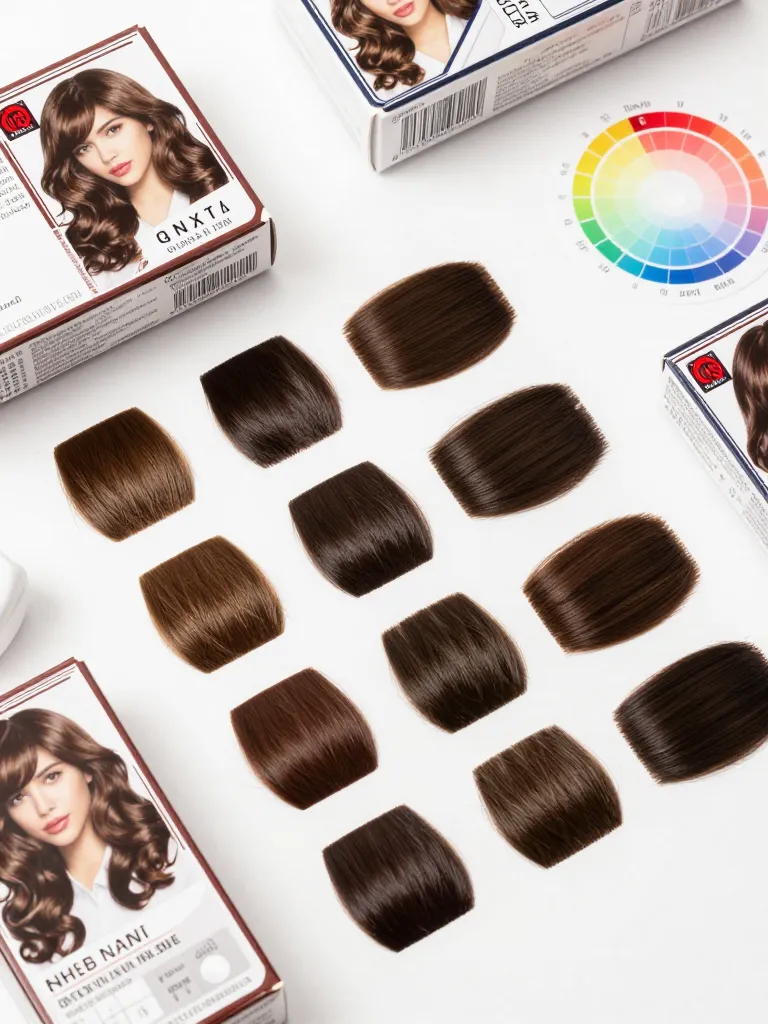
Step 1: Choose Your Lowlight Shade
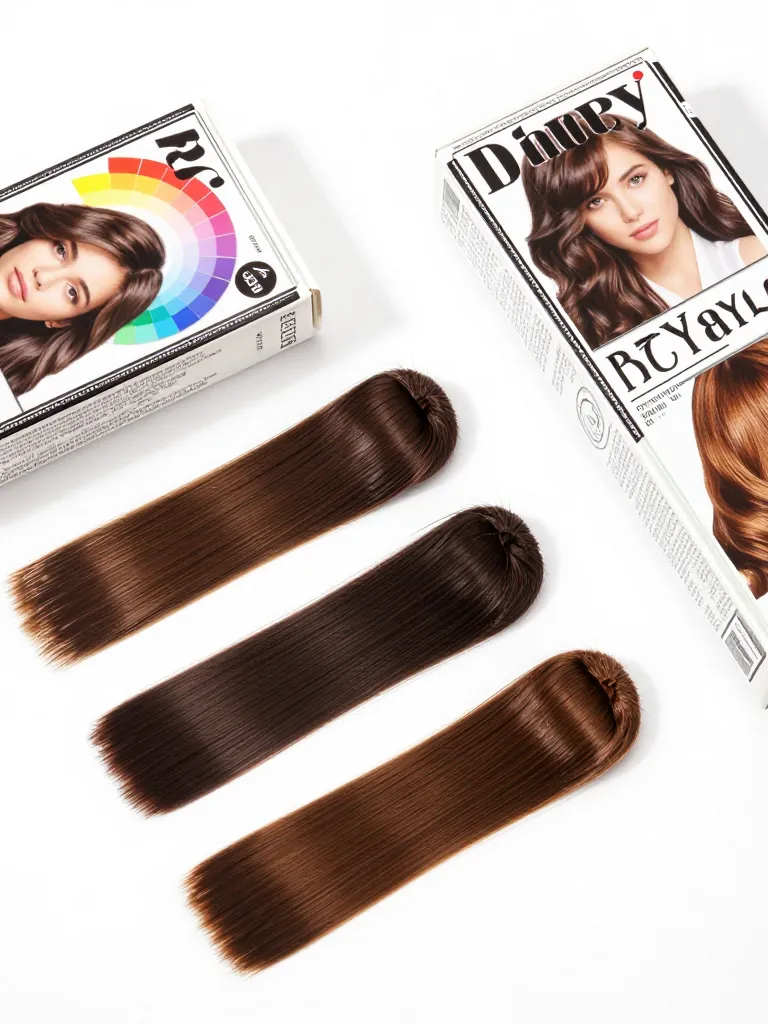
Your lowlight shade should be 1-2 levels darker than your natural base color. Going darker than that creates harsh contrast that reads as ‘mistake’ rather than ‘dimension.’ For cool-toned brunettes (ashy, no red undertones), look for shades labeled ‘cool brown,’ ‘ash brown,’ or ‘neutral brown.’ For warm-toned brunettes (natural red or golden undertones), ‘warm brown,’ ‘chocolate,’ or ‘golden brown’ will complement your base. Avoid anything labeled ‘black’ unless your natural hair is already very dark brown — the jump from medium brown to black is too dramatic for natural-looking lowlights.
Step 2: Section Your Hair
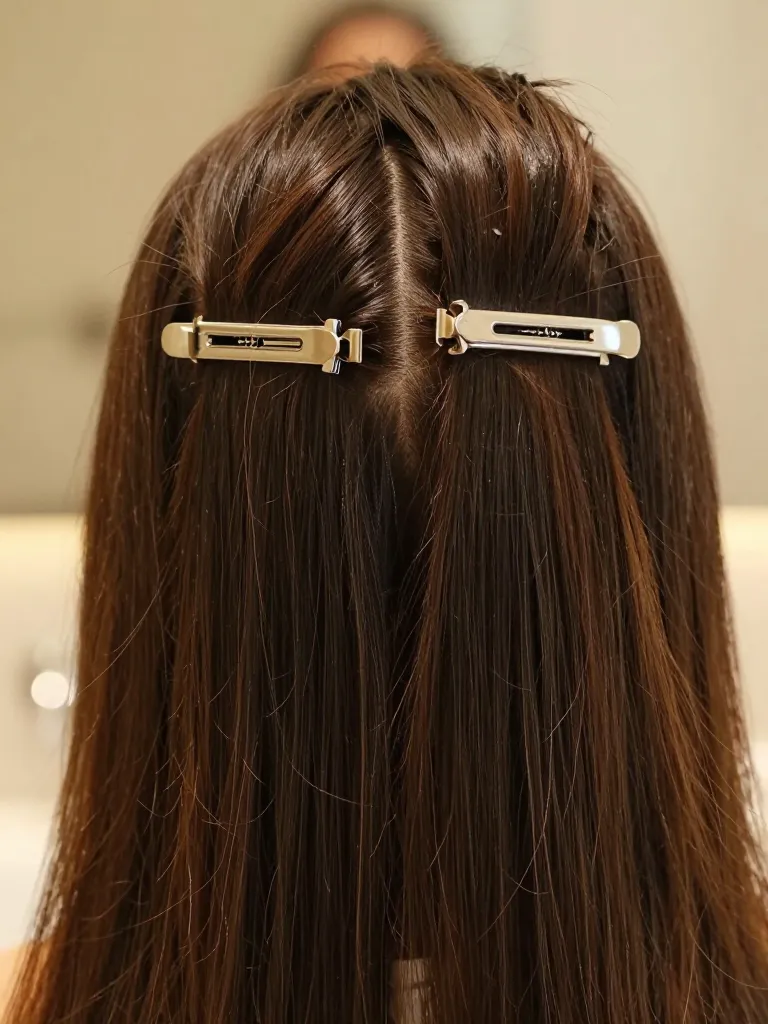
Part your hair down the middle from forehead to nape, then from ear to ear across the crown. You should have four sections: left front, right front, left back, right back. Clip each section up. For lowlights, you’re not coloring every strand — you’re selecting specific pieces within each section. Use the end of a rat-tail comb to separate thin subsections (about 1/4 inch wide) within each quadrant. The pattern should be irregular: color every third or fourth subsection, skipping others. This creates the natural, varied dimension that makes lowlights look good. If the placement is too uniform, it looks like stripes.
Step 3: Mix and Apply the Color
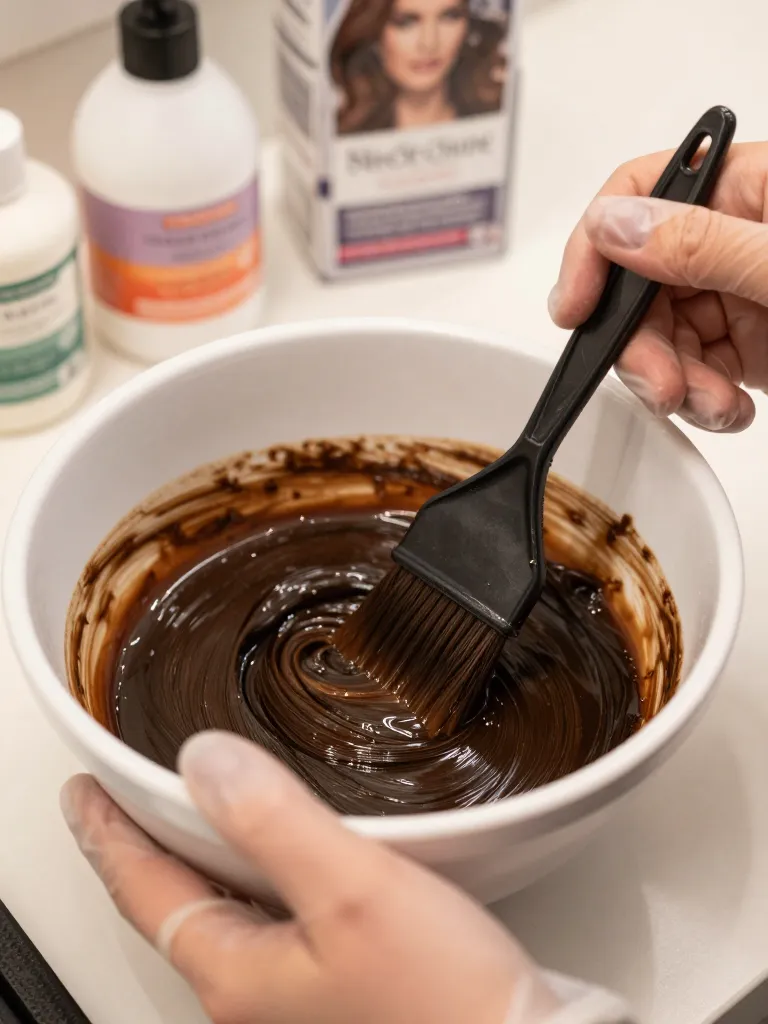
Mix your color according to the box instructions. If using demi-permanent color, mix with the developer provided (usually 10-volume for deposit-only). Put on your gloves. Starting with the back sections (they process last so they get the most time), paint the color onto each selected subsection using the applicator brush. Saturate from root to end — don’t be shy with the product. The key technique: after painting each subsection, gently fold it in foil or plastic wrap to keep it from touching adjacent uncolored sections. This prevents the color from bleeding into strands you want to keep lighter. Work through all four quadrants, maintaining the irregular pattern.
Step 4: Process and Rinse
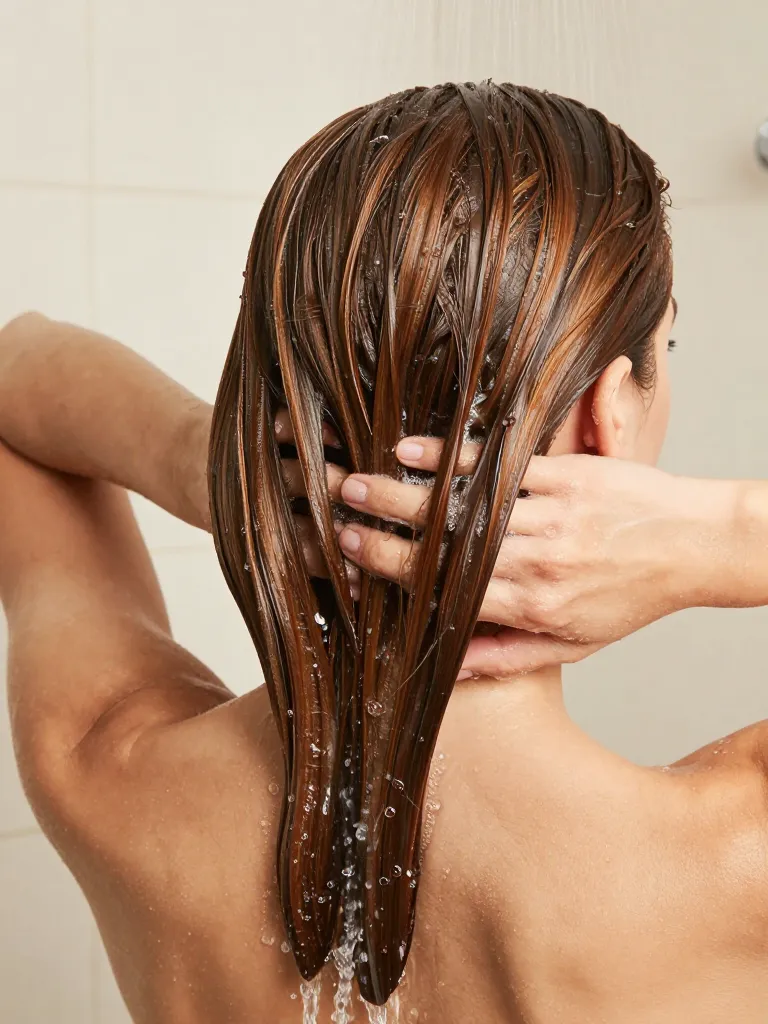
Check the box for processing time — typically 20-35 minutes for demi-permanent, 25-45 for permanent. Don’t leave color on longer than directed; it won’t make the result better, it’ll just damage your hair. When processing time is up, remove foils and rinse each section under lukewarm water until the water runs clear. Then shampoo with a color-safe shampoo and follow with a deep conditioner or the conditioner included in the box. Don’t use hot water — it opens the cuticle and lets pigment escape. Lukewarm locks the color in.
Step 5: Style and Assess
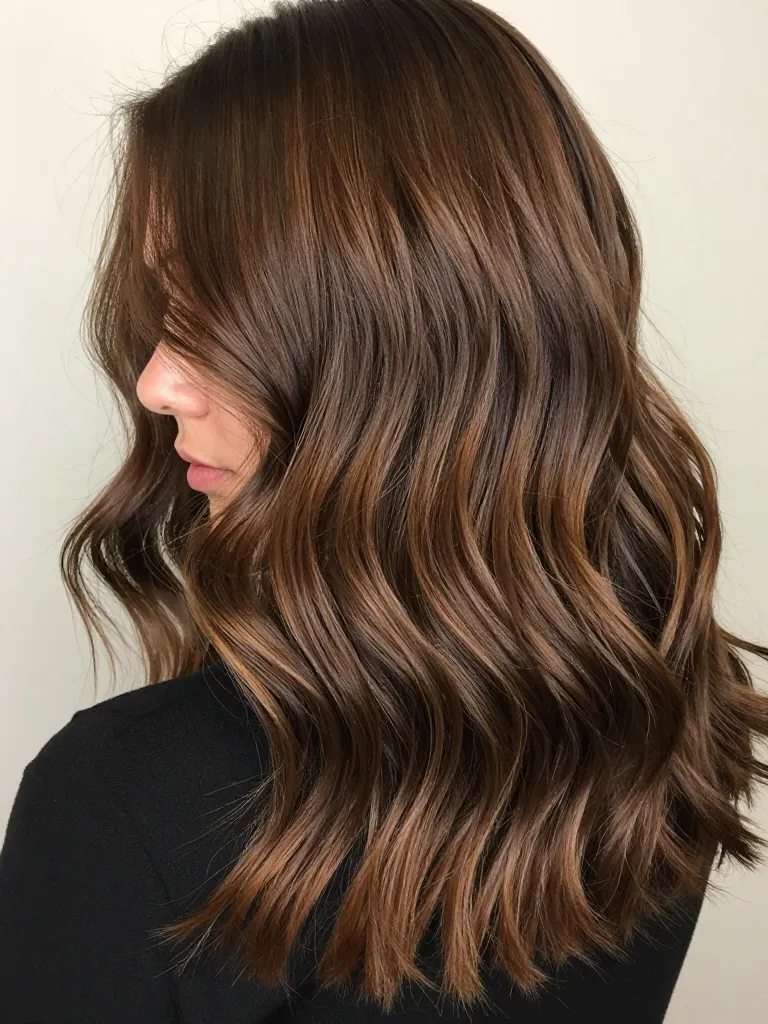
Dry and style your hair as you normally would. The lowlights will be more visible when the hair is dry and styled — wet hair hides dimension. Look at the result in natural light (not bathroom lighting). You should see subtle darker sections woven through your hair that create depth and movement. If some sections are too dark or too light, don’t panic — demi-permanent color fades naturally over 4-6 weeks and will soften. If you love the result, great. If you want more dimension, wait at least 2 weeks before applying more color to avoid over-processing.
Safety Warnings
- Always do a patch test 48 hours before coloring — apply a small amount of mixed dye behind your ear and wait. If you see redness, swelling, or itching, do not proceed.
- Never dye over a recent chemical treatment (relaxer, perm, keratin) without waiting at least 2 weeks — overlapping chemicals can cause severe breakage.
- If you feel burning or intense itching during processing, rinse immediately. Mild tingling is normal; pain is not.
Why This Works
Lowlights work by depositing darker pigment into selected strands of hair. Unlike highlights, which use bleach to strip color (and damage the hair’s protein structure in the process), lowlights add color on top of what’s already there. This means the cuticle isn’t being forced open as aggressively — the dye molecules sit in the outer layers of the hair shaft rather than penetrating deep into the cortex. The result is less structural damage, less porosity change, and a color that fades gradually rather than growing out with a harsh line. The dimensional effect happens because your eye perceives depth when multiple tones are present — flat, single-tone hair reads as ‘one dimensional’ even if it’s a beautiful shade.
Tips
Related Guides
Lowlights for Brunettes: 4 Dimensional Color Techniques — The full guide to lowlight techniques, from chocolate shadow to reverse babylights.
At-home lowlights won’t replace a skilled colorist’s hand-painted technique — but they’ll get you 80% of the way there for about 15% of the cost. The secret is patience, irregular placement, and not going too dark on your first attempt. Build up gradually. Your hair will thank you for the restraint, and you’ll end up with the kind of dimensional brunette color that makes people ask which salon you go to.
Grab the color. Section carefully. Start light. You can always go darker next time.
