How to Get Utah Curls at Home: The Complete Step-by-Step Guide
The bouncy, polished curl technique that took over the Mountain West — and how to do it yourself in under 40 minutes.
Utah curls look like you spent $85 at a blowout bar. Doing them at home costs nothing after the initial tool investment, and the technique is simpler than you think. The entire trick comes down to three things: wrapping direction, barrel size, and the brush-out. Get those right and you’ll never pay for a curl appointment again. Here’s the full breakdown.
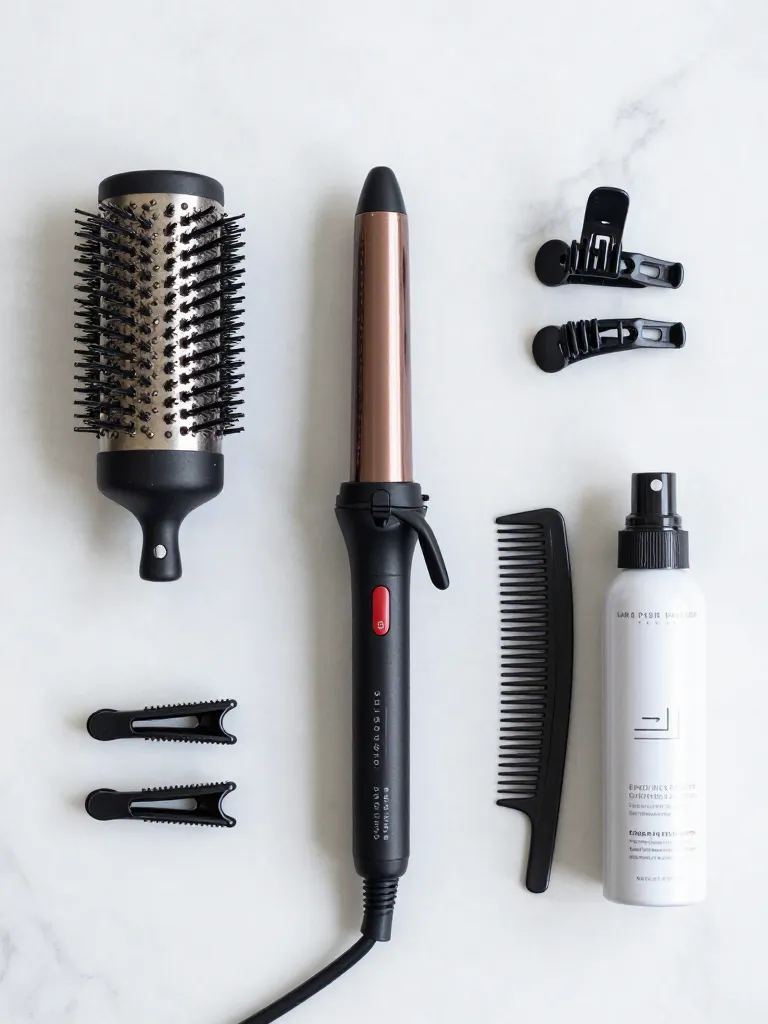
Step 1: Prep and Section
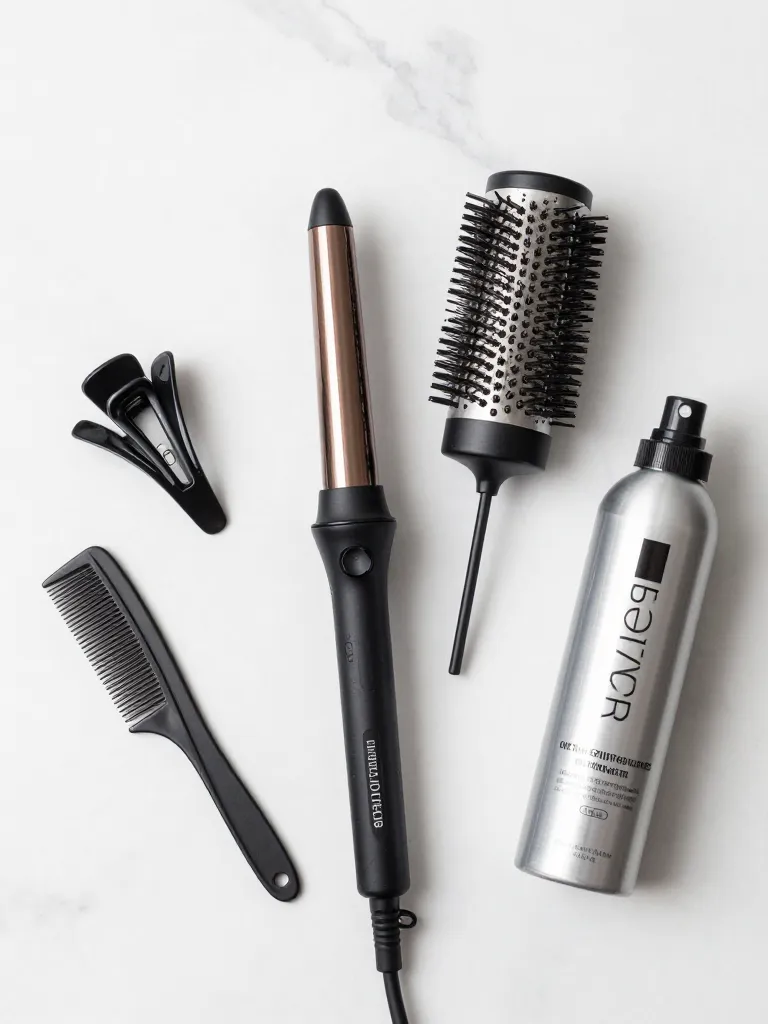
Start with dry hair — completely dry, not damp. Apply heat protectant from mid-length to ends, avoiding the roots (root application makes hair flat, which defeats the purpose). Section your hair into three horizontal layers: bottom (nape to ear), middle (ear to temple), and top (temple to crown). Clip the top and middle sections out of the way. You’ll work from the bottom up.
5 minutes
Step 2: Curl the Bottom Layer (Alternate Directions)
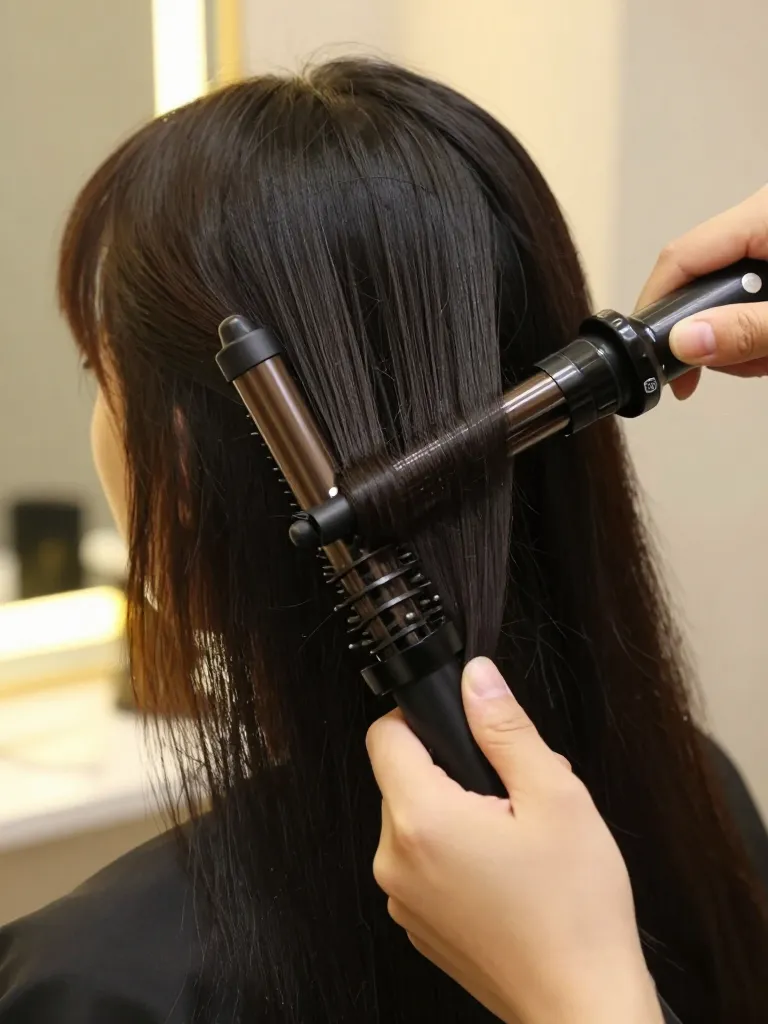
Take a 1-inch section from the bottom layer. Clamp the curling iron near the ends and roll it up toward your scalp, wrapping the hair AWAY from your face. Hold for 5-8 seconds, then release. Take the next 1-inch section and wrap it TOWARD your face. This alternating direction is the core of the Utah curl technique — it prevents the curls from clumping into one big ringlet and creates a more natural, voluminous pattern. Continue alternating through the entire bottom layer.
10 minutes
Step 3: Curl the Middle and Top Layers
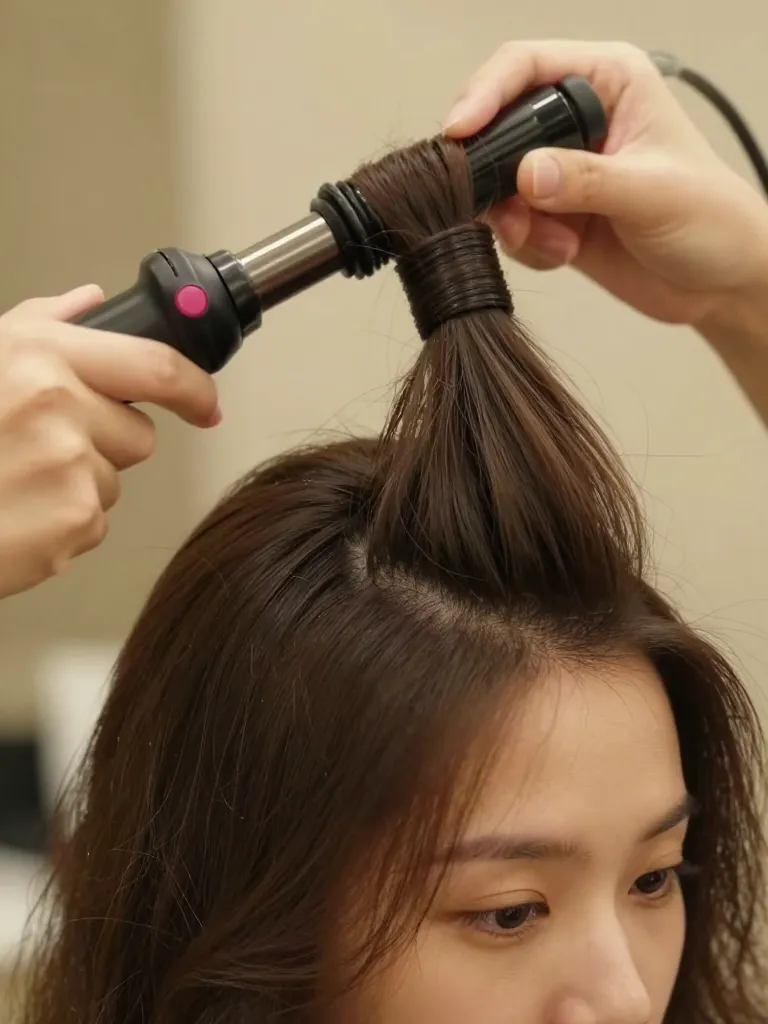
Release the middle section and repeat the alternating wrap technique. For the middle layer, start the wrap slightly higher on the barrel — this creates more volume through the mid-lengths. For the top layer, curl each section upward and slightly back. This is where the volume lives. If you curl the top layer flat or downward, you’ll lose the signature Utah curl height at the crown. The top layer should have 4-5 sections, each wrapped in alternating directions, all directed slightly backward from the face.
15 minutes
Step 4: The Brush-Out (This Is the Secret)
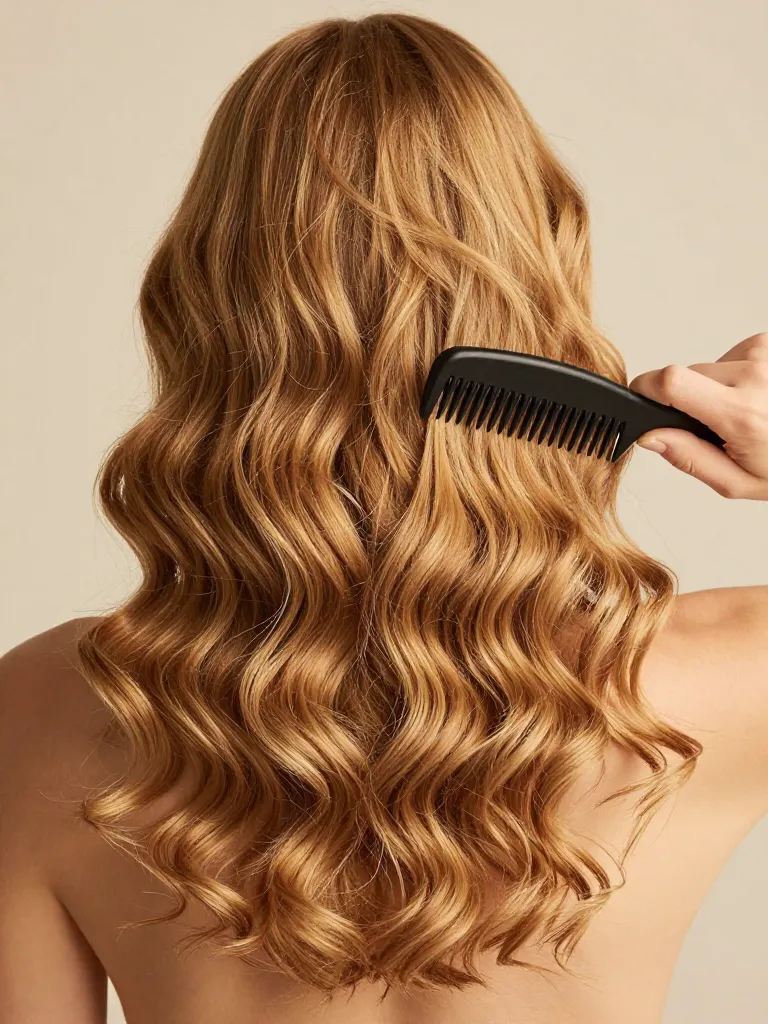
Let all the curls cool for at least 2 minutes. Then take your wide-tooth comb or paddle brush and brush through ALL the curls from root to tip. Yes, really. This is where most people panic — you just spent 25 minutes curling and now you’re brushing it out? Trust the process. The brush breaks the individual ringlets into a cohesive wave pattern that reads as volume. Start brushing at the ends and work up. If you brush from the roots down, you’ll pull out the volume. After brushing, flip your head upside down and shake. This redistributes the volume and separates the waves. Flip back up and use your fingers to arrange the curls around your face.
5 minutes
Step 5: Set and Finish
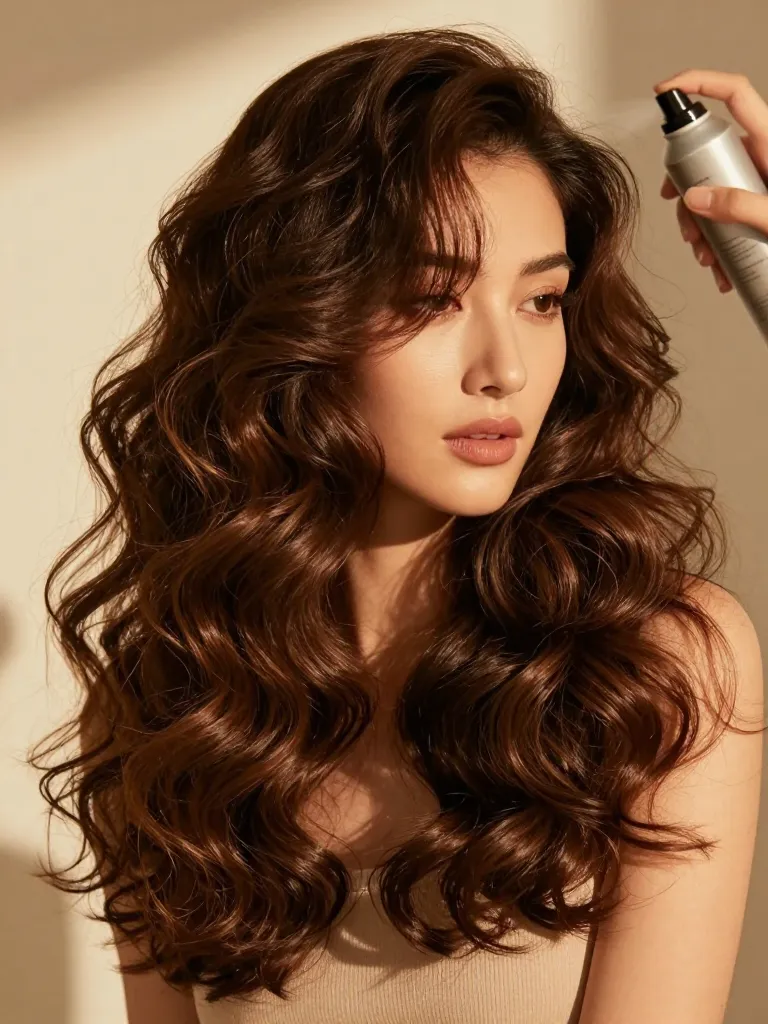
Hold texturizing spray about 10 inches from your head and mist over the entire style. Don’t use hairspray — it makes the curls crunchy and stiff, which kills the bouncy Utah curl vibe. Texturizing spray adds hold with movement. Scrunch the ends gently with your hands to reactivate any curl pattern that the brush-out loosened too much. If you want more volume at the crown, gently backcomb the roots at the top of your head with a fine-tooth comb — just two or three strokes per section. Finish with a light mist of shine spray for that salon-grade gloss.
3 minutes
Safety Warnings
- Never hold the curling iron on one section for more than 10 seconds — prolonged heat causes damage and breakage.
- Always use a heat protectant. Skipping it ‘just this once’ adds up over time.
Tips
Related Guides
Utah Curls: 4 Bouncy Volume Styles That Own the Mountain West — The pillar guide covering all four Utah curl variations and which one works best for your hair type.
Princess curls — the more structured, vintage-inspired cousin — If you want even more polish and bounce than the classic Utah curl.
The Utah curl is the one curl technique that works on virtually every hair type and length. The alternating wrap prevents the Shirley Temple ringlet problem, and the brush-out converts whatever curl pattern you create into a cohesive, voluminous wave. Once you nail the brush-out timing — cool completely, brush from ends up — you’ll get consistent results every single time. It’s the curl technique that actually lives up to the Instagram vs. reality promise.
Section. Alternate. Brush. Shake. That’s the formula. Now go own it.
