Stitch Braids for Men: How to Create the Feed-In Tapered Look
The braid that starts whisper-thin at your hairline and builds to full thickness. That’s the difference.
Stitch braids are the reason people think you spent $200 on your hair. The technique — feed-in braiding — creates braids that start paper-thin at the hairline and gradually build to full thickness as they move back. This tapering effect eliminates the bulky, wig-like appearance that traditional cornrows can create. The hairline looks natural, the braids look custom, and the overall effect is ‘this person takes their hair seriously.’ The catch: stitch braids require more skill than standard cornrows. The feed-in technique adds synthetic hair gradually as the braid progresses, which means the braider needs to control tension, thickness, and direction simultaneously. This guide breaks it down step by step.
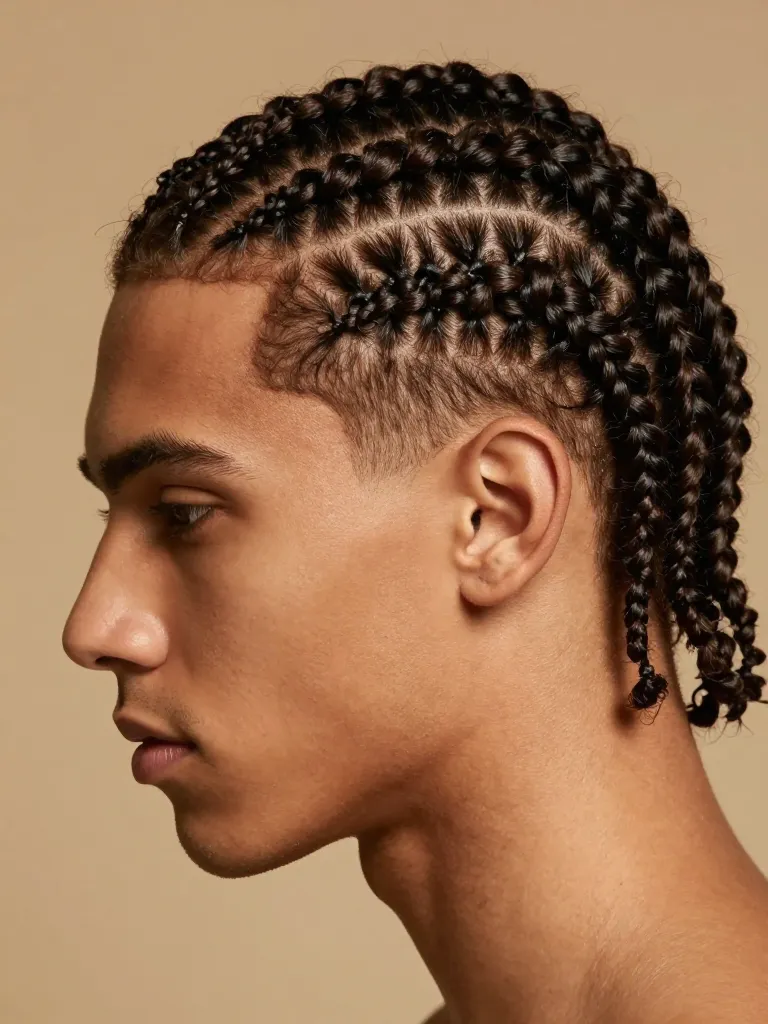
Step 1: Section the Hair with a Precise Part Map
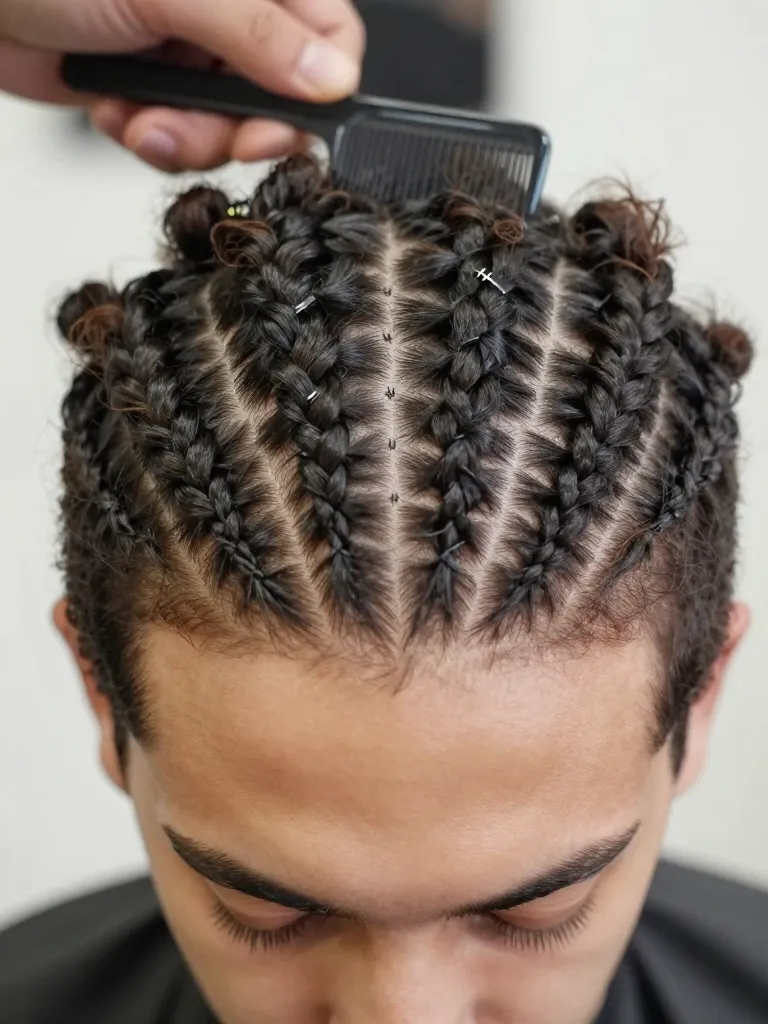
Stitch braids require the same part map as standard cornrows — straight, even rows from hairline to nape. The difference is in the section width: stitch braids are typically done in narrower sections (0.75-1 inch) because the braids start thinner and the narrow sections help maintain the tapered illusion. Use a rat-tail comb to create straight parts, working from the center outward. The parts need to be laser-straight — stitch braids are more visible than standard cornrows because of their tapered shape, which means any imperfection in the parting is magnified. Clip each section out of the way. The part map should look like a precision grid.
Timing: 15-20 minutes
Prerequisites: Rat-tail comb, Sectioning clips, Edge control for smoothing
Step 2: Anchor the Braid at the Hairline — No Synthetic Hair Yet
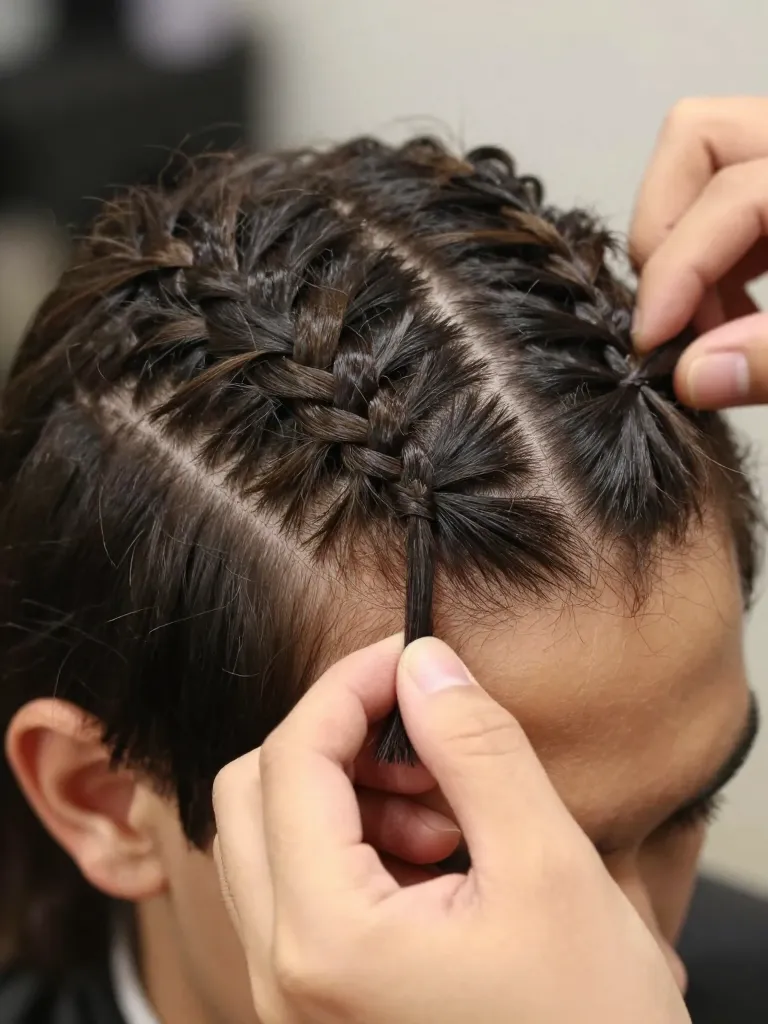
Start with the first row at the hairline. Take a very small section of natural hair at the front — about half the width of the parted row. Divide it into three strands. Braid two to three stitches using the feed-under technique (right under middle, left under middle). These first stitches use only natural hair — no synthetic hair yet. This is what creates the ‘thin at the hairline’ effect that defines stitch braids. The natural-hair-only start makes the braid look like it’s growing directly from the scalp, which is what gives stitch braids their natural appearance at the hairline. Standard cornrows start thick from the first stitch, which creates that telltale ‘braided’ look right at the forehead.
Timing: 5-10 minutes per braid
Prerequisites: Rat-tail comb, Braiding gel, Synthetic braiding hair (pre-separated into small bundles)
Step 3: Feed In Synthetic Hair — The Taper Build
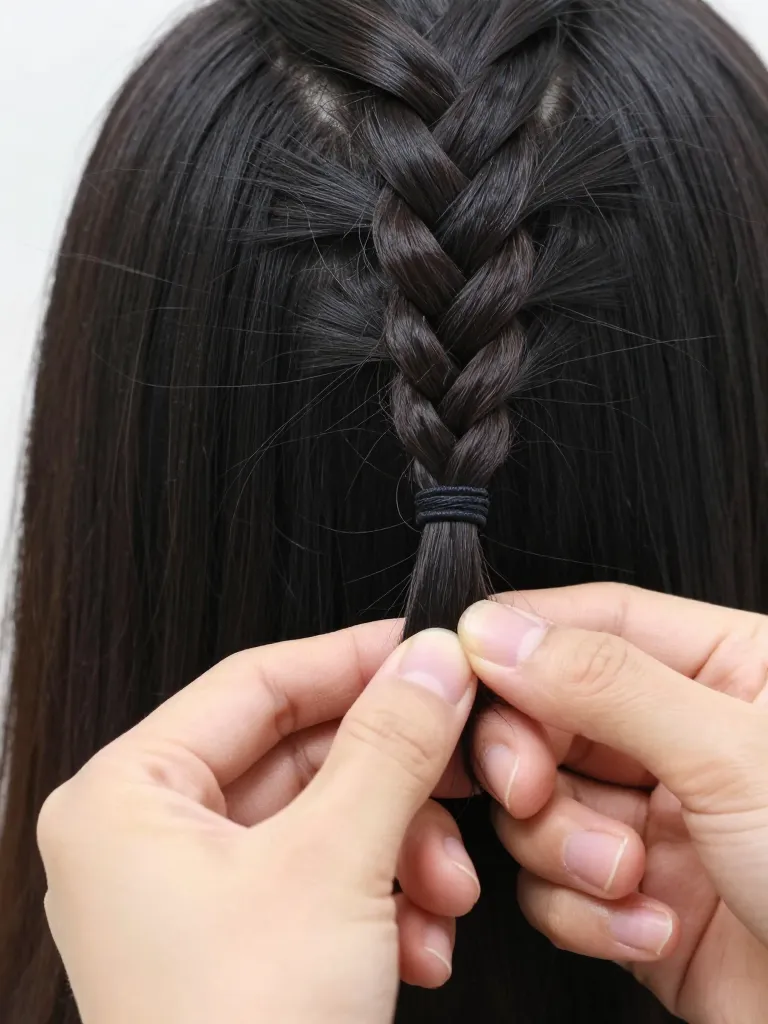
This is the stitch braid technique — the feed-in. After the initial 2-3 natural-hair stitches, take a small bundle of synthetic braiding hair (about pencil-width). Fold it in half. Place the folded end against one of the three braid strands — typically the bottom strand. Braid it in as you continue the feed-under motion: cross the strand with synthetic hair under the middle strand, pick up a small section of natural hair from the parted row, and continue. Every 2-3 stitches, add another small bundle of synthetic hair to the same strand (or alternate strands for a more even build). The key is gradual addition — too much synthetic hair at once creates a lumpy, uneven braid. The synthetic hair should be invisible — folded and integrated so smoothly that the braid looks like it’s transitioning from thin natural hair to thick natural hair.
Timing: 10-15 minutes per braid
Prerequisites: Synthetic braiding hair, Steady hands, Patience
Step 4: Maintain Even Tension Through the Build
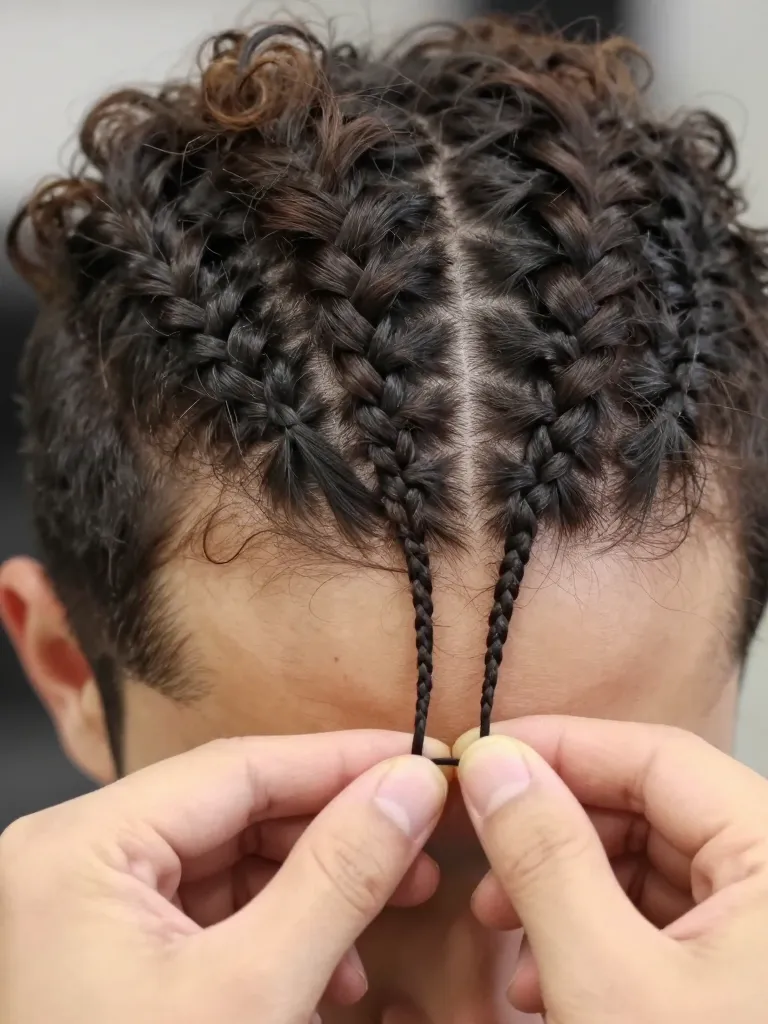
As the braid builds in thickness, the tension challenge increases. More hair means more weight, which means the braid naturally wants to pull away from the scalp. The braider needs to actively counteract this by maintaining firm, consistent tension on all three strands. The stitch braid should stay flat against the scalp from hairline to nape — if it starts lifting at the mid-point, the tension dropped. Keep the braid angle consistent: straight back for parallel rows, slightly angled for curved patterns. The transition from thin to thick should be smooth and invisible — if you can see exactly where the synthetic hair starts, the feed-in wasn’t gradual enough. The finished braid should look like it naturally tapers from thin to thick, as if the hair itself changes density along the row.
Timing: 5-10 minutes per braid (continued from step 3)
Prerequisites: Consistent hand tension, Focus
Step 5: Finish, Set, and Maintain
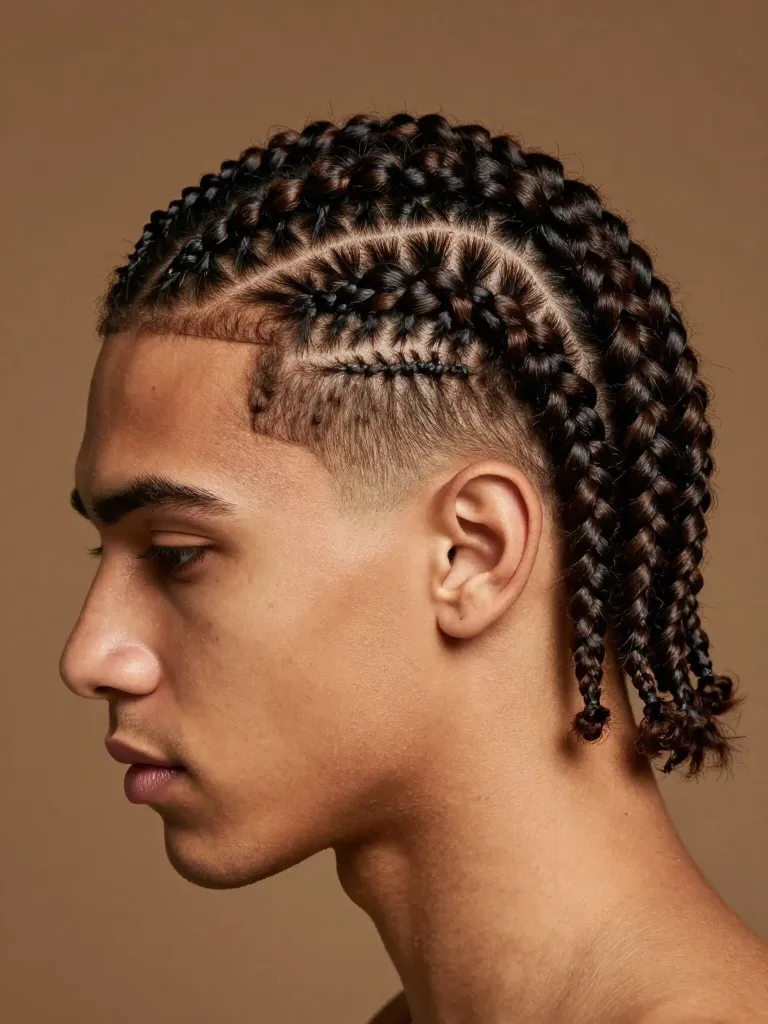
Secure each braid at the nape with a small rubber band. For synthetic braiding hair, dip the ends in hot water (10 seconds) to seal them and prevent unraveling. Apply edge control to the hairline and baby hairs for a polished finish. To maintain stitch braids: wrap in a satin durag every night, oil the scalp every 2-3 days with lightweight oil, and avoid heavy products on the braids. Stitch braids typically last 2-3 weeks — the thin hairline start means they look good longer than standard cornrows because the regrowth is less visible at the front. When the braids start looking fuzzy or the hairline growth becomes visible, it’s time for a re-do.
Timing: 5 minutes finishing, 5 minutes daily maintenance
Prerequisites: Small rubber bands, Hot water (for synthetic hair), Edge control, Satin durag
Safety Warnings
⚠️ If the feed-in tension is too tight at the hairline, it causes traction alopecia — the thin starting section means less hair is bearing the same tension
⚠️ Never leave stitch braids in for more than 3 weeks — the synthetic hair weight stresses natural hair over time
⚠️ Give your hairline 1-2 weeks rest between installations
Why This Works
Stitch braids work because they exploit the visual principle of graduated thickness. The human eye reads the thin-to-thick transition as ‘natural growth’ — the brain interprets the tapered start as hair growing from the scalp, even when synthetic hair is involved. This is why stitch braids look ‘expensive’ and ‘natural’ compared to standard cornrows, which start at full thickness and immediately read as ‘braided.’ The feed-in technique also distributes the weight of synthetic hair gradually, reducing tension on any single section of natural hair. The narrow starting section at the hairline bears minimal weight, and as the braid builds, the weight is distributed across a larger section. This is structurally sounder than loading a full-width section from the first stitch.
Pro Tips
- Thin start is everything: The thinner the natural-hair start, the more dramatic and natural-looking the taper
- Small bundles, gradual feed: Pencil-width synthetic bundles, added every 2-3 stitches — this is the secret to invisible tapering
- Edge control on parts: Apply before braiding, not after — it keeps the parts clean throughout the braiding process
- Satin durag every night: Non-negotiable — this extends the life from 1 week to 3 weeks
- Don’t overload synthetic hair: Too much synthetic hair creates lumpy braids that look cheap, not expensive
- Rest the hairline: 1-2 weeks between installations prevents traction alopecia at the thin starting points
Stitch braids are the most visually striking braided style for men. The thin-to-thick taper creates a natural-looking hairline, the gradual build adds dimension, and the overall effect is polished and intentional. The technique requires patience and practice — the feed-in is harder than standard cornrow braiding because you’re managing tension, thickness, and direction simultaneously. But once you nail it, the results are worth it. Stitch braids are the style that makes people ask ‘who did your hair?’ And that’s the point.
Start thin. Build thick. Look expensive. That’s the stitch braid formula. ✂️
