Quick Simple Hairstyles for Long Hair: 5 Styles You Can Do in Under 5 Minutes
No heat tools. No braiding skills. Just your hands and a few minutes.
Mornings are chaos. You’ve got ten minutes to get ready, and seven of those are already claimed by coffee and finding your keys. Your long hair can’t be the thing that holds you hostage every morning. These five styles take between one and five minutes each, work on any hair texture, and require nothing more than what you already own. No curling iron. No 47-step YouTube tutorial. Just quick, simple techniques that make you look like you planned this.
Step 1: The 60-Second Sleek Low Ponytail
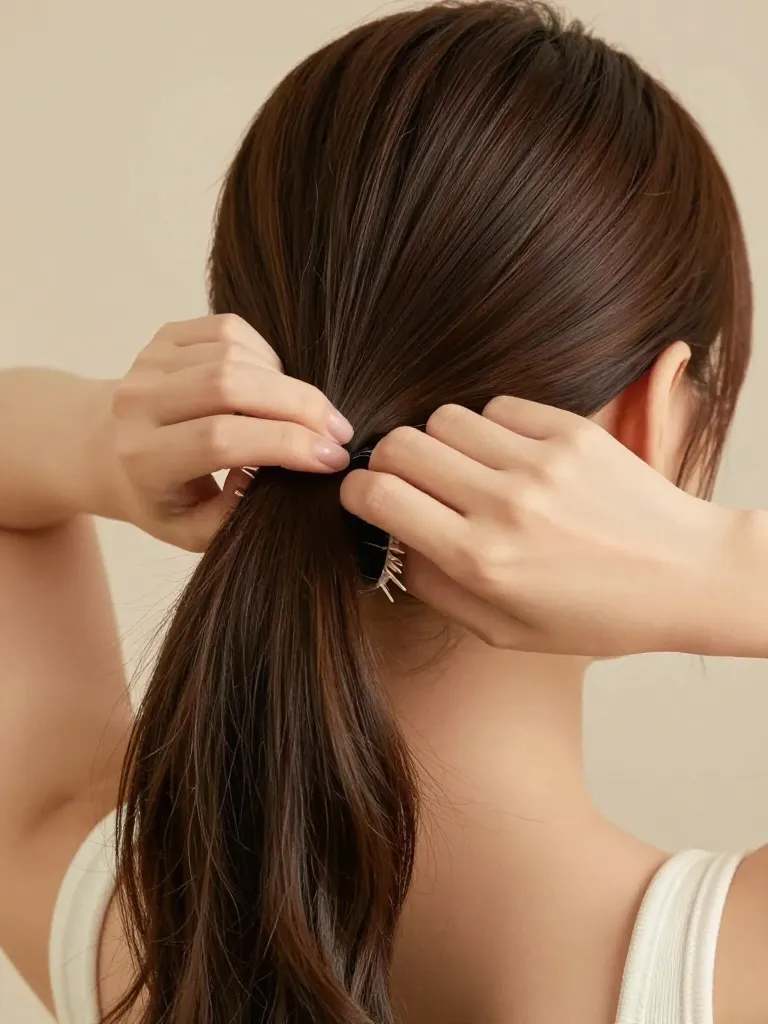
Brush your hair back, leaving out two small sections at your temples — about half an inch wide on each side. Gather everything else at the nape of your neck and secure with a hair tie. Smooth the top with your brush or hands. That’s the base. Now take one of the face-framing pieces, wrap it around the hair tie to hide it, and pin it underneath with a bobby pin. Repeat on the other side. The wrapped hair tie elevates this from ‘I gave up’ to ‘I chose this.’ Total time: about sixty seconds once you’ve done it a couple of times.
- Hair tie
- Bobby pins (2)
- Brush or comb optional
Step 2: The Messy French Twist With a Claw Clip
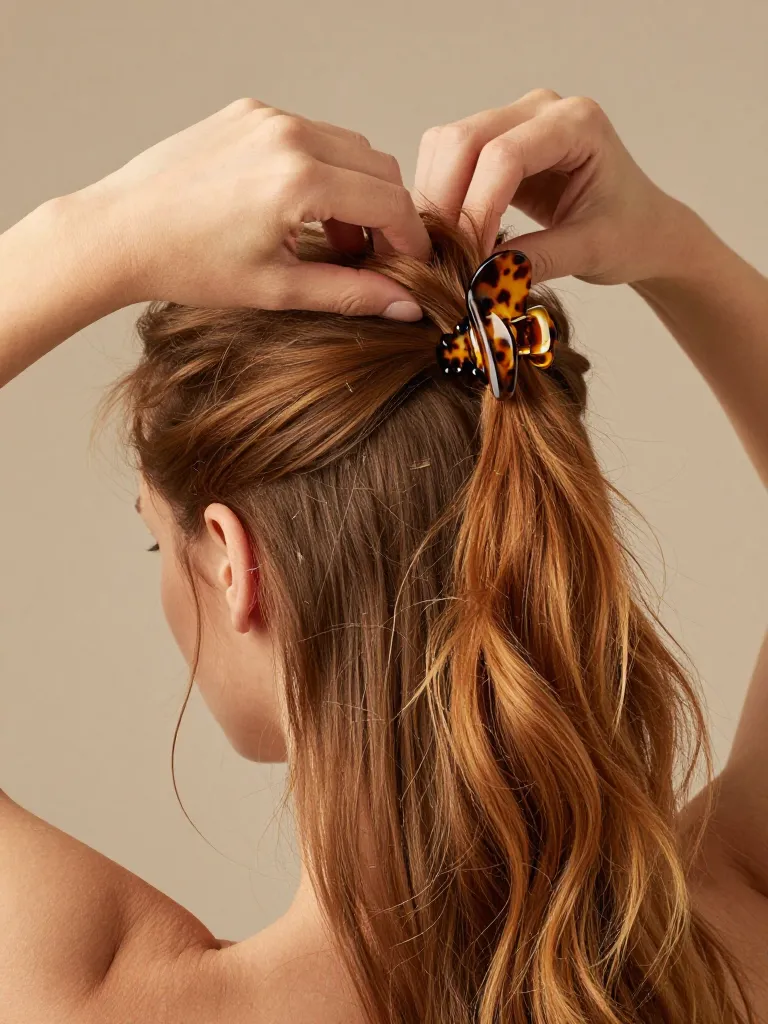
Flip your head forward and gather all your hair at the crown. Twist it once — just once, don’t overthink it — then fold the twist downward so the ends point toward the floor. Clamp your claw clip over the fold, catching both the twisted section and the hair underneath. Let the ends fan out above the clip or tuck them in for a neater look. Pull out a few pieces around your face. The whole thing should feel loose and a little messy — if it looks too perfect, pull out more pieces. This style works on literally any hair state: clean, dirty, wavy, straight.
- Large claw clip
- No other tools needed
Step 3: The Half-Up Pull-Through
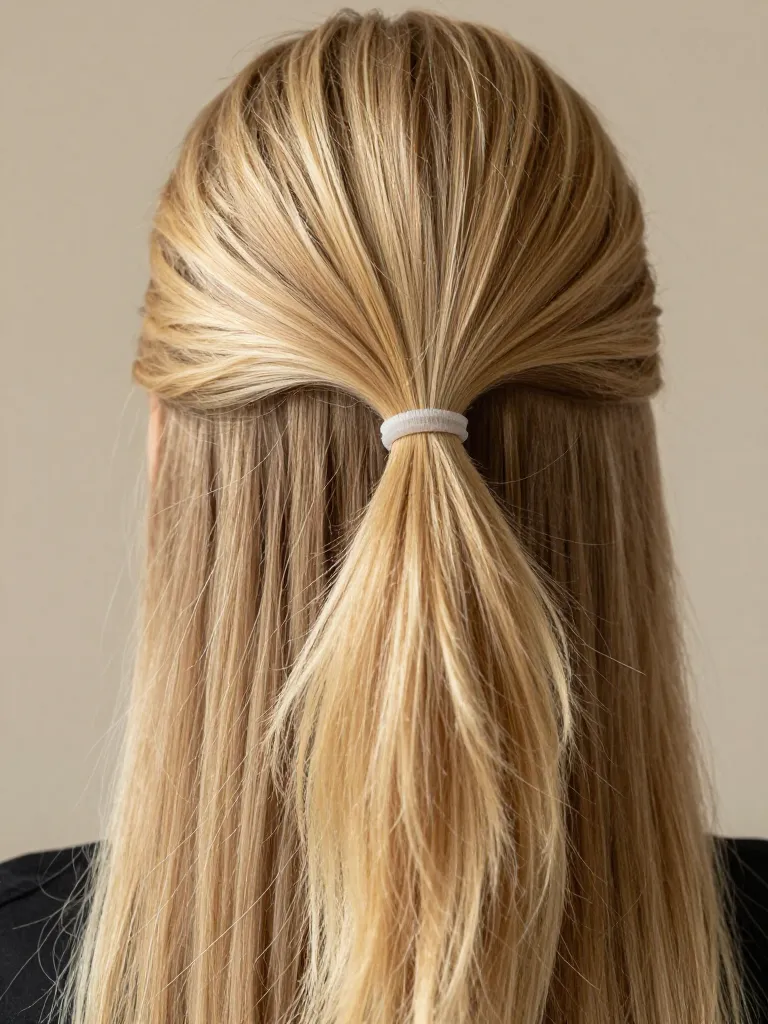
Take the top half of your hair — from your temples to just above your ears — and pull it into a half ponytail with a small elastic. Now here’s the part that makes it look fancy: make a small gap in the hair just above the elastic, and flip the ponytail through the gap (push the ponytail up and through the hole from underneath). Pull gently on the flipped section to tighten it. This creates a twisted effect on top that looks way more complicated than it actually is. Leave the bottom half loose. Takes about three minutes and looks like you spent ten.
- Small elastic or hair tie
- No other tools needed
Step 4: The Twisted Side Sweep
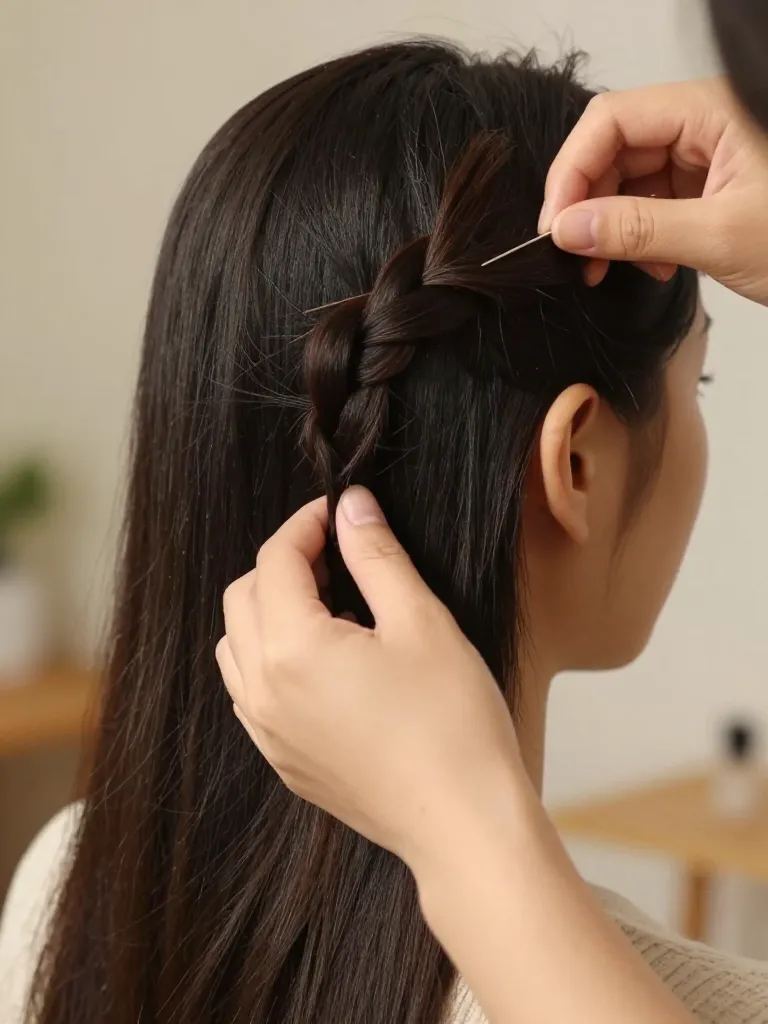
Take a two-inch section from one temple and start twisting it away from your face. As you twist, pick up small sections of hair from below and add them to the twist — like a lazy French braid but with twisting instead of braiding. Continue the twist around the back of your head until you reach behind the opposite ear. Secure with two or three bobby pins, crossing them over each other for grip. Let the rest of your hair fall loose on the other side. This is a great one for when you want your hair half-up but with an asymmetric, editorial feel.
- Bobby pins (3-4)
- Optional: light-hold hairspray
Step 5: The Double Clip Tuck
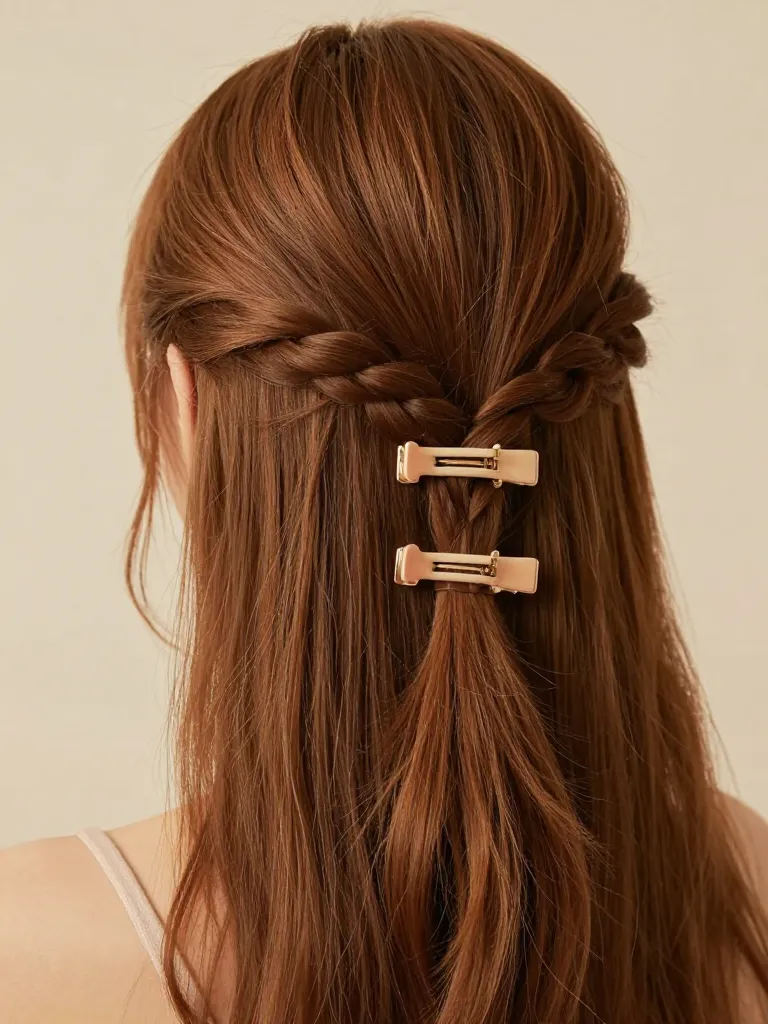
Split your hair horizontally into two sections — top and bottom, with the part running from ear to ear around the back of your head. Take the bottom section, twist it upward, and secure it with a claw clip at the back. Now take the top section, twist it the same way, and secure it with a second clip directly above or slightly overlapping the first. The two clips give this style a stacked, intentional look that’s way more interesting than one clip alone. Pull out a few face-framing pieces. This one’s especially good for thick hair that’s too heavy for a single clip to hold.
- Two claw clips of similar size
- No other tools needed
Watch Out For
- Don’t pull your ponytail or bun too tight — constant tension on the hairline can cause traction alopecia over time.
- If your hair tie gets tangled, don’t yank it out. Use a detangling spray and work it out gently from the bottom up.
Why These Actually Work
These styles all rely on the same principle: using your hair’s natural weight and texture to hold itself in place. When you twist hair, the strands lock against each other — that’s why a twist holds better than a loose section. When you use a claw clip, the teeth grip the twisted section from both sides, creating a hold that doesn’t depend on tension. And when you leave face-framing pieces out, you’re not just being lazy — you’re creating a deliberate softening effect that makes the whole style look more natural. None of these require products, heat, or skill. They work because you’re working with your hair’s natural behavior, not against it.
Pro Tips
Five styles, all under five minutes, all requiring zero heat and zero skill. The real trick isn’t any individual style — it’s having a rotation so your hair doesn’t look the same every day. Monday is the sleek ponytail. Tuesday is the claw clip twist. Wednesday is the half-up pull-through. By the time Friday rolls around, people will think you’re a hair person. You’re not. You’re just a person who learned five easy tricks.
Pick one for tomorrow morning. Time yourself. You’ll be surprised how fast these become second nature.
