Shoulder Haircut: How to Cut the Perfect Shoulder-Length Layered Cut
The shoulder-length cut is the most versatile haircut in existence. Add layers and it becomes the most flattering one too.
The shoulder-length haircut — the lob, the collarbone cut, whatever you call it — is the Goldilocks of hair lengths. Not too short, not too long. Long enough to pull back, short enough to style quickly. And when you add layers to a shoulder-length cut, something magical happens: the hair gains movement, volume, and dimension that flat, one-length shoulder hair can never achieve.
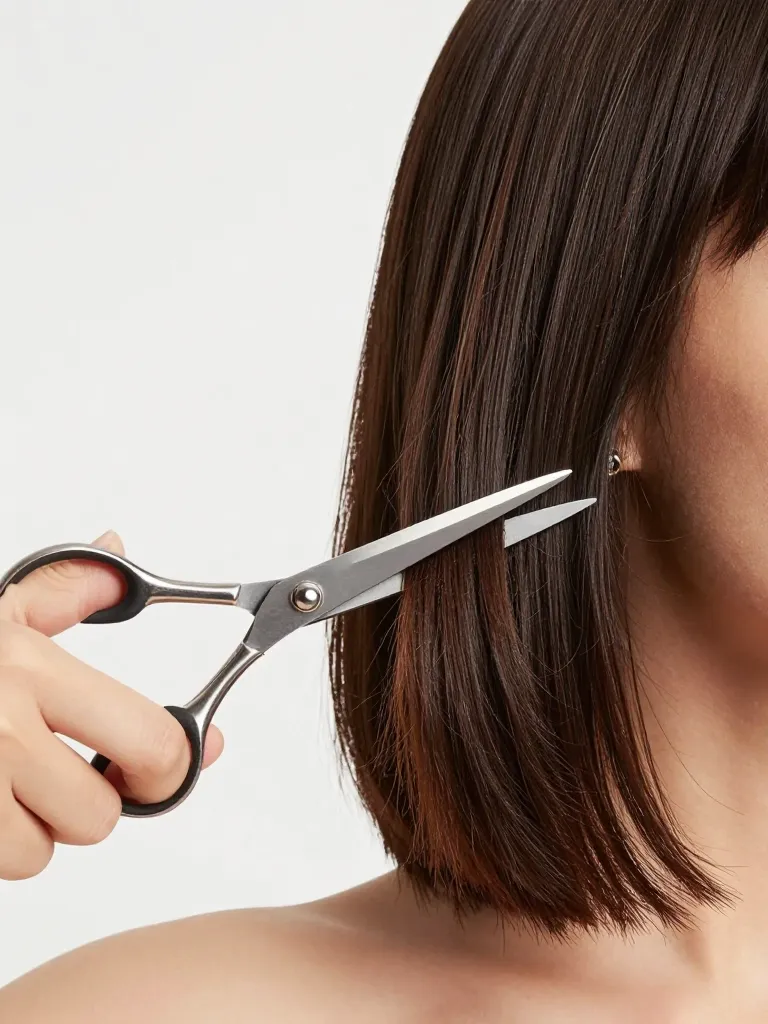
Step 1: Establish the Base Length
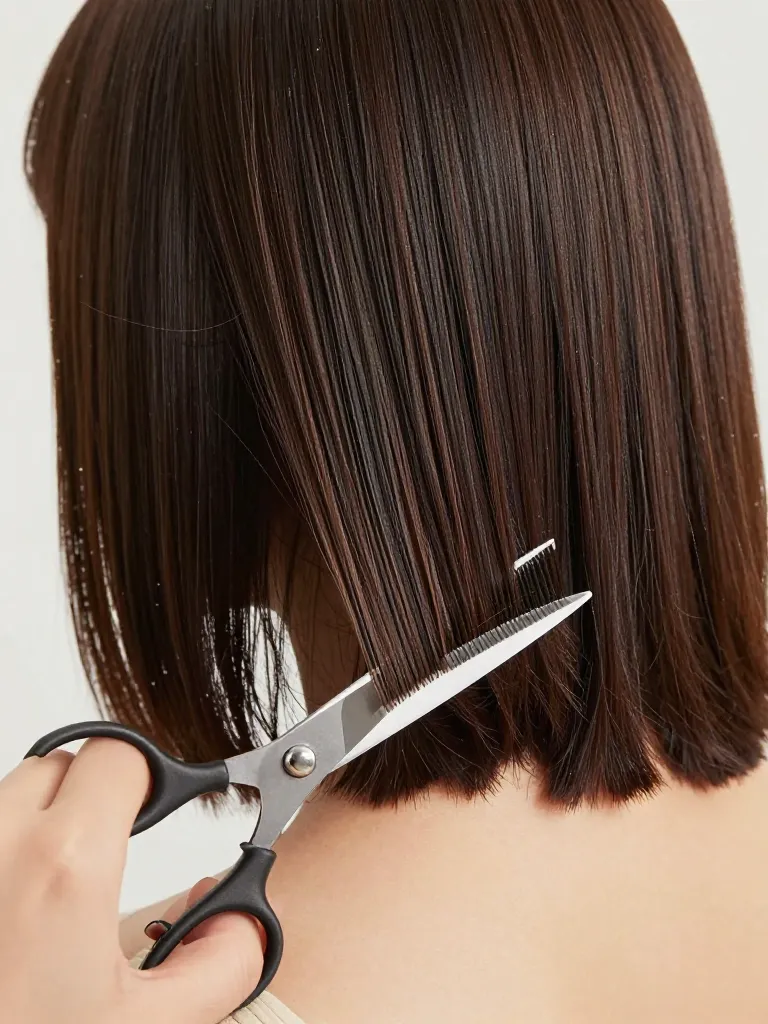
Comb all your hair straight down and part it in the center. Determine your base length — this is where the longest part of your hair will fall. For a shoulder-length cut, the base should hit between the collarbone and the middle of the shoulder. Hold a section of hair between your fingers at this length and cut straight across. This is your base guide. All layers will be shorter than this length.
Timing: 3 minutes
Prerequisites: Hair shears, Comb, Mirror
Step 2: Create the Layer Guide
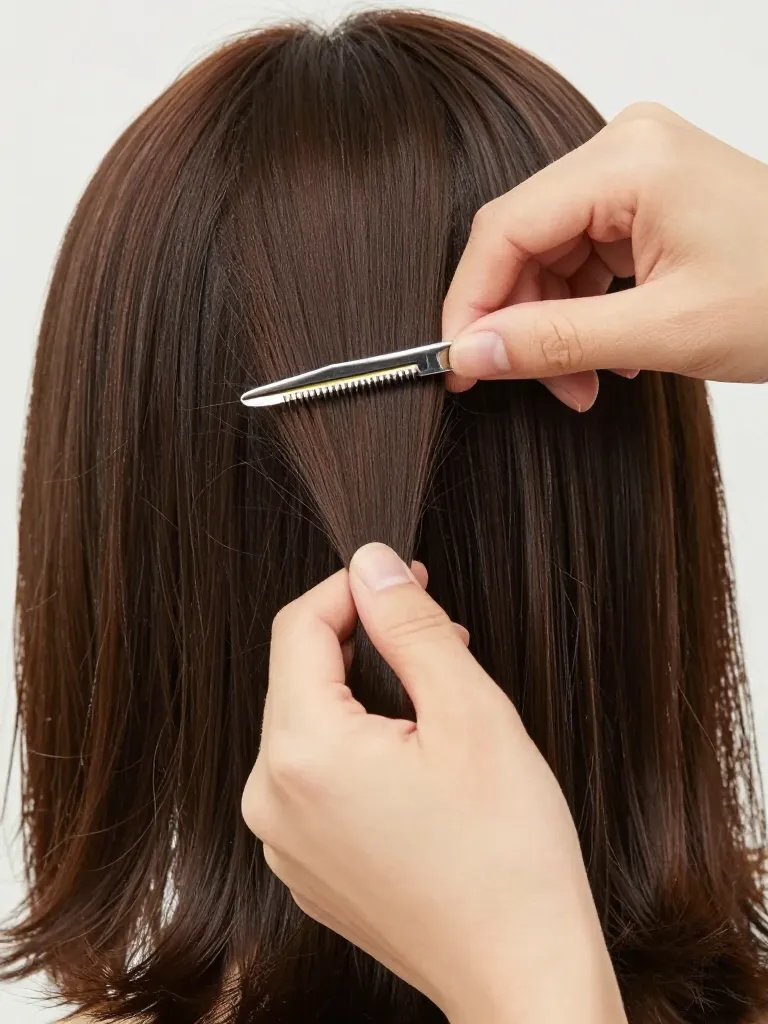
Part your hair at the crown — the highest point of your head. Pull a 2-inch-wide section straight up from the scalp. This is your layer guide. For a shoulder-length cut with subtle layers, cut this section 2-3 inches shorter than your base length. For medium layers, cut 3-4 inches shorter. For dramatic layers, cut 4-5 inches shorter. Cut straight across.
Timing: 2 minutes
Prerequisites: Rat-tail comb, Hair shears
Step 3: Cut the Crown Layers
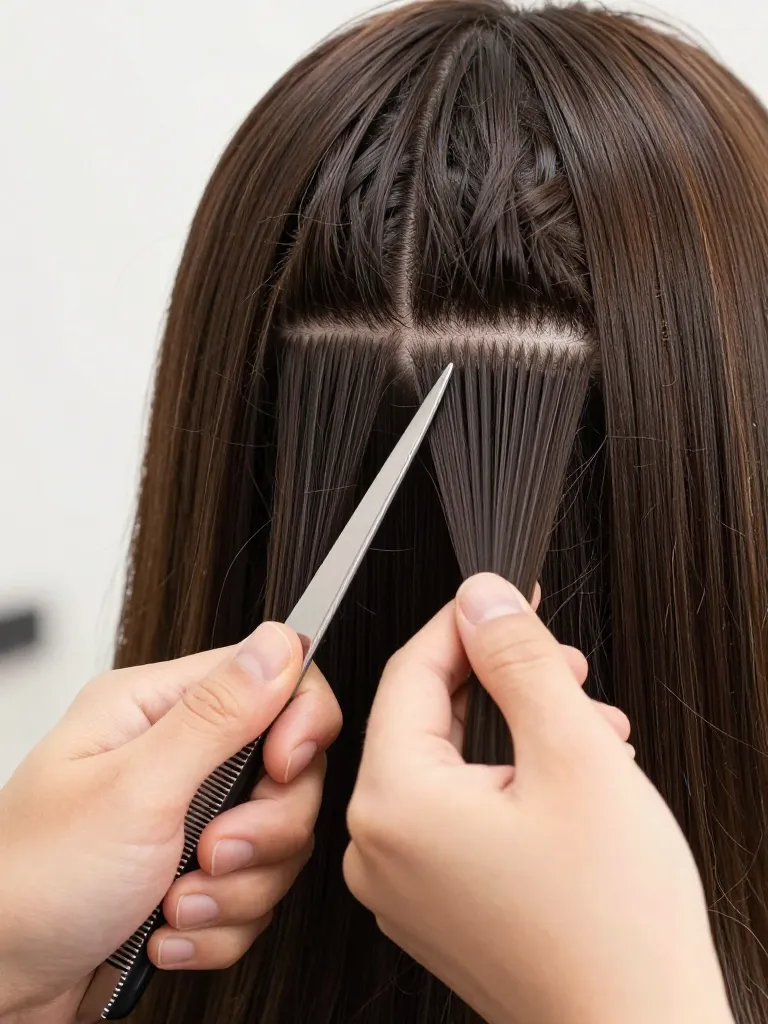
Working from the crown forward to the forehead, take 1/2-inch sections and pull each one straight up to the guide layer. Cut at the guide. Then work from the crown backward to the nape, doing the same thing — each section pulled up to the guide. As you move toward the nape, add 1/4 inch per section so the back is slightly longer. This creates a graduated crown that supports volume at the top.
Timing: 5 minutes
Prerequisites: Hair shears, Sectioning clips
Step 4: Blend the Layers
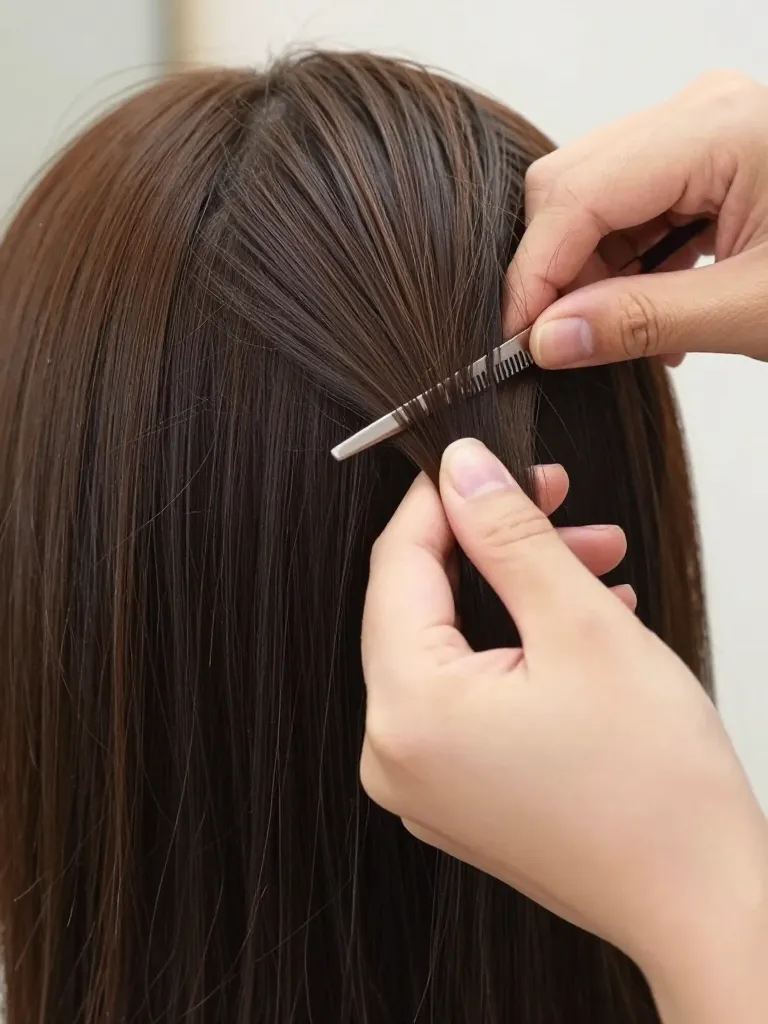
Release all the hair and let it fall. You’ll see the crown layers sitting on top of the longer base length. To blend, take a section that spans from a short crown layer to the long base. Hold the shears vertically and point-cut into the transition zone. Work around the entire head. The goal is a seamless gradient from the shortest crown layer to the longest base length — no visible lines, no harsh steps.
Timing: 8 minutes
Prerequisites: Hair shears
Step 5: Shape the Face Frame
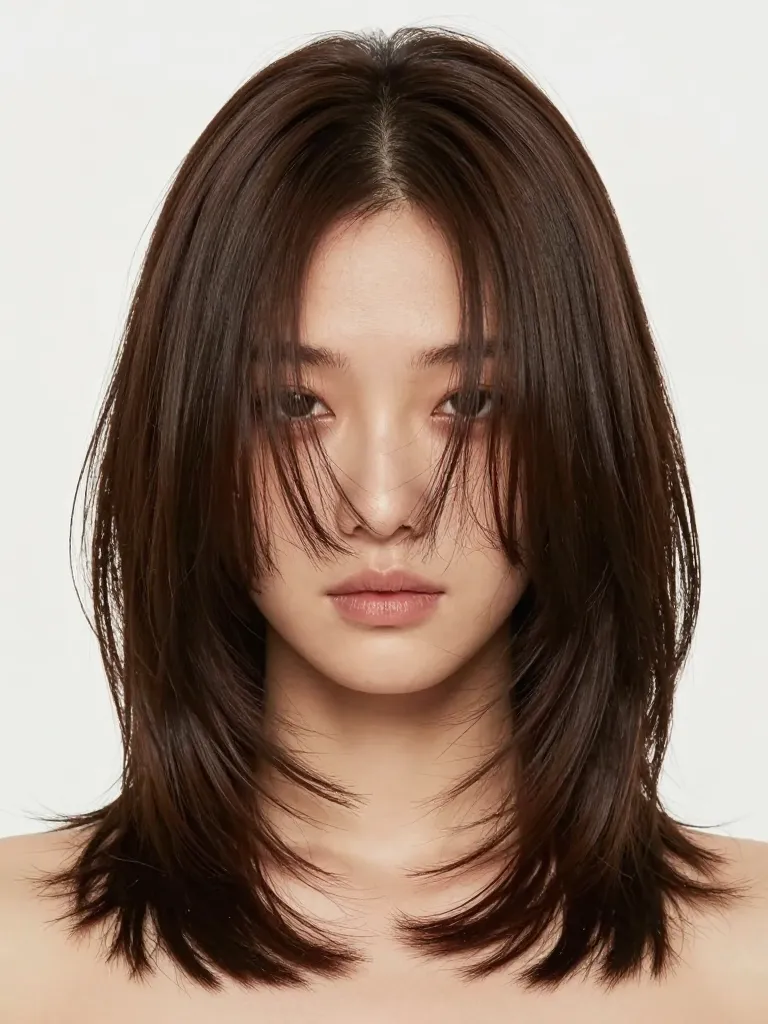
The final step is shaping the face-framing layers. Bring the front sections forward and check the shortest face-framing layer — it should hit between the chin and the jawline. If it’s too long, trim it to chin length. If it’s too short, skip this step and let it grow. Use point-cutting to soften the ends of the face-framing layers. The finished cut should have layers that cascade from the crown to the shoulders, with the face-framed front pieces creating a curtain effect.
Timing: 3 minutes
Prerequisites: Hair shears, Mirror
Safety Warnings
- Always use sharp hair shears. Dull scissors crush the hair shaft and cause split ends.
- Never cut curly hair while wet — it shrinks when dry and you’ll cut too short.
Why This Works
The shoulder-length layered cut works because the layers remove weight from the top while the base length maintains the shoulder-grazing silhouette. The crown layers create volume, the face-framing layers create a frame, and the base length provides the anchor. The result is a cut that’s low-maintenance but high-impact.
Pro Tips
- Growth strategy: Shoulder-length layers grow out gracefully — you can go 10-12 weeks between trims without the shape falling apart.
- Styling shortcut: Air-dry with a sea salt spray for effortless texture. The layers do the work — you just add the product.
- Volume trick: Flip your head forward and blow-dry the roots for 30 seconds. The layers will stand up and hold volume all day.
The shoulder-length layered cut is the most versatile haircut in the game. Long enough to pull back, short enough to style in minutes, and layered enough to have movement and dimension. Master the crown-guide technique and you’ll never need a salon for this cut again.
Shoulder length, layered right. The haircut that does everything.
