Mohawk Braid Styles: How to Build a Braided Mohawk From Cornrows
The mohawk silhouette without the commitment. Cornrows on the sides, volume on top.
You want a mohawk but you don’t want to shave your sides. Enter the mohawk braid — cornrows on the sides converging into a raised center ridge. The silhouette is aggressive. The execution is geometric. And you can undo it in ten minutes if you hate it.
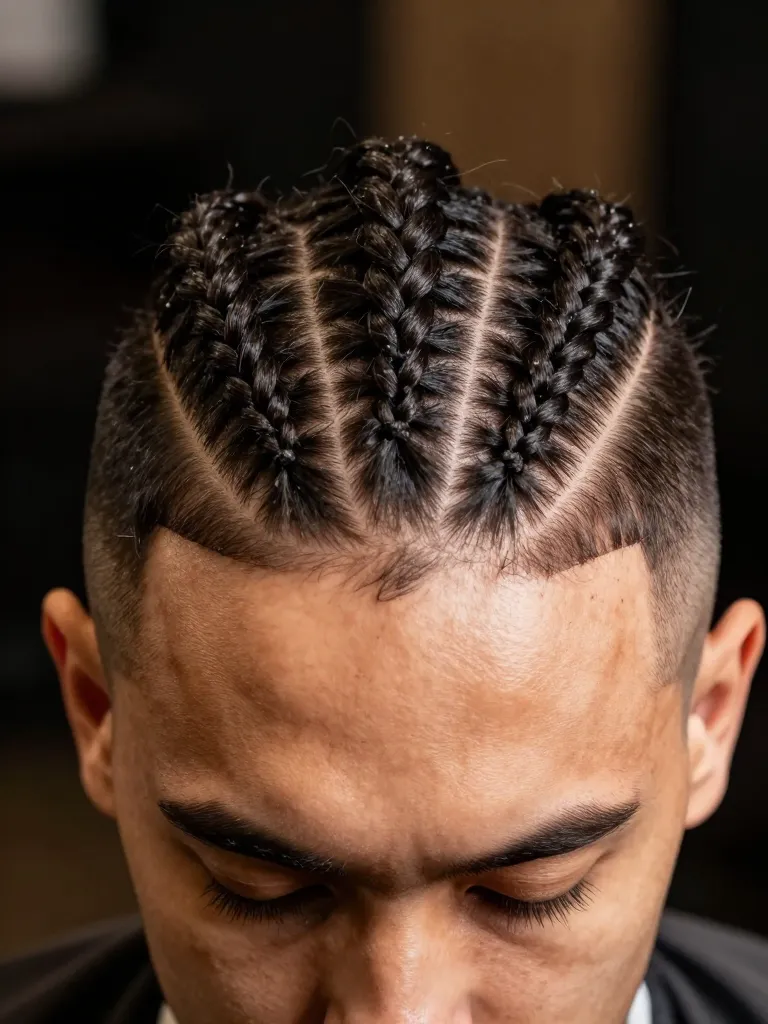
Step 1: Section the Head
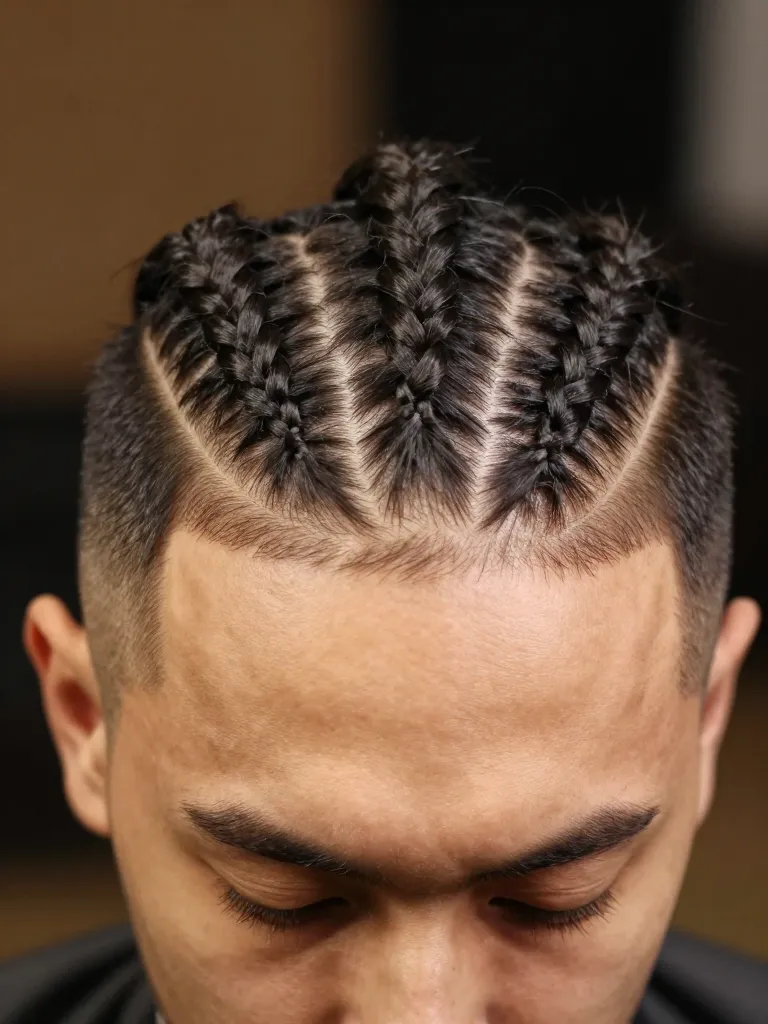
Use a rat-tail comb to create a center strip from forehead to nape, about 2-3 inches wide. This is your mohawk ridge — everything inside this strip will be braided upward or left as twists. Clip the center section out of the way. The sides (from the edge of the center strip to the ear) will be cornrowed flat against the scalp. The width of the center strip determines how dramatic the mohawk silhouette is — wider strip = more volume, narrower = more aggressive.
Step 2: Cornrow the Sides
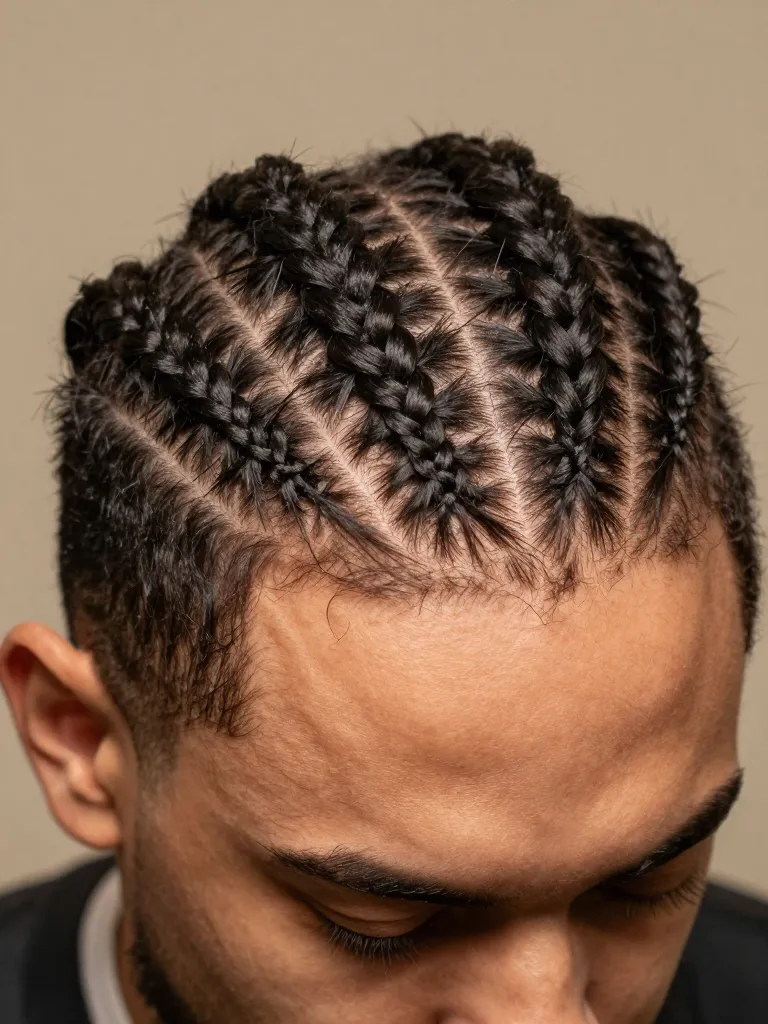
Starting with one side, create 2-4 parallel cornrows running from the temple to the nape. Each braid should be tight and flat against the scalp — this creates the ‘shaved’ illusion without actually cutting any hair. Braid each row straight back, keeping consistent tension. The braids should be close together with minimal scalp visible between them. Secure each braid with a small elastic. Repeat on the other side. The side braids need to be identical in number and placement — if you have 3 braids on the left, you need 3 on the right.
Step 3: Build the Center Ridge
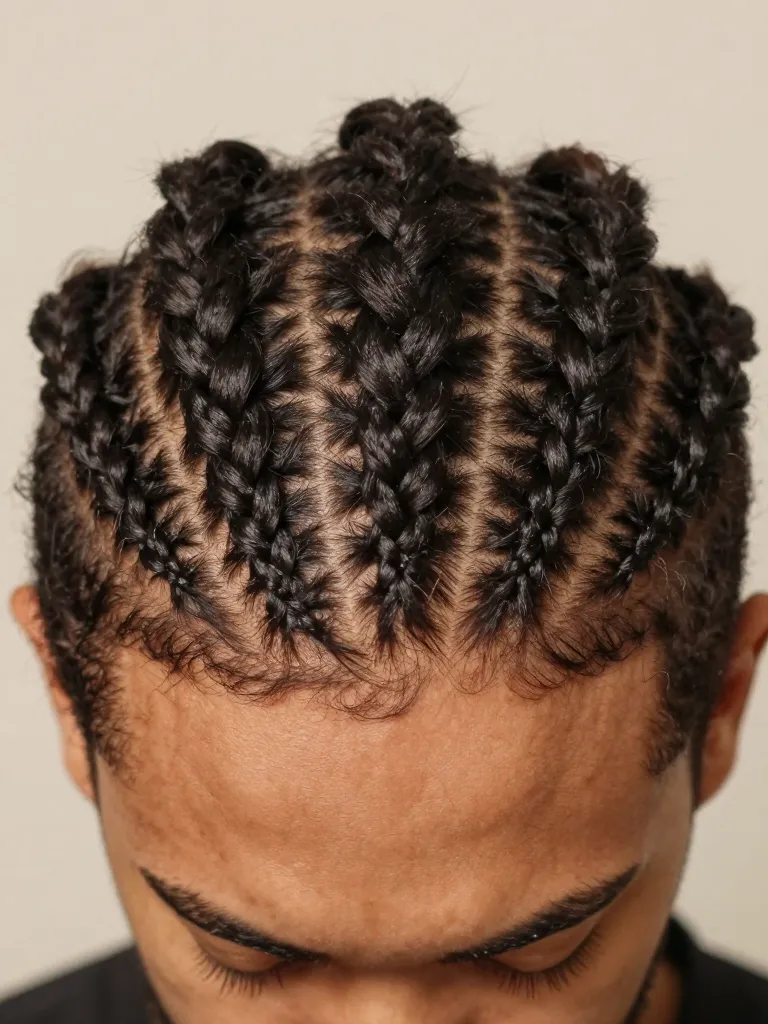
The center section is what makes this a mohawk. You have three options: (1) Flat twists — two-strand twists that lie against the scalp but are raised higher than the side braids. (2) Standing cornrows — braids that are loosely braided so they stand up naturally. (3) Free twists — two-strand twists that are picked out at the top for maximum volume. The most dramatic option is free twists with volume — you twist the center section, then use a pick to fluff the twists upward, creating a ridge that stands 2-3 inches off the head. For a cleaner look, flat twists running from forehead to nape create a structured ridge that reads as architectural rather than wild.
Step 4: Set and Define the Silhouette
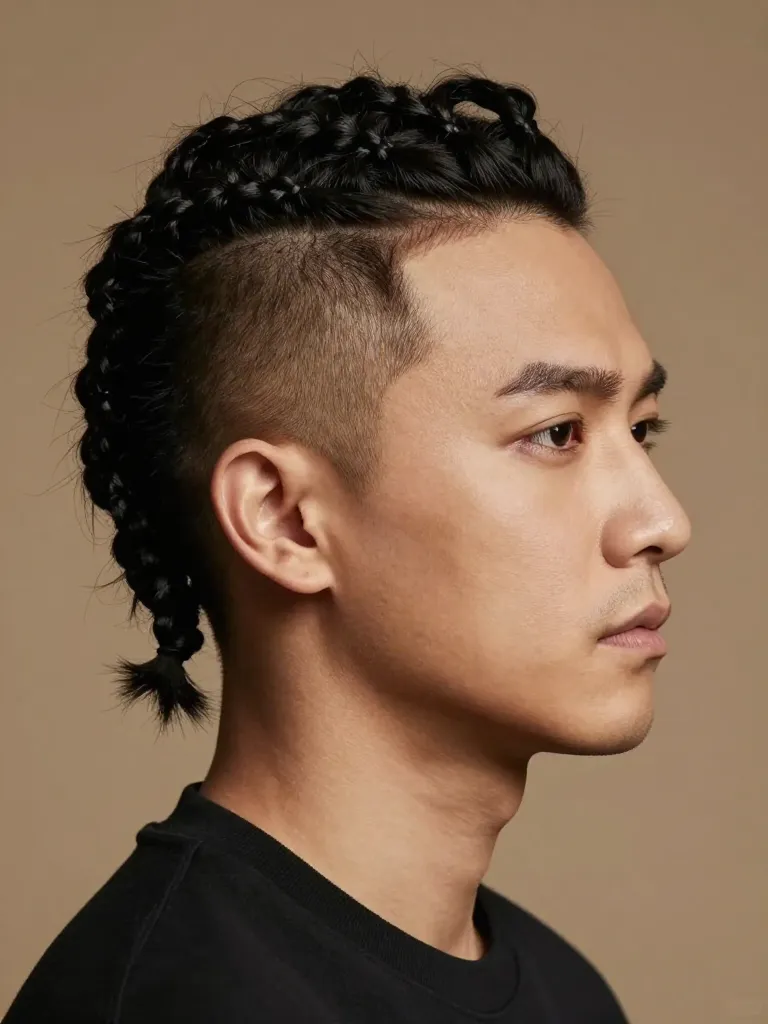
Check the silhouette from the side — you should see a clear contrast between the flat sides and the raised center. If the center isn’t standing high enough, use a hair pick to lift the roots. If the sides aren’t flat enough, re-braid with tighter tension. Apply a light hold spray to keep everything in place. The final look should read as a mohawk from the front and a geometric braid pattern from the back. Edge control along the hairline keeps the front looking surgical.
Safety Warnings
- Don’t braid too tight at the hairline — tension alopecia is real and permanent
- If your scalp throbs within 30 minutes of braiding, take the braids out and redo with less tension
Pro Tips
- Hair length: Minimum 3 inches on top, 2 inches on sides for the braids to hold
- Maintenance: Re-braid every 5-7 days; the center ridge loses volume faster than the sides
- Product: Edge control on the hairline, light hold spray on the center — nothing heavy
The mohawk braid is the ultimate commitment-free statement. Cornrows on the sides, architecture on top. No clippers. No razors. No regret. Just geometry built on your skull.
Flat sides. Raised center. Zero clippers needed.
