How to Get the Mid Taper Fade at Home: The Complete Step-by-Step Guide
The fade that balances precision and maintenance. Here’s how to do it yourself.
The mid taper fade sits between the subtle lower taper and the dramatic skin fade. It starts at the temples and fades down to the neckline — high enough to create visual impact, low enough to grow out gracefully. Getting it at a barber costs $30-50 every 3 weeks. Getting it at home costs nothing after the initial tool investment. Here’s how to do it right.
Step 1: Gather Your Tools
⏱ 5 minutes
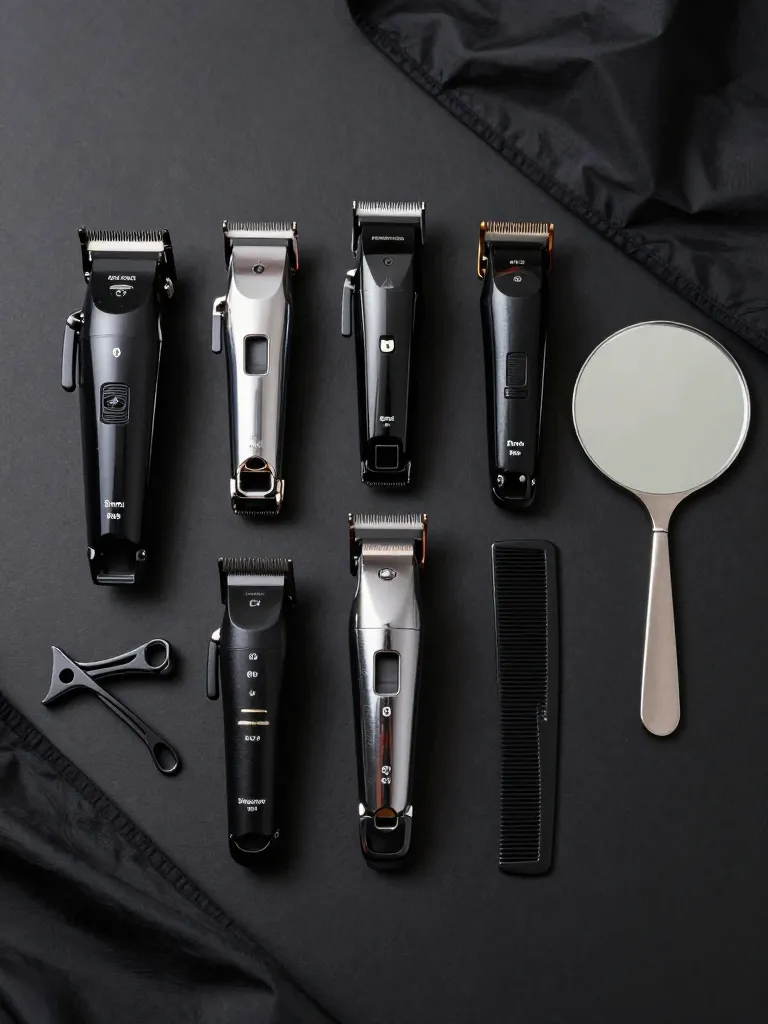
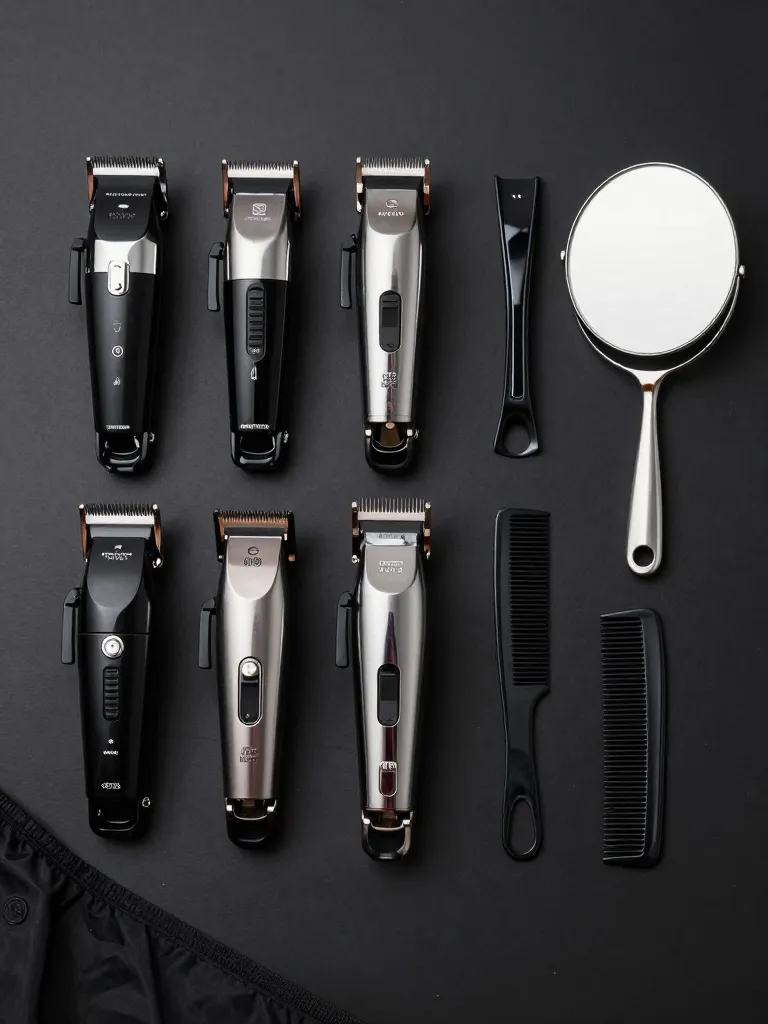
You need professional-grade clippers (not the $15 drugstore kind), a trimmer for detail work, guards #0 through #4, a handheld mirror, a comb, and clips. The clippers are the most important investment — cheap clippers pull hair and create uneven fades. Budget $40-80 for a solid pair that will last years.
- Professional clippers (Wahl, Andis, or Oster)
- Guard set #0-#4
- Trimmer for edges
- Handheld mirror
- Comb and clips
Step 2: Establish the Fade Line
⏱ 5 minutes
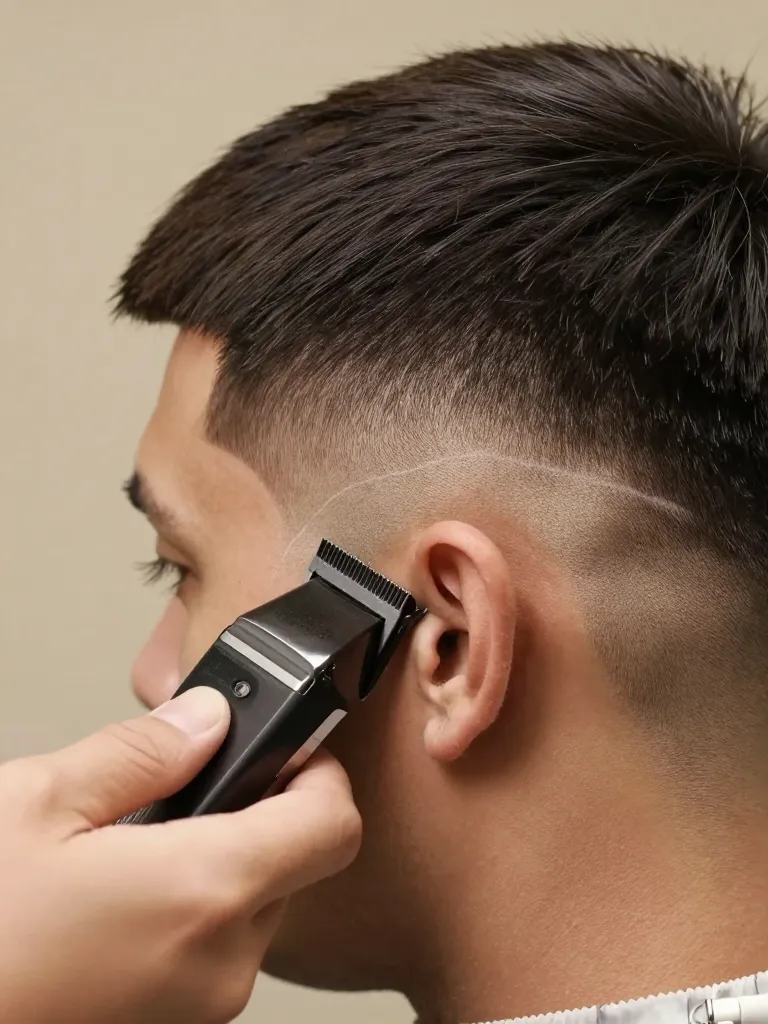
The fade line is where your taper starts — for a mid taper, this is at the temples, roughly level with the top of your ears. Use your clippers WITHOUT a guard (or with a #0 guard) to create a thin guideline around the head at this height. This line is your reference point — everything below it gets progressively shorter toward the neckline, and everything above it stays at natural length. The key is consistency: the line should be the same height all the way around the head. Use the handheld mirror to check the back.
- Step 1 complete
Step 3: Create the Gradient Below the Line
⏱ 15 minutes
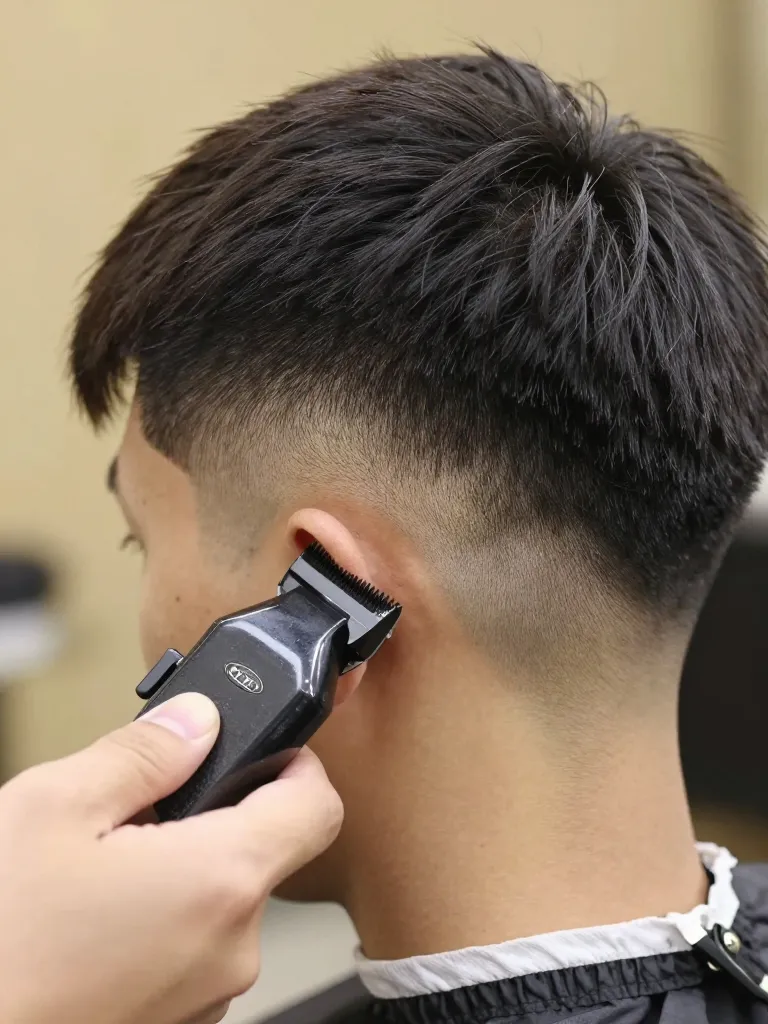
This is the technical part. Below the fade line, you’re creating a gradient from short (at the neckline) to medium (at the fade line). Start with a #1 guard at the neckline and work up to the fade line using a scooping or flicking motion — this creates the gradual transition rather than a hard line. Then switch to a #2 guard and go halfway up, blending into the #1 area. Finally, use a #3 guard in the upper third to blend everything together. The key technique: don’t push the clippers straight into the hair. Use a scooping motion — start flat against the head, then gradually open the blade as you move upward. This creates the fade effect.
- Step 2 complete
- Guard set ready
Step 4: Clean the Neckline and Sideburns
⏱ 5 minutes
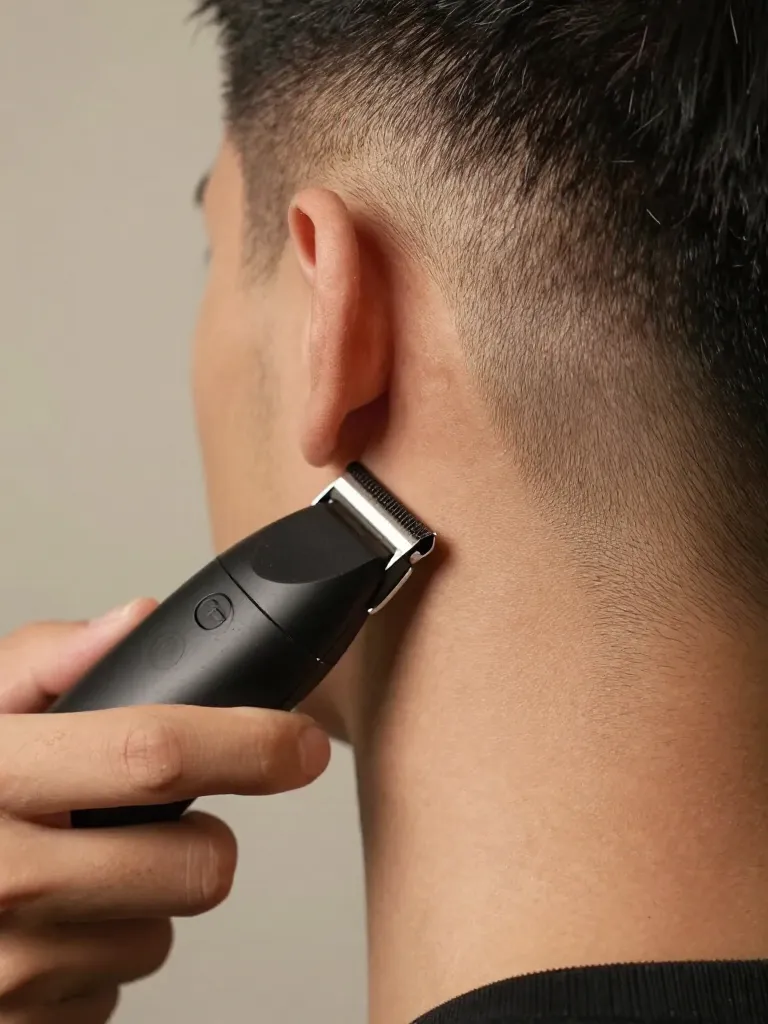
Use your trimmer (not clippers) to create a crisp edge at the neckline and sideburns. For the neckline, follow the natural hairline — don’t go too high or you’ll create an unnatural look. Use the trimmer to create a clean line, then taper the area just above it by flicking outward. For the sideburns, create a straight edge at the same height on both sides. The sideburns should be tapered to skin at the very bottom and blend into the fade line above. Check symmetry with the handheld mirror.
- Step 3 complete
Step 5: Blend and Refine
⏱ 5 minutes
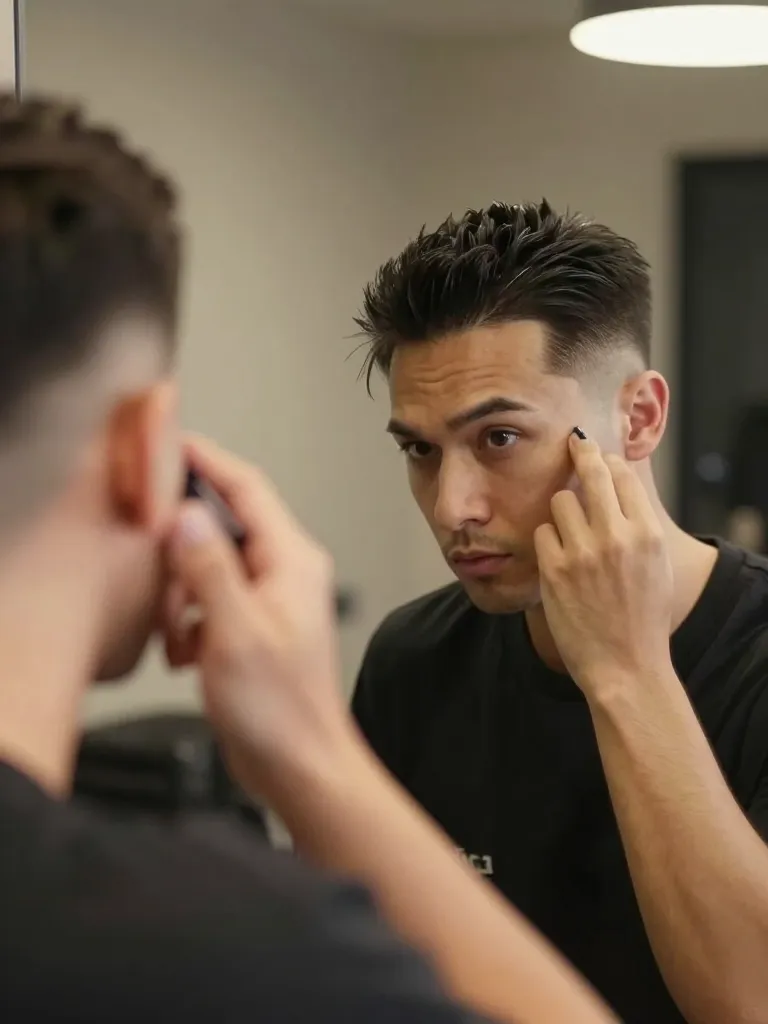
Run your fingers over the fade to feel for any hard lines or uneven spots. If you feel a ridge, use the next guard size up and a light flicking motion to blend it out. Check the back with the handheld mirror — the most common mistake is leaving the back uneven because you can’t see it. Style the top as desired. The mid taper fade works with virtually any top style — textured crop, quiff, pompadour, or natural. Finish with a light hold product for a natural look or a stronger pomade for a polished finish.
- Step 4 complete
Safety Warnings
- Never use clippers on wet hair — they cut differently when wet and the results won’t match your dry-hair reference.
- If you cut yourself with the trimmer, clean the wound and wait for it to heal before continuing.
Why This Works: The mid taper fade works because it uses the same gradient principle as a skin fade but applies it to a smaller area. By starting at the temples instead of the entire side, you get the clean look of a fade without the maintenance commitment. The gradient is created by overlapping guard lengths — each guard blends into the one below it, creating a seamless transition that the eye reads as a smooth gradient rather than stepped lines.
Pro Tips
The mid taper fade is the sweet spot between ‘just a haircut’ and ‘full fade commitment.’ It’s visible enough to make a difference, subtle enough to grow out gracefully, and technical enough to impress anyone who knows what they’re looking at. Do it yourself once, and you’ll never go back to paying $40 for a 15-minute barber visit.
Grab your clippers. Start low. Blend up. You’ve got this.
