The Male Haircut: A Barber’s Guide to the Fundamentals
Understanding the fundamentals makes you a better client — or a better self-barber.
Every man gets haircuts. Most men don’t understand them. They sit in the barber’s chair, say ‘the usual,’ and walk out without understanding what just happened to their head. But understanding the fundamentals of a male haircut — the guard system, the sectioning, the blending, the finishing — makes you a better client (you can communicate what you want) or a better self-barber (you can do it yourself). This guide breaks down the male haircut into its fundamental components: what each step does, why it matters, and how the pieces fit together into a complete system.
Step 1: Understand the Clipper Guard System
Timing: N/A — knowledge step
Prerequisites: Clipper guard set (#1-#8)
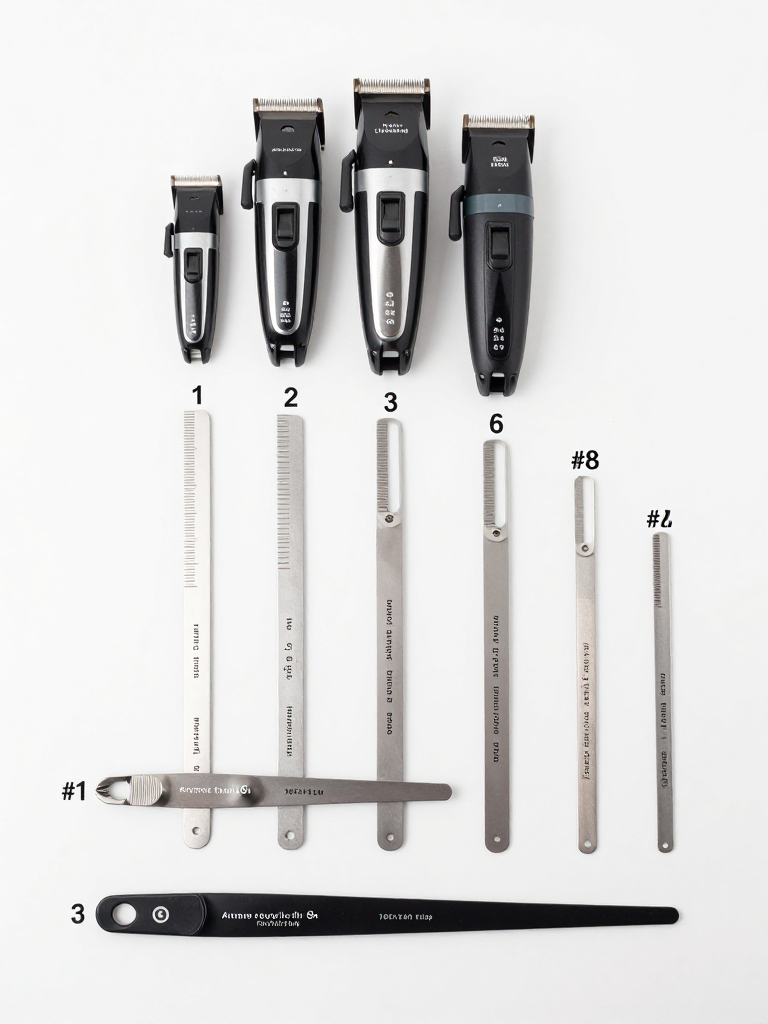
The clipper guard system is the foundation of every male haircut. Each guard number corresponds to a specific length: #1 is 1/8 inch (3mm), #2 is 1/4 inch (6mm), #3 is 3/8 inch (10mm), #4 is 1/2 inch (13mm), #5 is 5/8 inch (16mm), #6 is 3/4 inch (19mm), #7 is 7/8 inch (22mm), and #8 is 1 inch (25mm). Understanding this system is critical because it’s how barbers communicate length. When a barber says ‘fade from a #2 to a #4,’ they mean the hair transitions from 1/4 inch at the bottom to 1/2 inch at the top. The guard system is also how you maintain your own hair — knowing which guards correspond to which lengths lets you recreate a haircut at home without guessing.
Step 2: Learn the Four Zones of a Male Head
Timing: N/A — knowledge step
Prerequisites: Mirror, Understanding of clipper guards
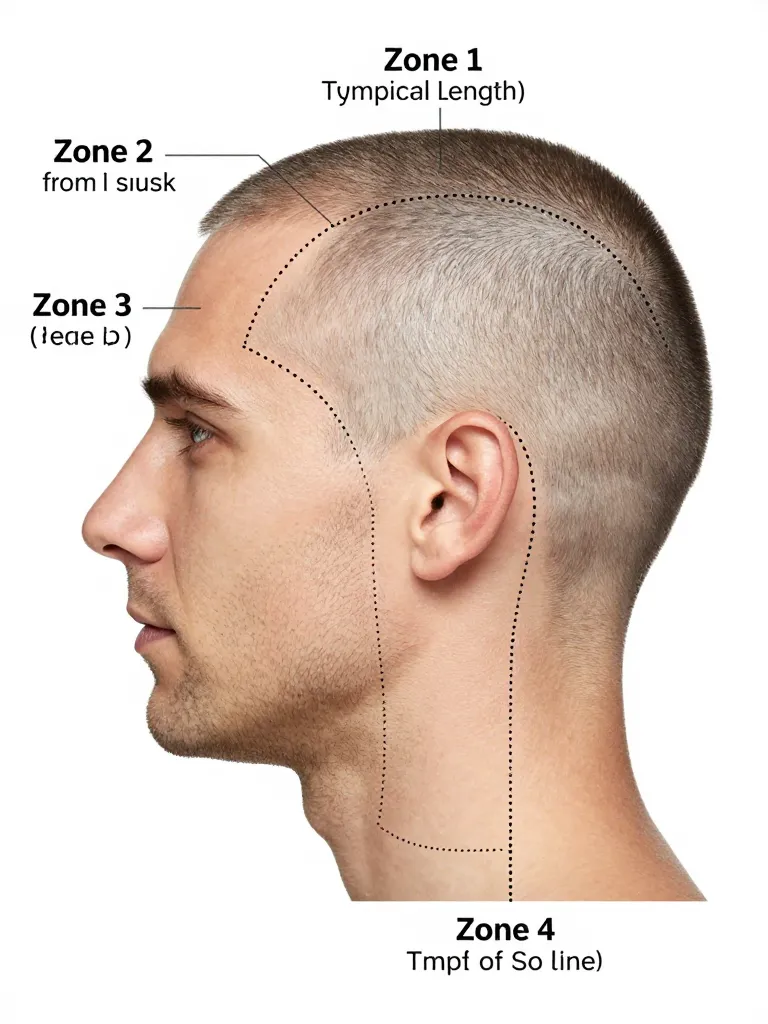
Every male head has four distinct zones, and each zone has different length requirements. Zone 1 (top) runs from the crown to the forehead — this is where the longest hair lives, typically 2-5 inches. Zone 2 (sides) runs from the temple to the ear — this is where the fade or graduation happens, typically 1-3 inches. Zone 3 (back) runs from the crown to the nape — this is the transition zone, typically 1-4 inches. Zone 4 (neckline) is the lowest edge — this is typically 1/4 to 1/2 inch. Understanding these zones is critical because each zone is cut differently. The top is cut with shears for layering and texture. The sides are cut with clippers for graduation and fade. The back is a blend of both. The neckline is cleaned up with a trimmer. Each zone has its own tools, techniques, and length requirements.
Step 3: Master the Sectioning and Parting System
Timing: 5-10 minutes for sectioning
Prerequisites: Rat-tail comb, Sectioning clips, Mirror
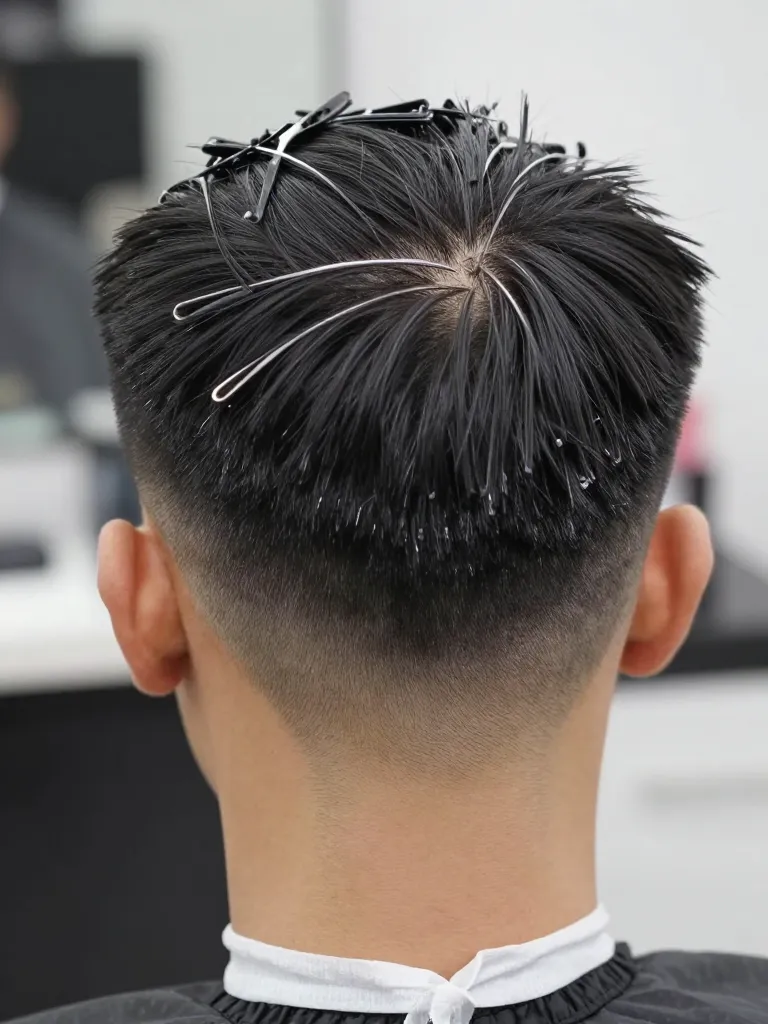
Sectioning is the framework that holds a haircut together. Without it, you’re cutting blind. The three primary part lines are: the crown part (ear to ear through the highest point on the back of the head), the side parts (temple to crown on each side, creating the top section), and the nape part (ear to ear at the nape, creating the neckline section). The crown part is the most important — it separates the top (longer) from the sides and back (shorter). The side parts define the top section’s width. The nape part defines where the neckline starts. Clip each section after parting to keep it out of the way. Cut one section at a time, starting with the sides and back, then the top, then the neckline. This systematic approach ensures consistency and prevents the common DIY mistake of cutting randomly.
Step 4: Blend the Zones with Guard Progression and Shear Work
Timing: 15-20 minutes
Prerequisites: Clippers with guards, Sharp shears, Comb, Handheld mirror
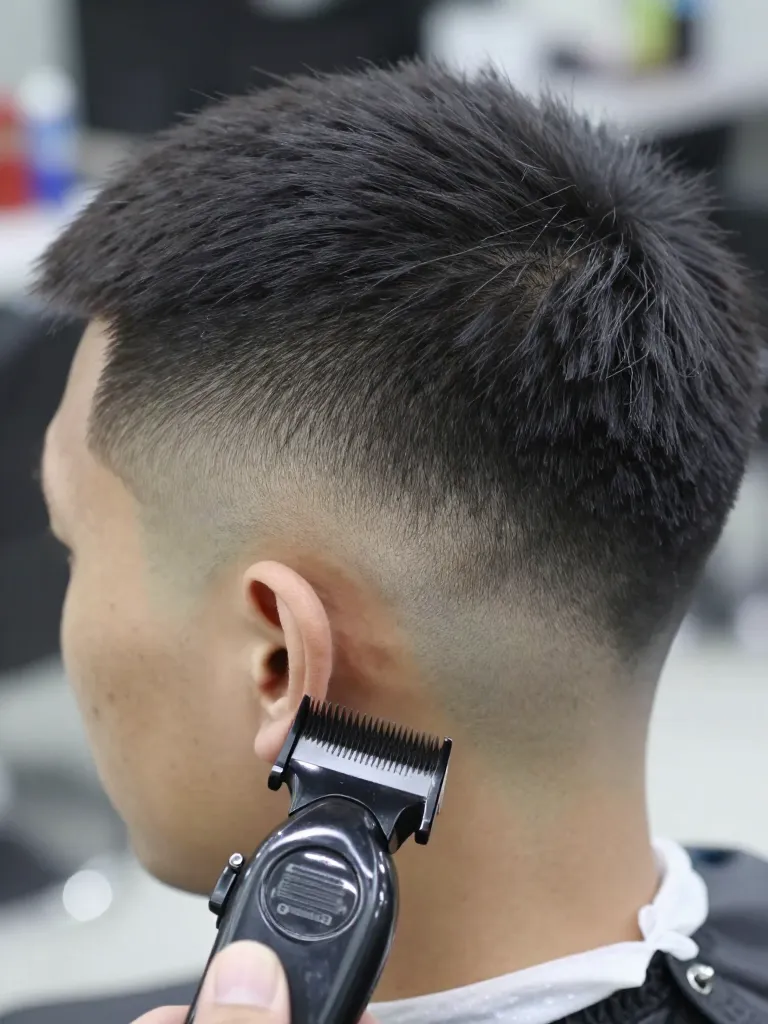
Blending is the most technical part of a male haircut — and the part that separates a good haircut from a bad one. The zones must transition seamlessly: no visible line where short meets long. The sides are blended using clipper guard progression: start with a shorter guard at the bottom, switch to a longer guard halfway up, and use a scooping motion at the end of each pass to soften the transition. The top is blended into the sides using shear work: take horizontal sections along the transition line, hold them at a 45-degree angle, and point-cut into the ends. The angle of your fingers determines the blend: steeper angle = more gradual blend. Check the blend with the handheld mirror from multiple angles — the transition should be invisible from all directions.
Step 5: Finish with Neckline, Sideburns, and Detail Work
Timing: 5-10 minutes
Prerequisites: Trimmer or straight razor, Handheld mirror
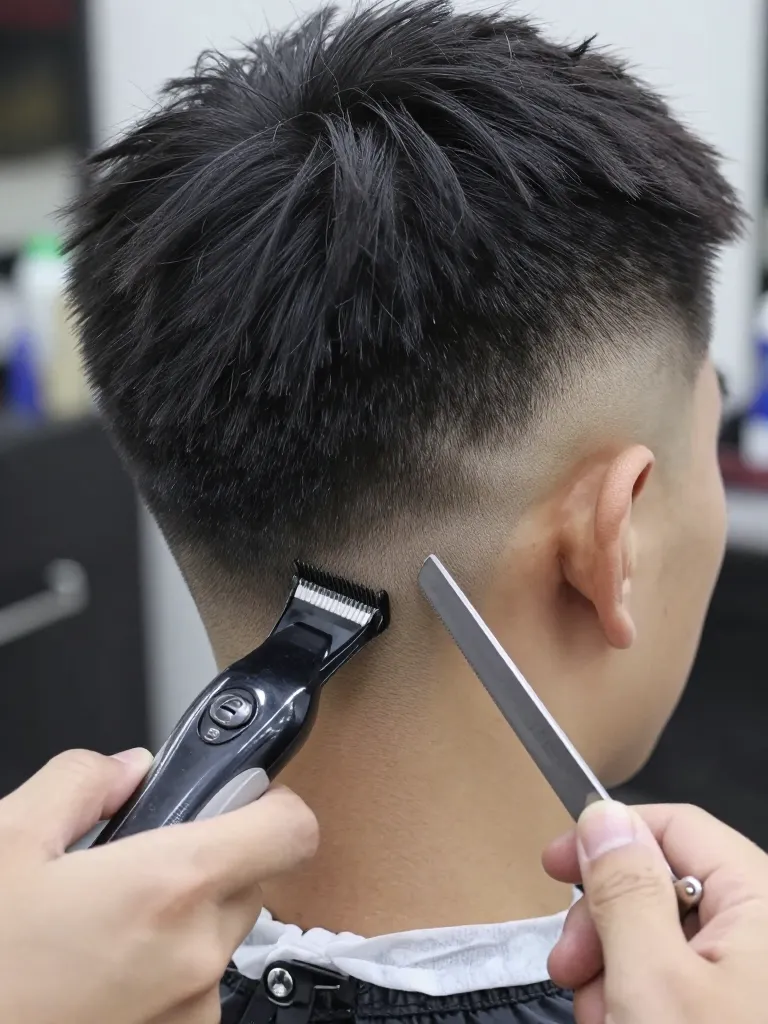
The finishing details — neckline, sideburns, and edge work — are what separate a DIY haircut from a professional one. The neckline should follow a U-shape that sits at the natural crease where your neck meets your skull. Don’t go too high — the neckline should be low enough to look natural. The sideburns should end at the middle of your ear — higher looks severe, lower looks dated. The edges should be defined with a straight razor or trimmer, creating crisp lines at the hairline, around the ears, and at the neckline. These details take 5-10 minutes but make a 20-minute difference in the final result. A haircut with clean finishing looks intentional. A haircut without it looks like you stopped halfway.
Safety Notes
- Always start with longer guards than your target — you can go shorter, but you can’t add hair back
- Use sharp shears for blending — dull shears crush the cuticle and create split ends
- If you nick the skin during edge work, apply a styptic pencil immediately
Pro Tips
- Learn the guard numbers: Guard-to-length conversion is the language of men’s haircuts — memorize it
- Section before cutting: Cutting without sectioning is the #1 cause of uneven DIY haircuts
- Blend with the scooping motion: Straight clipper passes create visible lines — scooping softens the transition
- Don’t skip the finishing: Neckline, sideburns, and edges take 5 minutes but make a 20-minute difference
- Check symmetry from all angles: Use the handheld mirror after every step — asymmetry is more visible than you think
- Invest in good tools: A $30 pair of shears and a quality clipper set outperform cheap tools every time
Understanding the fundamentals of a male haircut doesn’t just make you a better self-barber — it makes you a better client. You can communicate what you want in the barber’s language. You can understand why your barber does what they do. You can spot problems before they become mistakes. The fundamentals — guard system, zones, sectioning, blending, finishing — are the foundation of every good haircut. Master them, and you’ll never have a bad haircut again.
Know the system. Own the result. ✂️
