Long Layer: How to Understand and Choose the Right Layer Length
Not all long layers are the same. The distance between your shortest and longest layer determines everything — volume, movement, and how much styling you’ll need to do.
When someone says ‘I want long layers,’ they could mean a dozen different things. A 2-inch layer difference creates subtle movement. A 6-inch difference creates dramatic cascading. A 10-inch difference is basically a shag. The ‘long layer’ isn’t one cut — it’s a spectrum, and where you land on that spectrum determines how your hair behaves every single day.
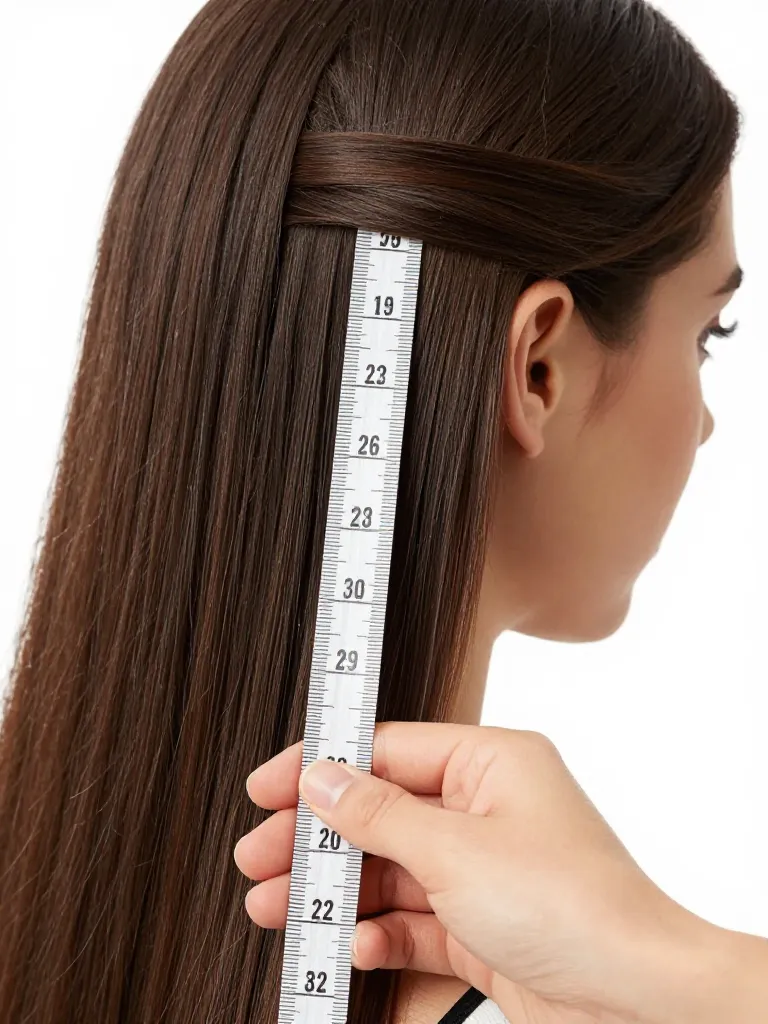
Step 1: Measure Your Current Length

Before you can choose a layer depth, you need to know your starting point. Pull a section of hair straight down from the crown and measure from the scalp to the ends. This is your total length. Write it down. The layer depth you choose will be a percentage of this total length. For example, if your hair is 20 inches long and you want 2-inch layers, your shortest layer will be 18 inches. If you want 6-inch layers, your shortest layer will be 14 inches.
Timing: 2 minutes
Prerequisites: Tape measure or ruler, Mirror
Step 2: Choose Your Layer Depth
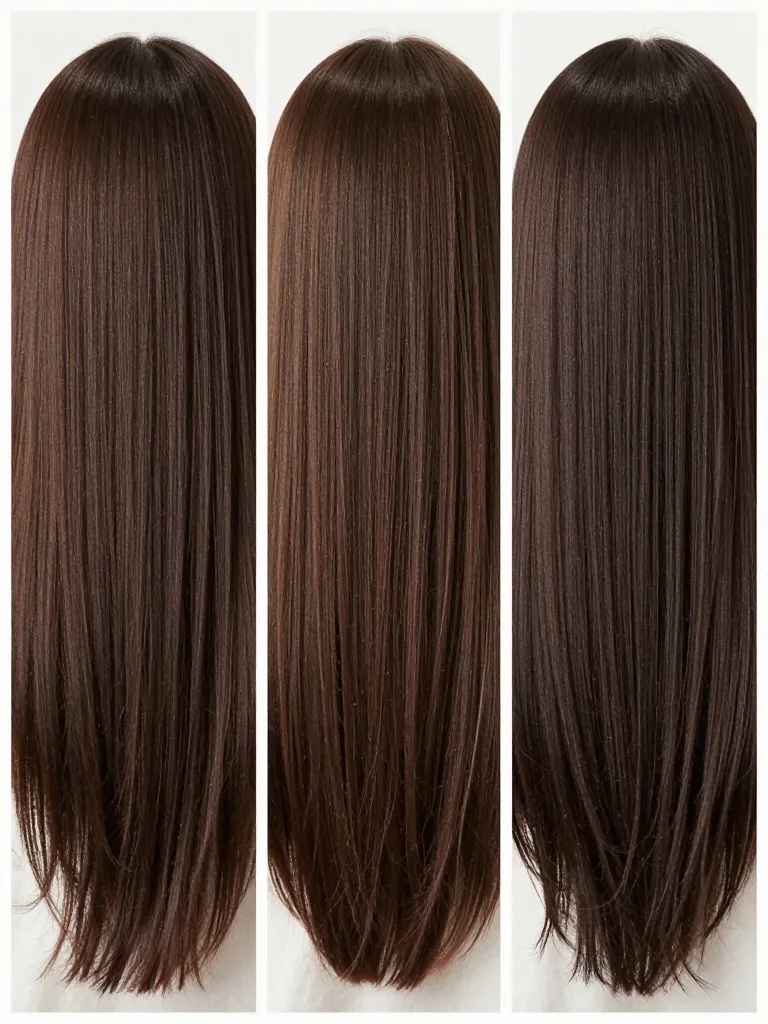
Layer depth is the distance between your shortest crown layer and your longest end layer. Here’s the spectrum: Subtle layers (1-2 inches) add slight movement without changing the silhouette. Medium layers (3-4 inches) create visible cascading and volume at the crown. Dramatic layers (5-6 inches) create a shag-like effect with significant volume. Extreme layers (7+ inches) are a mullet-shag hybrid — bold and rock-and-roll. For most people, 3-4 inches is the sweet spot — enough movement to notice, not so much that the bottom looks stringy.
Timing: 3 minutes
Prerequisites: Mirror
Step 3: Determine Your Face-Shape Adjustment

Your face shape affects where your shortest layer should start. Round faces need layers that start above the chin to add vertical length. Oval faces can start layers anywhere — they’re the universal face shape. Heart-shaped faces need layers that start at the chin to balance a wider forehead. Square faces need layers that start below the jaw to soften the angles. Oblong faces need layers that start at cheekbone width to add horizontal volume.
Timing: 2 minutes
Prerequisites: Mirror
Step 4: Mark Your Cutting Guide
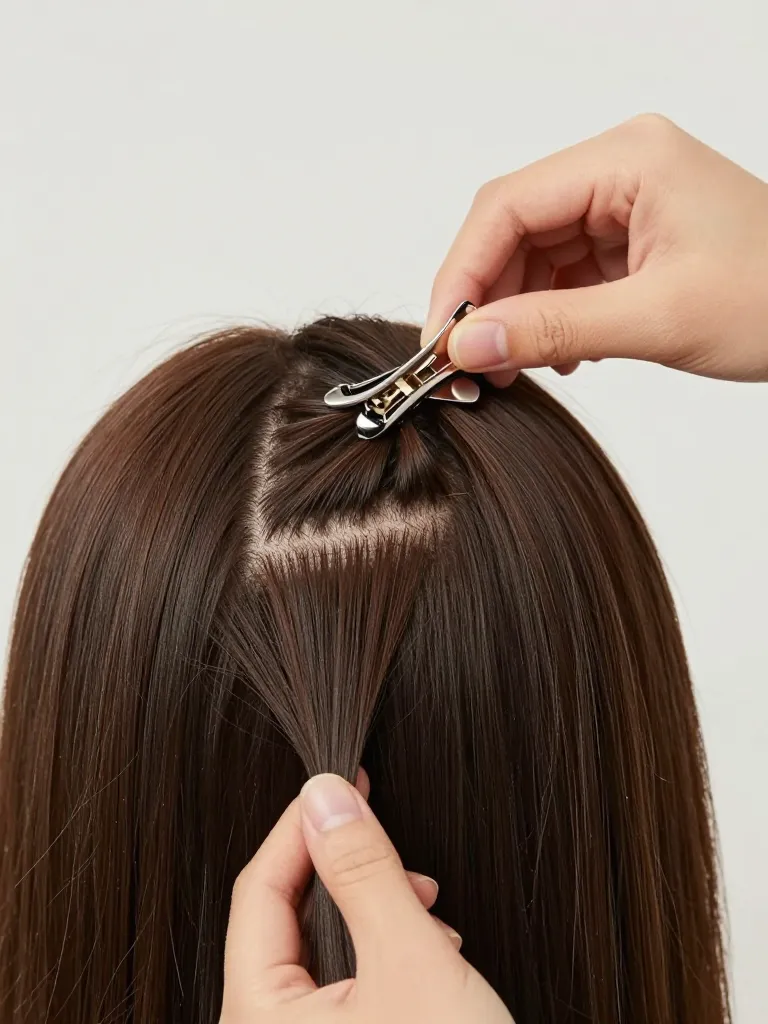
Gather the crown section of your hair and pull it straight up. Measure from the scalp to your chosen layer depth — subtract your layer depth from your total length. Place a clip at that exact point. This is your cutting guide. When you cut, you’ll cut at the clip. This ensures every layer is proportional to your total length and your face shape.
Timing: 2 minutes
Prerequisites: Sectioning clips, Tape measure
Step 5: Cut and Verify the Cascade
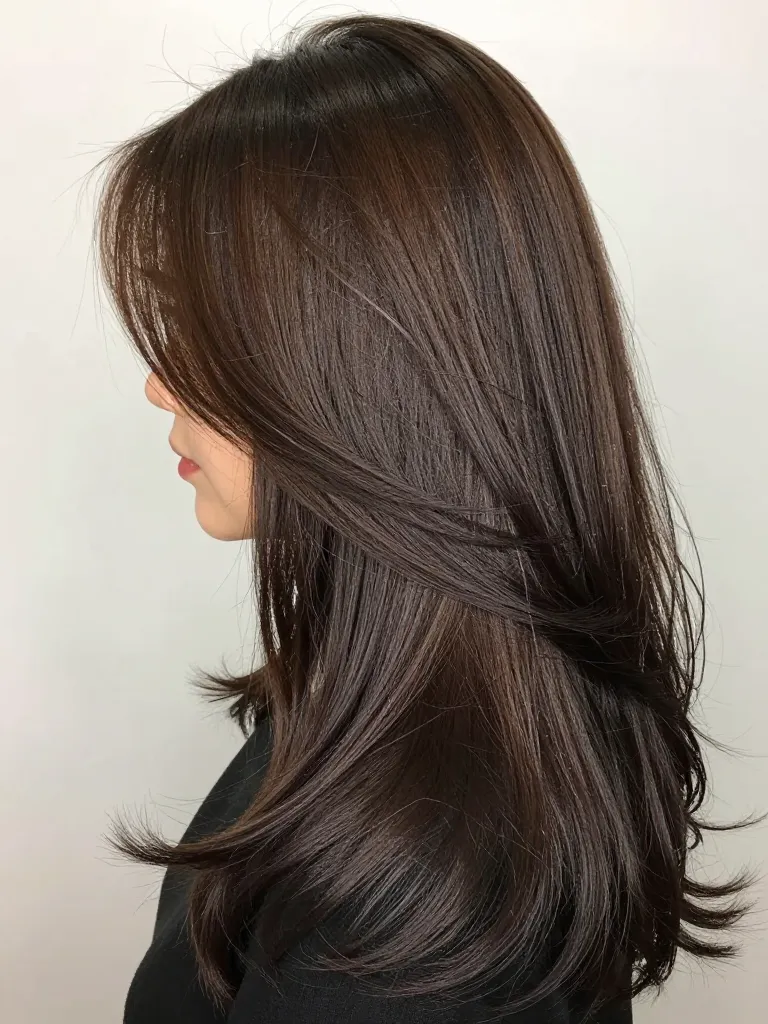
Cut at the clip mark using the long layers haircut technique (crown guide method). After cutting, shake your head and let the hair fall naturally. The layers should cascade from the shortest crown piece to the longest end, creating a gradual slope. If the cascade looks too steep, your layers are too short — trim the crown guide by 1/2 inch. If the cascade is too subtle, your layers are too long — trim another inch off the crown guide.
Timing: 5 minutes
Prerequisites: Hair shears, Mirror
Safety Warnings
- Always use sharp hair shears. Dull scissors crush the hair shaft and cause split ends.
- Never cut curly hair while wet — it shrinks when dry and you’ll cut too short.
Why This Works
Understanding layer depth gives you control over your haircut’s behavior. A 2-inch layer moves subtly. A 6-inch layer cascades dramatically. Choosing the right depth for your hair type and face shape ensures the layers enhance your features rather than fight them.
Pro Tips
- Hair density matters: Thin hair needs shorter layers (1-3 inches) for volume. Thick hair can handle longer layers (4-6 inches) without looking flat.
- Texture matters: Straight hair shows layers more visibly than wavy or curly hair. If you have wavy hair, add 1 inch to your target depth to account for wave shrinkage.
- Growth plan: If you’re growing your hair out, choose a layer depth that will grow out gracefully — 2-3 inch layers maintain shape for 12+ weeks.
The long layer isn’t a single cut — it’s a decision. How deep you go determines whether your hair moves subtly or cascades dramatically. Measure your length, choose your depth, adjust for your face shape, and cut with confidence.
Know your numbers. Own your layers.
