How to Create Boho Braids: The Complete Step-by-Step Tutorial
The hardest part of boho braids isn’t the braiding. It’s the unbraiding.
Boho braids look like you rolled out of bed, grabbed your hair, twisted it, and walked out the door. They don’t look ‘done.’ They don’t look ‘styled.’ They look like your hair just naturally falls into these gorgeous, textured, face-framing braided arrangements on its own. That’s the illusion. The reality is that boho braids require more precision than clean braids — because when every imperfection is visible, every imperfection has to be intentional. A messy braid that looks accidental is much harder than a clean braid that looks deliberate. This tutorial covers the fishtail side braid — the most versatile boho braid that works for festivals, dates, weddings, and ‘I need to look like I tried without looking like I tried’ days.
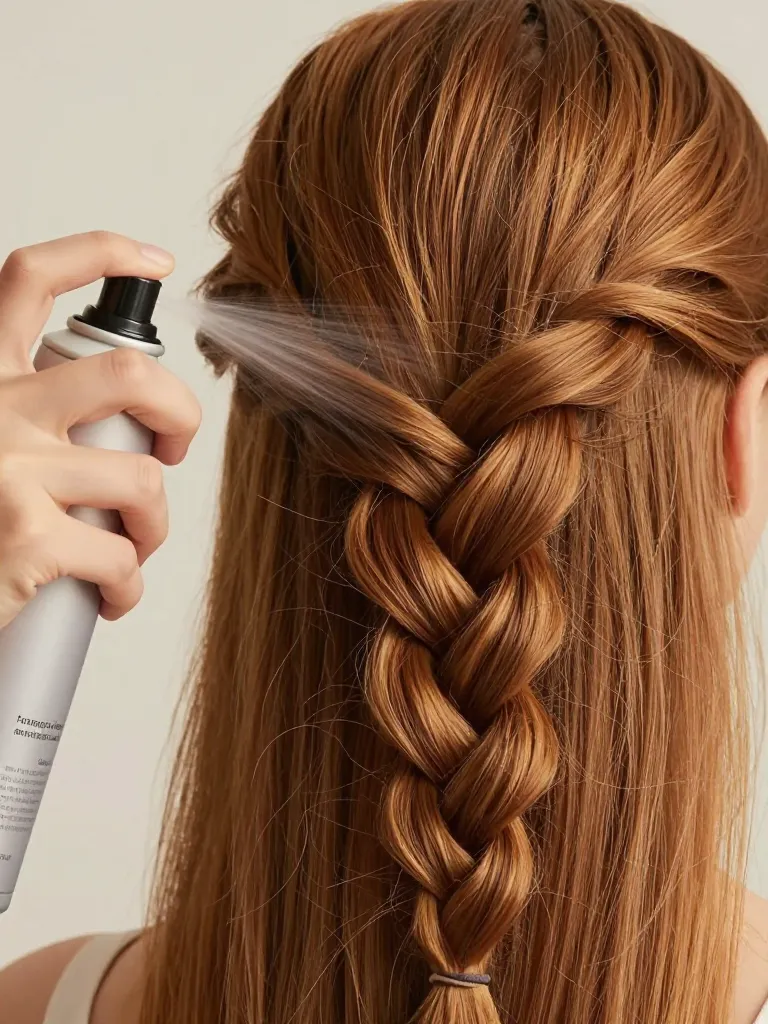
Step 1: Prep the Texture Foundation
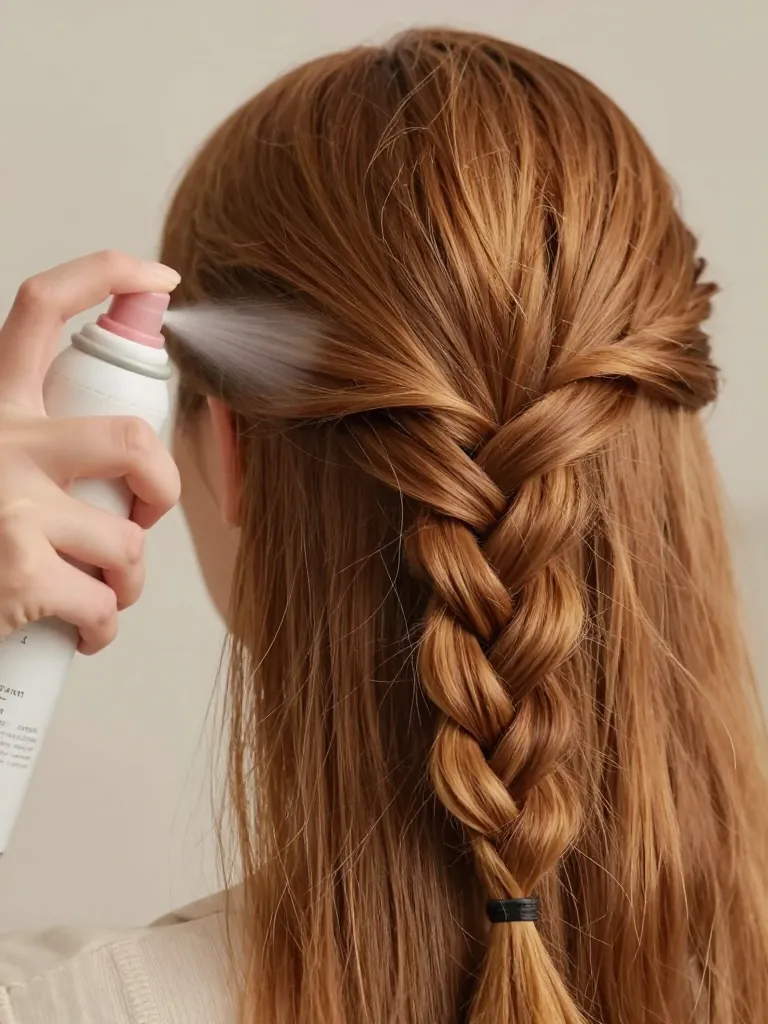
Boho braids fail on clean, silky hair — there’s nothing for the braid to grip, and the sections slide apart before you finish. Start with second-day hair (ideal) or freshly washed hair that’s been prepped with texturizing spray. Spray the texturizing product from roots to ends, working in horizontal sections. Scrunch the hair with your hands to distribute the product and create volume. If your hair is very straight or very fine, add a light mist of sea salt spray and let it air-dry for 10 minutes — the salt creates the grit and wave that boho braids need. The hair should feel slightly rough to the touch, not slippery.
Step 2: Section and Position the Braid
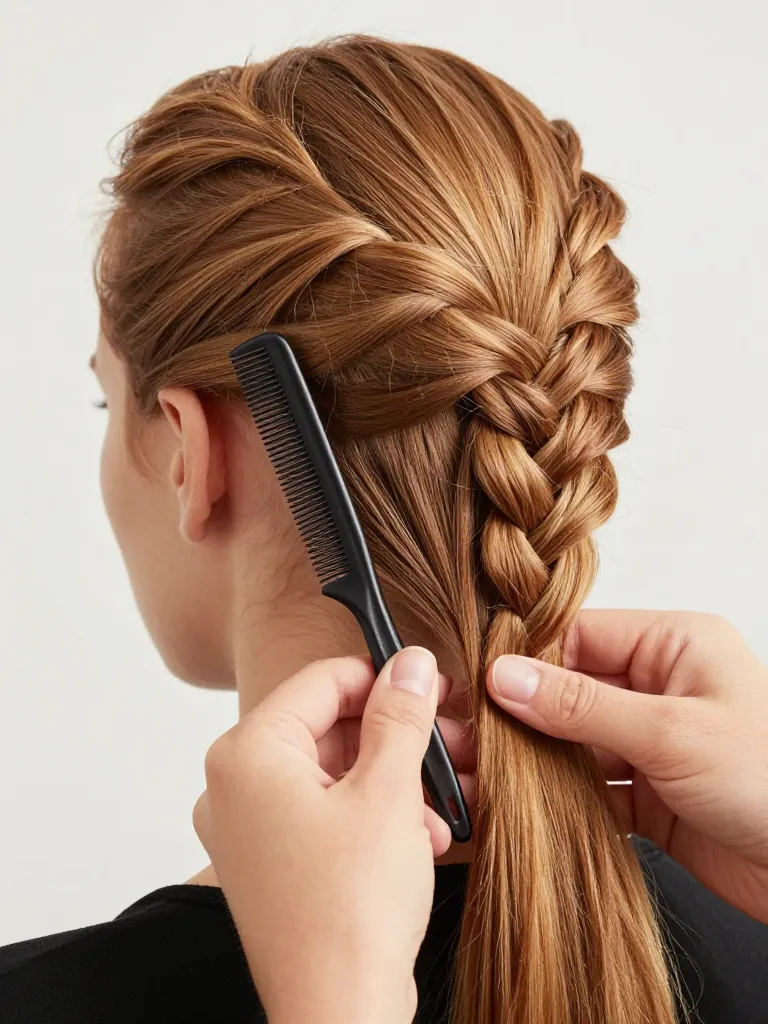
The side placement is what makes this a boho braid instead of a standard fishtail. Sweep all hair to one side — left or right, depending on which shoulder you want the braid to drape over. Using a rat-tail comb, create a deep side part that extends from the temple to the nape. This part creates the asymmetry that gives boho braids their character. Divide the hair into two equal sections — this is the fishtail foundation. Hold one section in each hand.
Step 3: Execute the Fishtail Braid
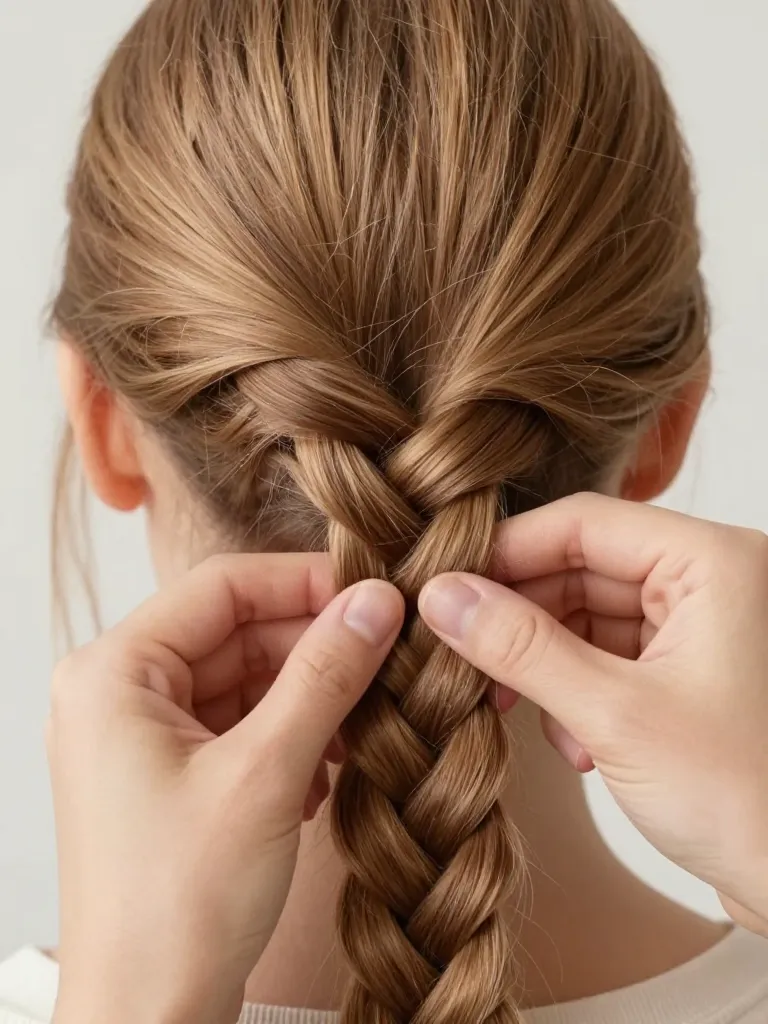
The fishtail braid looks complex but uses the simplest braiding mechanic: two sections, small transfers. Take a thin piece (about half-inch) from the outer edge of the right section. Cross it over to the inside of the left section. Now take a thin piece from the outer edge of the left section. Cross it over to the inside of the right section. Repeat, alternating sides. The key to a boho fishtail is consistency of piece size — not perfection. Continue braiding until you reach about 3 inches from the ends, then secure with a clear elastic. Don’t tighten the braid — keep it loose enough that you can see daylight between the stitches.
Step 4: Pull Apart for Boho Texture
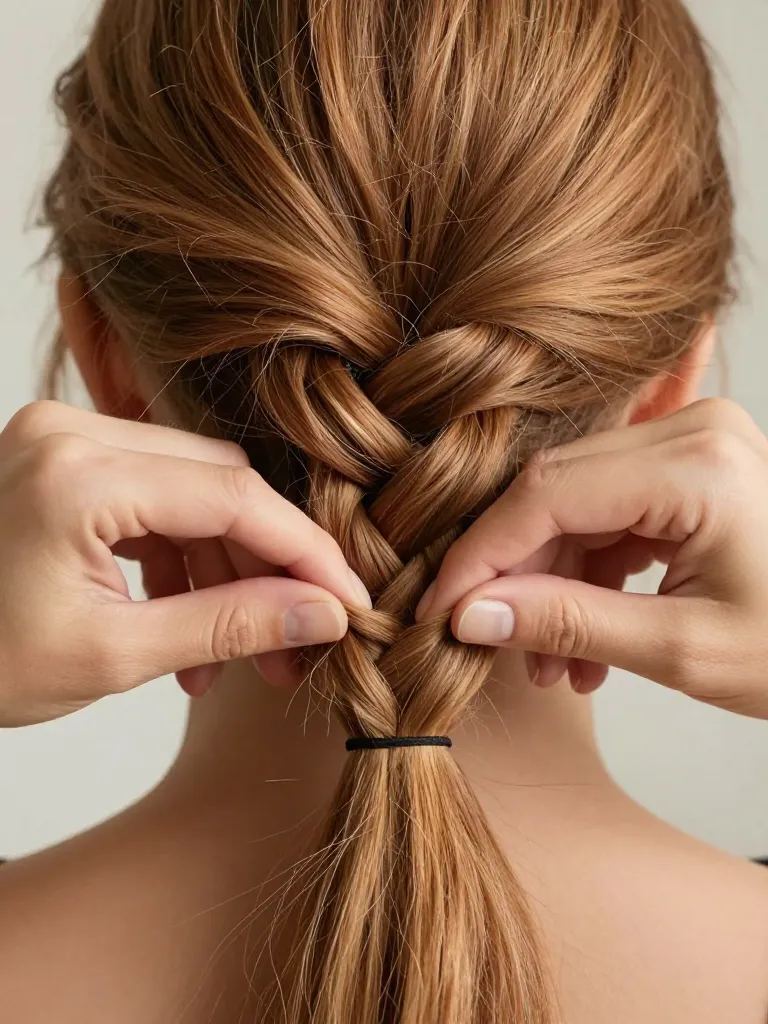
This is the step that transforms a standard fishtail into a boho braid. Starting from the bottom of the braid, pinch the outer edge of each stitch between your thumb and forefinger. Gently tug outward, pulling the stitch wider and flatter. Work your way up, making each stitch progressively wider — the bottom should be the widest, the top should be slightly tighter. Don’t pull too hard — you want to widen the stitches, not unravel them. The braid should now look twice as wide as when you started, with visible irregularity and texture.
Step 5: Frame the Face and Finish
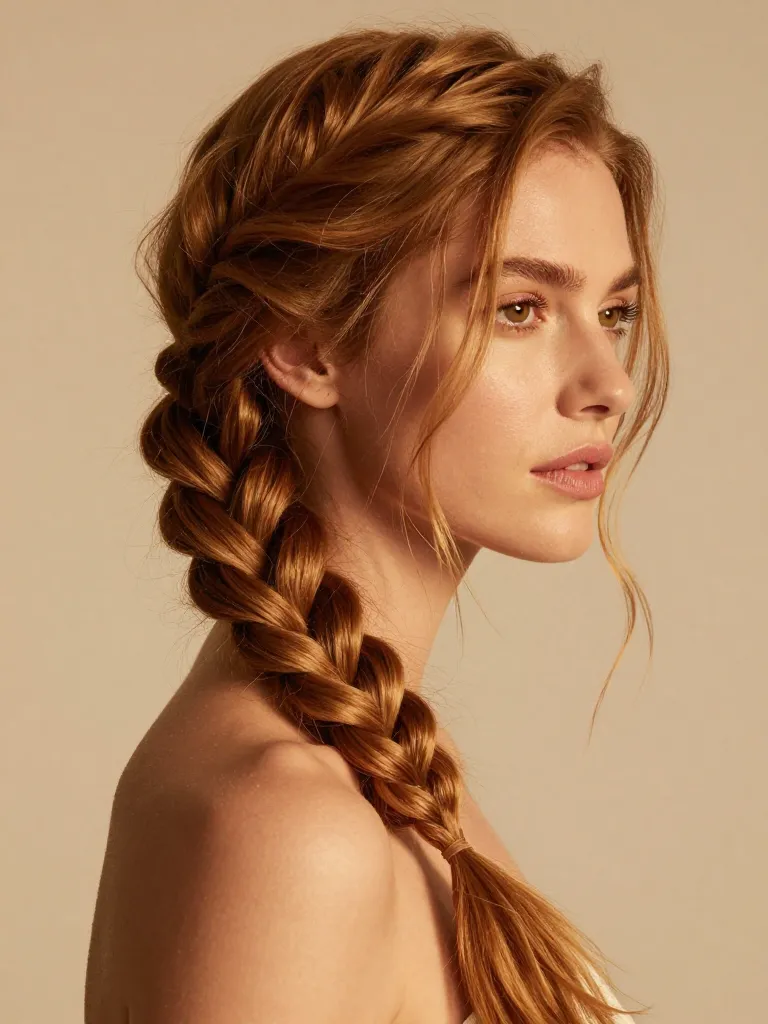
The face-framing is what separates a boho braid from a messy braid. Using the pointed end of a rat-tail comb, gently pull 4-6 small sections loose from the braid — two at each temple, one or two near the cheeks. These tendrils should be thin (pencil-width) and curly — if your hair is straight, wrap them around your finger and let them set for a moment. Then, use your fingers to pull 2-3 small sections loose from inside the braid itself, near the top — these create the ‘halo’ effect of baby hairs and flyaways. Finally, mist the entire braid with flexible-hold hairspray from about 12 inches away.
- Don’t pull braids too tight at the hairline — tension on the front hairline causes traction alopecia over time
- If your scalp hurts while braiding, the tension is too high — loosen immediately
- Avoid braiding wet hair into tight styles — wet hair stretches and breaks more easily than dry hair
Why This Works
Boho braids work because they exploit a visual paradox: the brain reads ‘imperfect’ as ‘natural’ and ‘natural’ as ‘beautiful.’ A perfectly uniform braid looks constructed — it signals effort, which creates distance between the viewer and the style. A braid with visible irregularity, loose tendrils, and organic texture looks like it happened naturally, which creates intimacy. The texture prep (sea salt spray, texturizing product) creates the grip that makes the braid hold its loose shape without sliding apart. The fishtail structure provides the visual complexity that reads as ‘intricate’ even though the technique is simpler than a three-strand braid. The pulling-apart step converts a tight, structured braid into a wide, organic texture that mimics naturally tangled hair.
Pro Tips
Related Articles
The boho fishtail braid is a masterclass in controlled chaos. Every step is deliberate — the texture prep, the loose braiding, the pulling apart, the face-framing — but the final result should look like none of it happened. That’s the skill. That’s the art. Anyone can braid hair tightly. It takes real technique to braid it loosely and have it hold, look intentional, and survive a full day without unraveling into a actual mess.
Messy on purpose. Beautiful by design. That’s the whole trick. 🌿
