Hair Extensions Before and After: What Your Stylist Isn’t Telling You
The transformations are real. The damage can be too. Here’s what actually happens.
Hair extensions before and after photos are everywhere — Instagram, TikTok, salon websites. The transformations look incredible: thin, flat hair becomes voluminous, waist-length waves in under two hours. But what those photos don’t show is the maintenance schedule, the cost over time, the potential damage to your natural hair, and the learning curve of living with extensions. This guide covers the real before and after — what extensions actually do to your hair, how they look at different stages, and which types deliver the most dramatic transformation with the least damage.
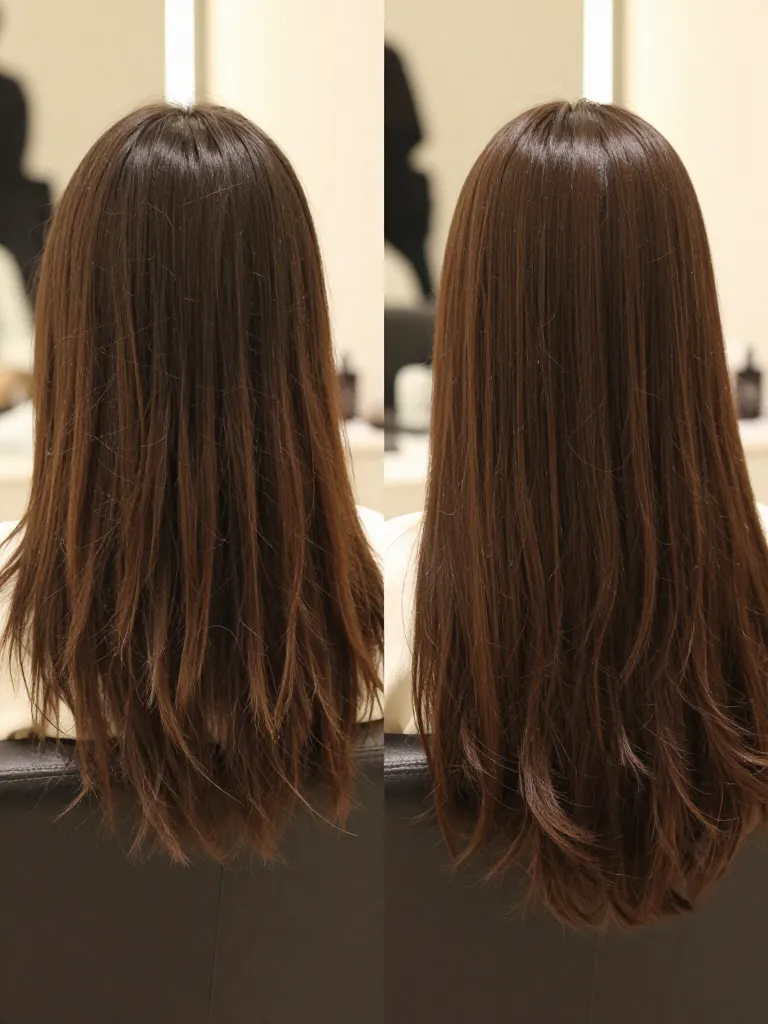
1. Tape-In Extensions: The Subtle Transformation
Tape-in extensions are the most natural-looking extension method. Thin wefts of hair are sandwiched between your natural hair using medical-grade adhesive tape. The before and after is noticeable but not shocking — tape-ins add volume and 4-6 inches of length, creating the ‘I woke up with great hair’ effect rather than the ‘I obviously got extensions’ look. The adhesive lasts 6-8 weeks before needing to be re-taped. The biggest before/after factor is volume: women with fine, flat hair see the most dramatic transformation because tape-ins add density without bulk.
2. Clip-In Extensions: The Temporary Before and After
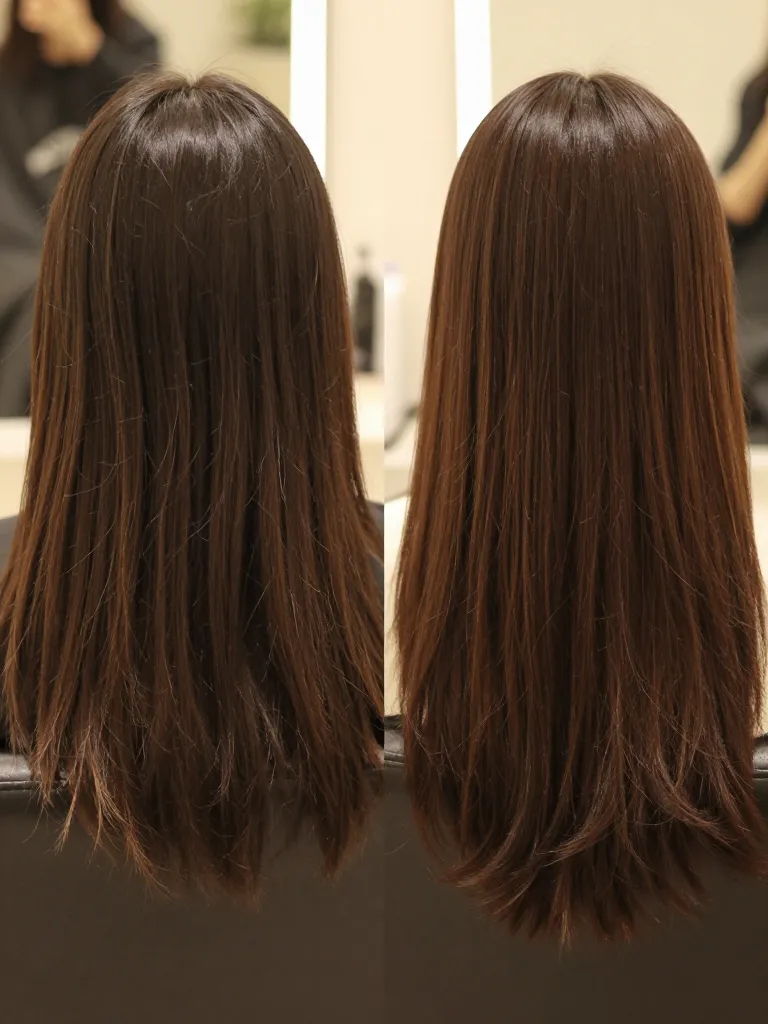
Clip-in extensions are the only extension method that gives you a true before and after in under 10 minutes. The wefts have small clips attached — you section your hair, clip the wefts close to the scalp, and blend your natural hair over the top. The transformation is instant and dramatic: flat hair becomes voluminous, shoulder-length becomes mid-back. The catch is that clip-ins are temporary — they must be removed before sleeping, swimming, or exercising. They’re ideal for events, date nights, and photoshoots, but not for daily wear.
3. Sew-In Extensions: The Maximum Transformation
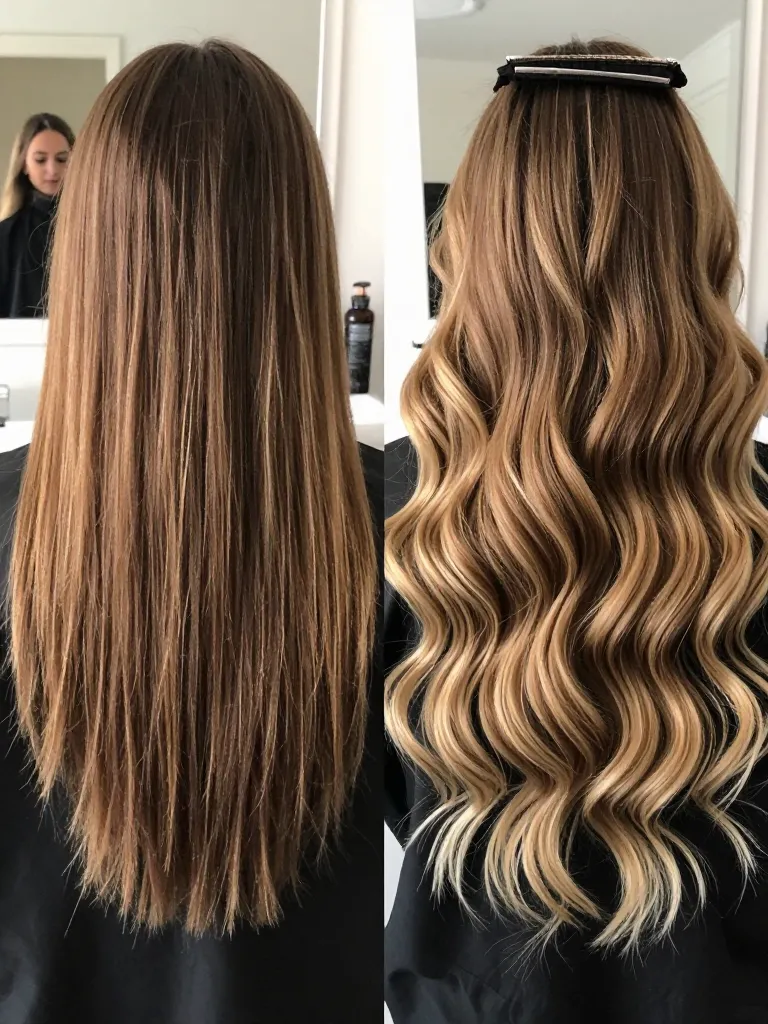
Sew-in extensions deliver the most dramatic before and after because they completely transform your hair’s length, volume, and texture. Your natural hair is braided into cornrows, and wefts of extension hair are sewn onto the braids with a needle and thread. The result is a full head of long, voluminous hair that can be styled, curled, and colored without touching your natural hair underneath. Sew-ins last 6-10 weeks and are the preferred method for women with thick, coarse hair who want maximum length and volume.
4. Micro-Link Extensions: The Seamless Individual Transformation
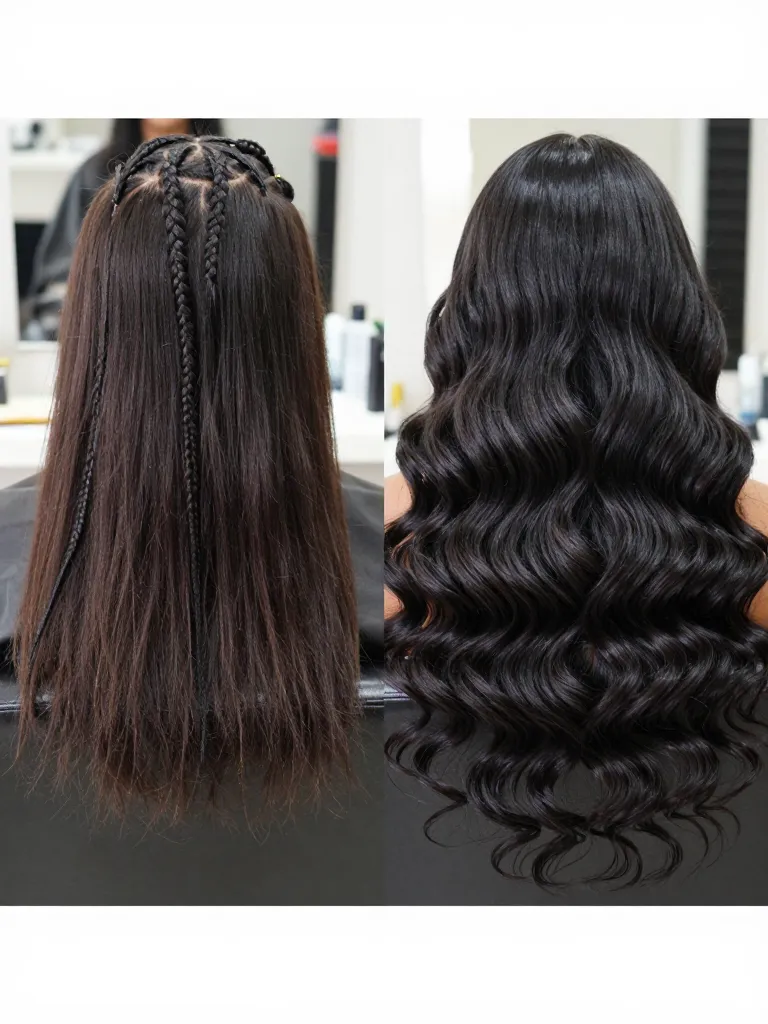
Micro-link (or micro-bead) extensions are installed strand by strand. Small sections of extension hair are attached to small sections of your natural hair using tiny metal beads clamped with pliers. The result is the most natural-looking extension method because there are no wefts, no glue, and no tape — just individual strands that move like your own hair. The before and after is particularly impressive for women with fine hair who want density without the bulk of weft-based methods.
What You’ll Need
| Item | Purpose |
|---|---|
| Extension hair (human or synthetic) | The added length and volume |
| Extension-safe shampoo | Gentle cleansing without loosening bonds |
| Wide-tooth comb | Detangling extensions without pulling |
| Satin pillowcase | Reducing friction and tangling while sleeping |
| Heat protectant spray | Protecting extension hair from styling tools |
Hair extensions before and after photos only show the result — they don’t show the maintenance, the cost, or the potential damage. Choose the method that matches your lifestyle, budget, and natural hair type.
Transform it. Maintain it. Protect it.
