Hair Color Ideas: How to Pick a Shade That Won’t Regret in Two Weeks
Color is a commitment, not a mood ring. Here’s how to choose wisely.
Everyone’s had that moment — scrolling through Instagram, seeing a gorgeous copper balayage, booking a salon appointment, and then hating it two weeks later because it doesn’t match your skin tone. Hair color isn’t one-size-fits-all. Your undertone, your natural base, your maintenance tolerance, and your lifestyle all determine what actually works. Here’s how to navigate the options without wasting money on something you’ll immediately want to fix.
Step 1: Determine Your Skin Undertone
2 minutes
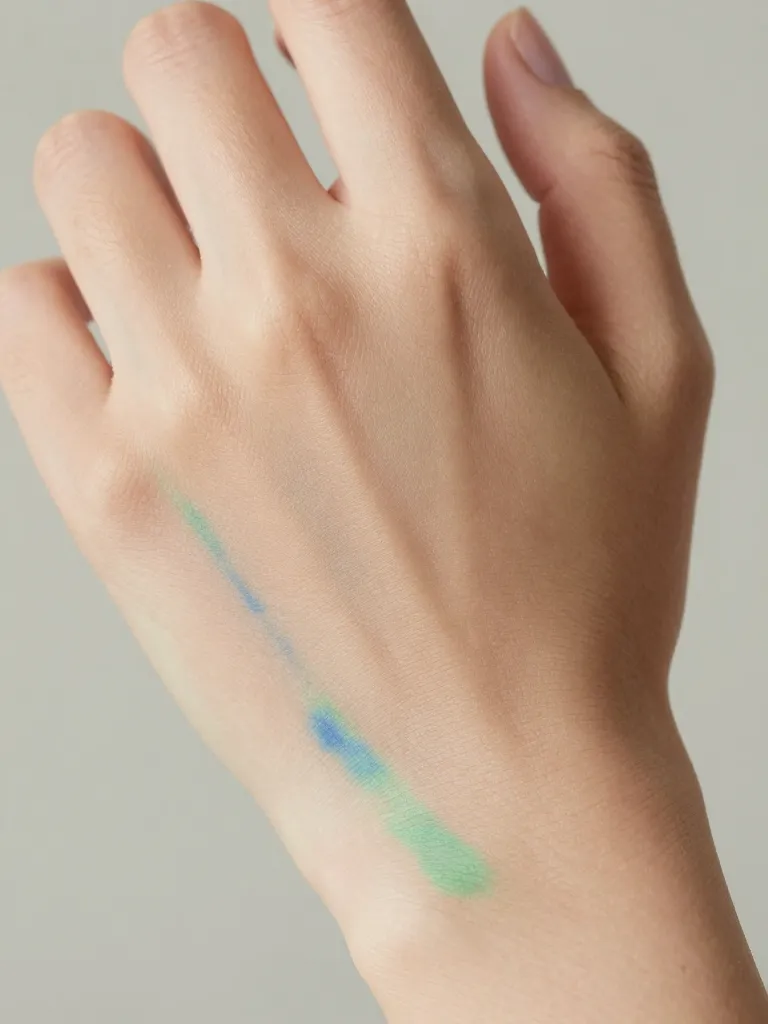
Flip your wrist over and look at your veins in natural light. Blue or purple veins mean you’re cool-toned. Green veins mean warm-toned. Can’t tell? You’re probably neutral. Cool undertones look best with ash, platinum, burgundy, and blue-based reds. Warm undertones glow with golden blonde, copper, honey, and warm browns. Neutral can pull off almost anything — lucky you. This isn’t a hard rule, but it’s the starting point that prevents the most common color disasters.
You’ll need: Natural daylight, no self-tanner or heavy makeup on your wrist
Critical: Check in natural daylight — indoor lighting skews warm and will mislead you
Pro Tip: If you tan easily, you’re likely warm. If you burn, you’re likely cool.
Step 2: Pick a Color Family Based on Your Natural Base
5 minutes
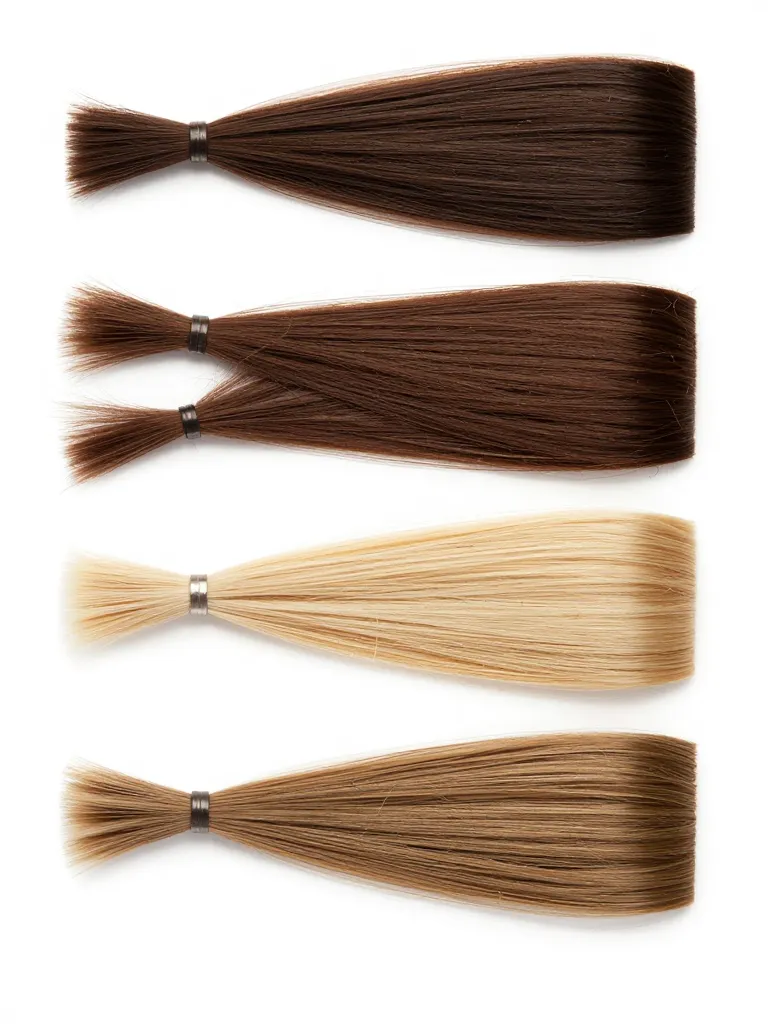
Your natural hair color determines what’s achievable in one session. If you’re a level 3 (dark brown/black), going platinum blonde in one sitting will melt your hair — literally. A responsible colorist will lift 2-3 levels per session. So from dark brown, expect to reach medium brown or warm caramel in session one, and lighter shades in subsequent appointments. If you’re already a level 6-7 (light brown to dark blonde), you have more immediate options. Be realistic about what’s achievable without frying your hair.
You’ll need: Knowledge of your natural hair level (1-10 scale), realistic expectations for one session
Critical: More than 3 levels of lift in one session = serious damage risk
Pro Tip: Ask your colorist to do a strand test first if you’re going more than 2 levels lighter
Step 3: Choose Your Technique (Not Just Your Color)
5 minutes
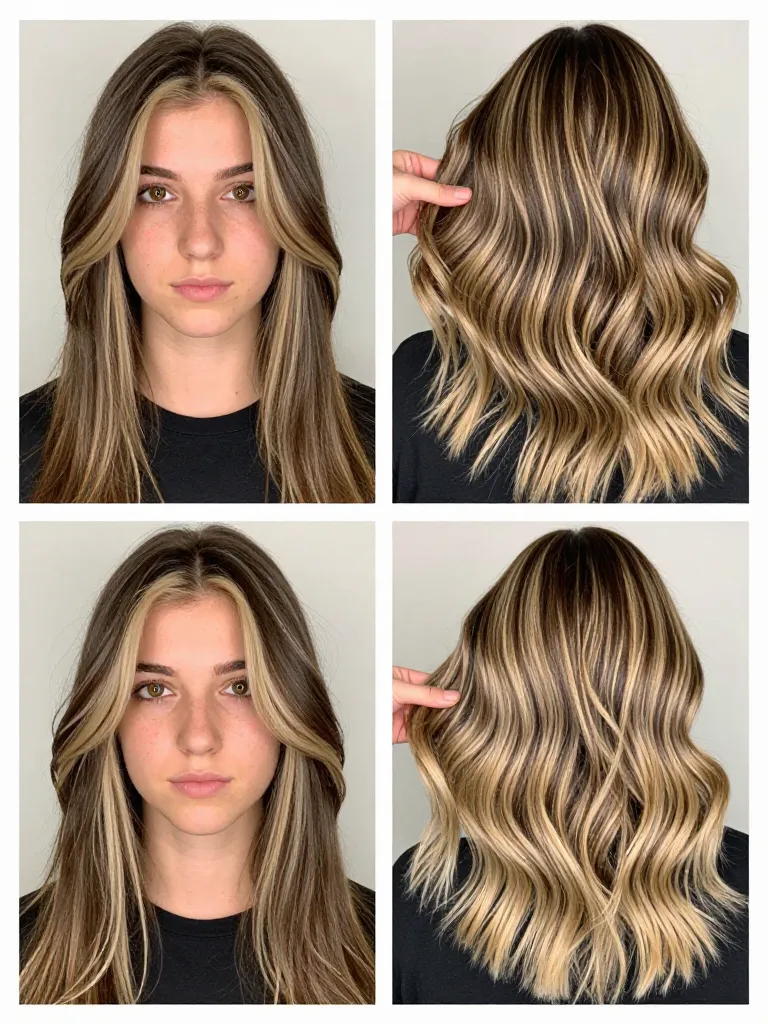
Full single-process color is the most dramatic but highest maintenance — roots show in 3-4 weeks. Balayage (hand-painted highlights) grows out naturally and needs touch-ups every 8-12 weeks. Traditional foiled highlights add dimension but can look stripey if done poorly. Color blocking — panels of contrasting color — is bold but fades fast. If you’re low-maintenance, balayage or shadow roots are your friend. If you want commitment and don’t mind salon visits, full color or vivid fashion shades deliver maximum impact.
You’ll need: Photos of color techniques you like, honest assessment of how often you’ll visit the salon
Critical: Vivid fashion colors (pink, blue, purple) fade in 4-6 weeks without special care
Pro Tip: Shadow roots are the cheat code — they look intentional as they grow out
Step 4: Maintain Your Color Investment
3 minutes
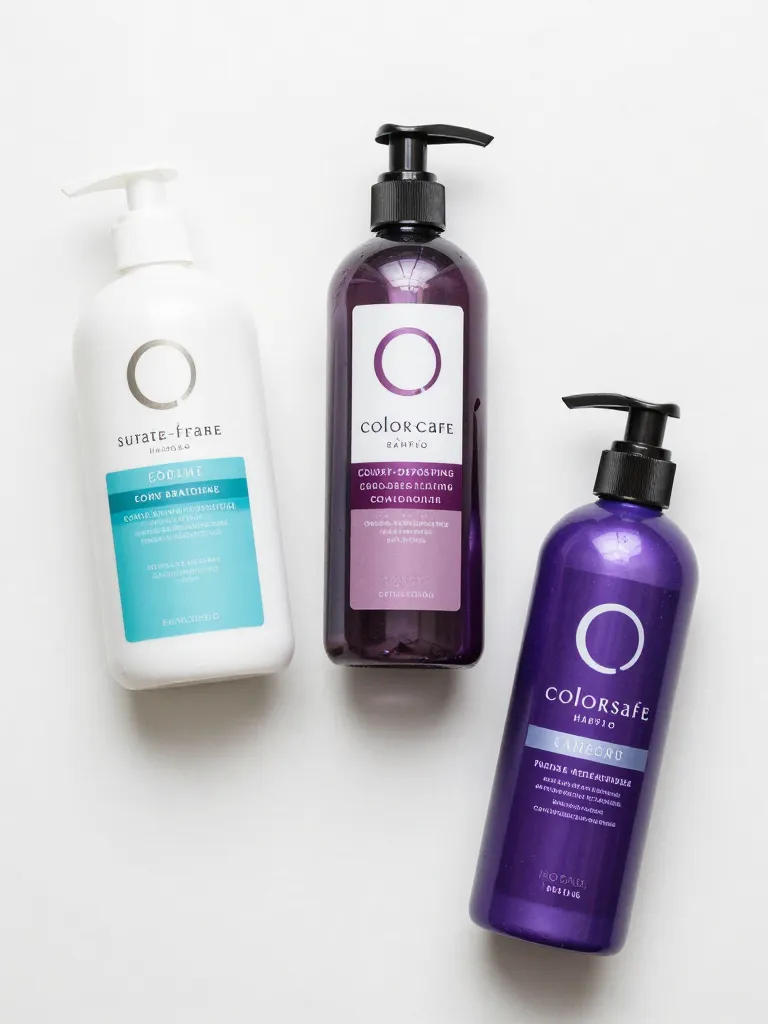
Color-treated hair needs different products than virgin hair. Sulfate-free shampoo is non-negotiable — sulfates strip color molecules. Purple shampoo once a week keeps blonde and silver from turning brassy. Color-depositing conditioners refresh faded tones between salon visits. And heat protectant is extra important — color-treated hair is already compromised, so heat styling without protection accelerates damage and fading. Budget $30-50/month for color-safe products. If you can’t afford that, you can’t afford the color.
You’ll need: Sulfate-free shampoo, color-safe conditioner appropriate for your shade
Critical: Hot water opens the cuticle and releases color. Wash with lukewarm or cool water.
Pro Tip: Dry shampoo extends time between washes, which extends color life
Step 5: Plan Your Color Journey
5 minutes
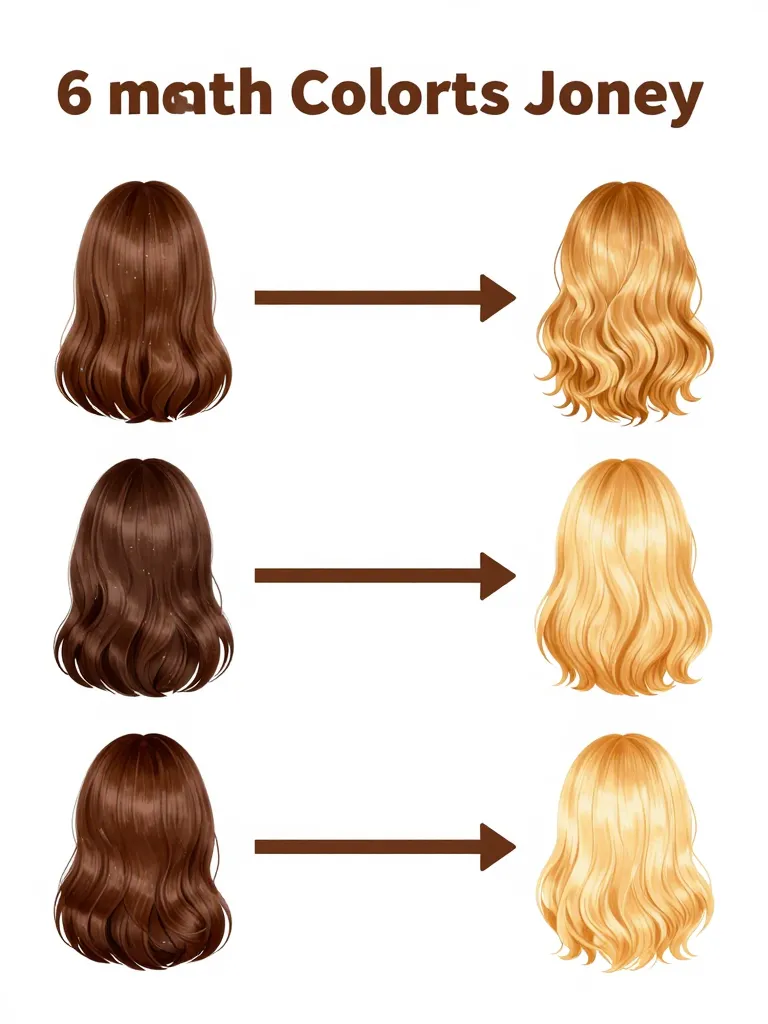
Major color changes are a marathon, not a sprint. If you’re going from dark to light, plan for 2-3 sessions over 6-8 weeks. If you’re going darker, one session usually suffices. Set a realistic timeline with your colorist and budget accordingly — each session costs $100-300+ depending on your salon and technique. The most expensive mistake is trying to do everything in one appointment. Patience preserves your hair’s integrity and gives you time to adjust to each shade before going lighter or darker.
You’ll need: Budget for 2-3 sessions if going lighter, calendar availability for follow-up appointments
Critical: Never box-dye over professional color — the interaction can cause unexpected reactions
Pro Tip: Book your follow-up appointment before leaving the salon — it keeps you accountable
Watch Out For
- Always do a patch test 48 hours before coloring — even with professional products
- If your scalp burns during processing, tell your colorist immediately — don’t power through
- Never mix different box dye brands — the chemical interactions are unpredictable
- Pregnant or nursing? Consult your doctor before any chemical color service
Tips
Test with a wig first: Before committing to a shade, buy a cheap wig in that color and wear it for a day. It’s a $15 insurance policy against a $200 mistake.
Salon lighting lies: Ask to see your color in natural light before you leave the salon. Fluorescent bulbs make everything look different.
The 48-hour rule: Don’t judge your new color for 48 hours. It takes time to settle, and your brain needs time to adjust to the change.
Hair color should make you feel like yourself — just a more interesting version. Take the time to pick right, maintain it properly, and enjoy the range that color gives you.
Pick your shade. Book the session. Trust the process — and bring this guide with you.
