How to Get a Medium Goth Haircut at Home: The Complete Step-by-Step Guide
You don’t need a $200 salon visit. You need sharp shears, a mirror, and the willingness to commit.
Here’s the thing about goth haircuts: most stylists don’t understand them. You walk in saying “medium goth layers” and walk out with a suburban mom shag. The solution? Do it yourself. Medium-length goth hair is actually one of the most forgiving DIY cuts — the texture hides mistakes, the dark color makes imperfections invisible, and the whole aesthetic rewards imperfection. You’ll save $150 and get a cut that actually looks the way you want.
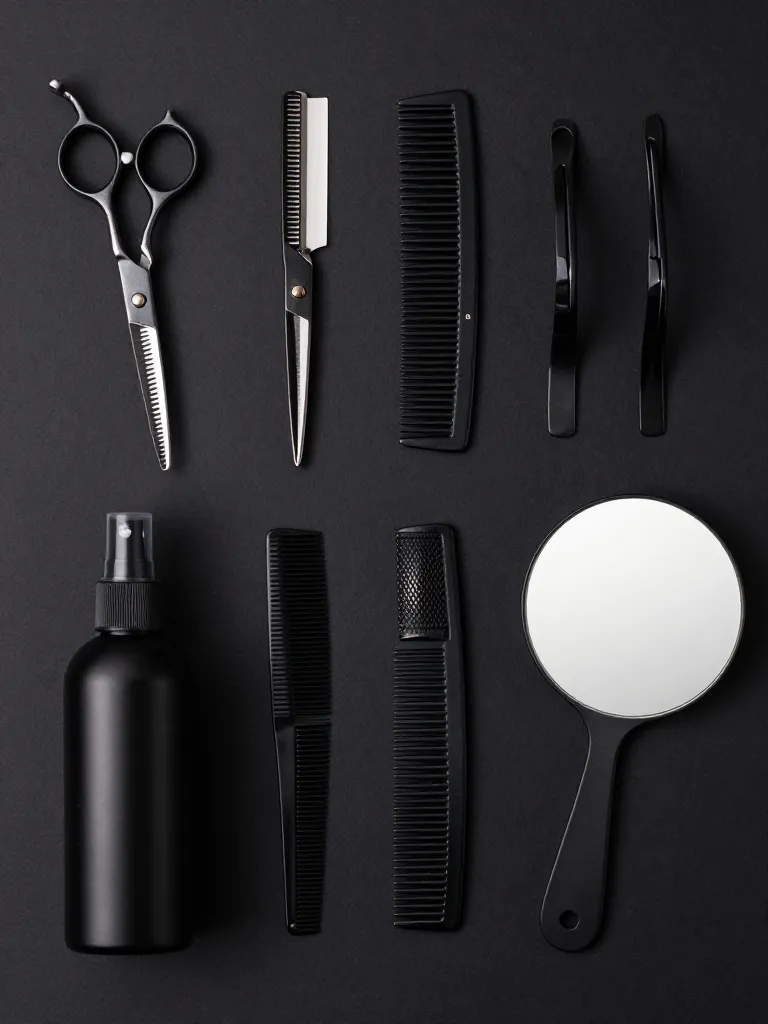
Step 1: Get Your Tools Together
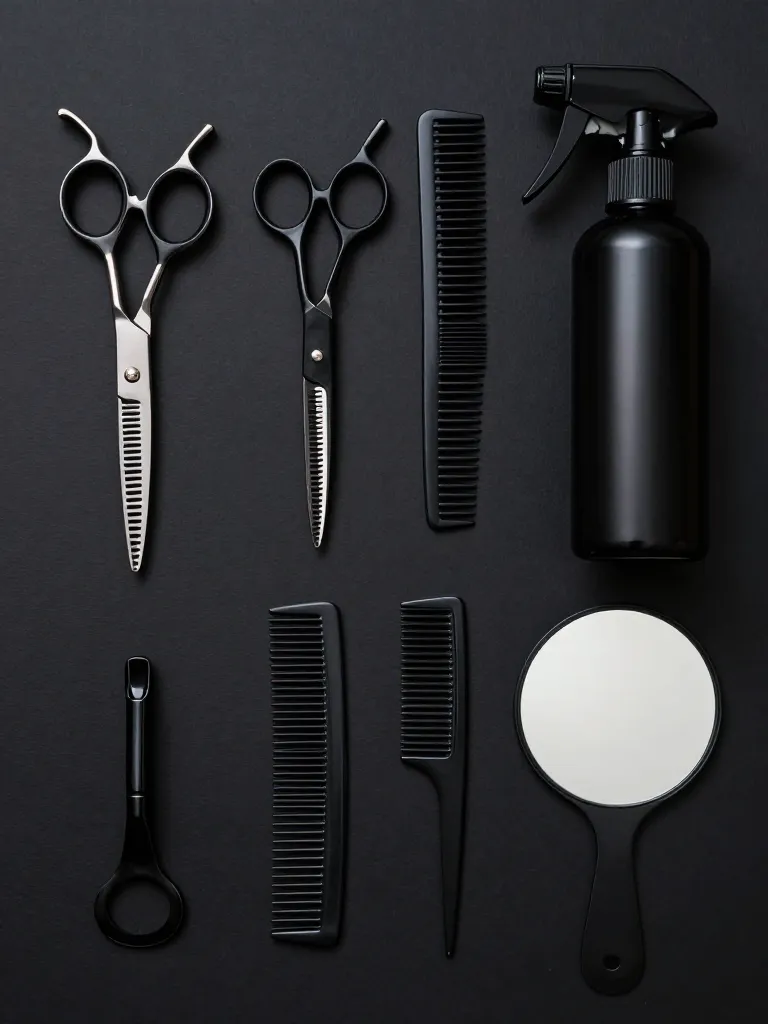
You need sharp hair shears — not kitchen scissors, not craft scissors, actual hair shears. Dull blades crush the hair shaft instead of cutting it, which creates split ends that show up in two weeks. Get a pair for $15-25 online. You also need a razor comb (the kind with a single-edge blade in the teeth — this is your texturizing tool), sectioning clips, a wide-tooth comb, a spray bottle with water, and a handheld mirror. The razor comb is the secret weapon for goth texture. Regular thinning shears remove bulk in chunks. A razor comb creates those wispy, piece-y ends that make goth hair look like goth hair.
Step 2: Wash, Detangle, and Section
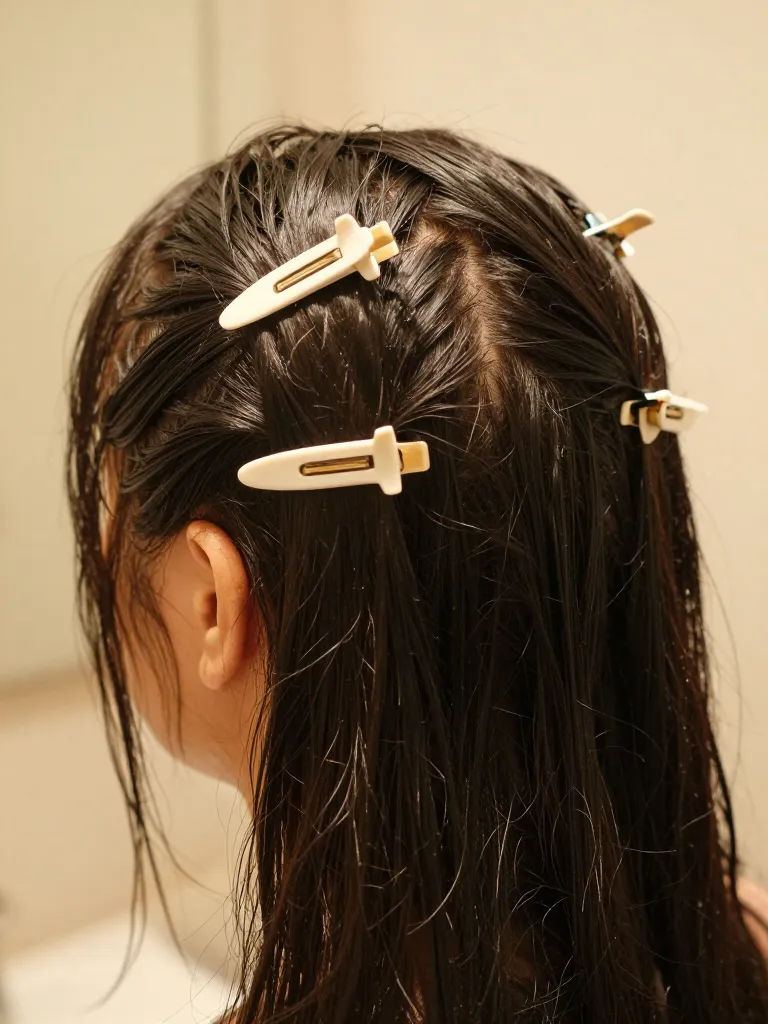
Start with clean, damp hair — not soaking wet, not dry. Towel-dry until it’s damp enough to comb through without resistance but not dripping. Detangle with the wide-tooth comb, starting from the ends and working up. Then create your sectioning: part your hair down the middle from forehead to nape, then create a horizontal part from ear to ear. You now have four sections — front left, front right, back left, back right. Clip each section out of the way. This is the foundation. If your parts aren’t even, your cut won’t be even. Take an extra minute here to make sure the center part is actually centered and the horizontal part goes straight across the back of your head.
Step 3: Cut the Back Length First
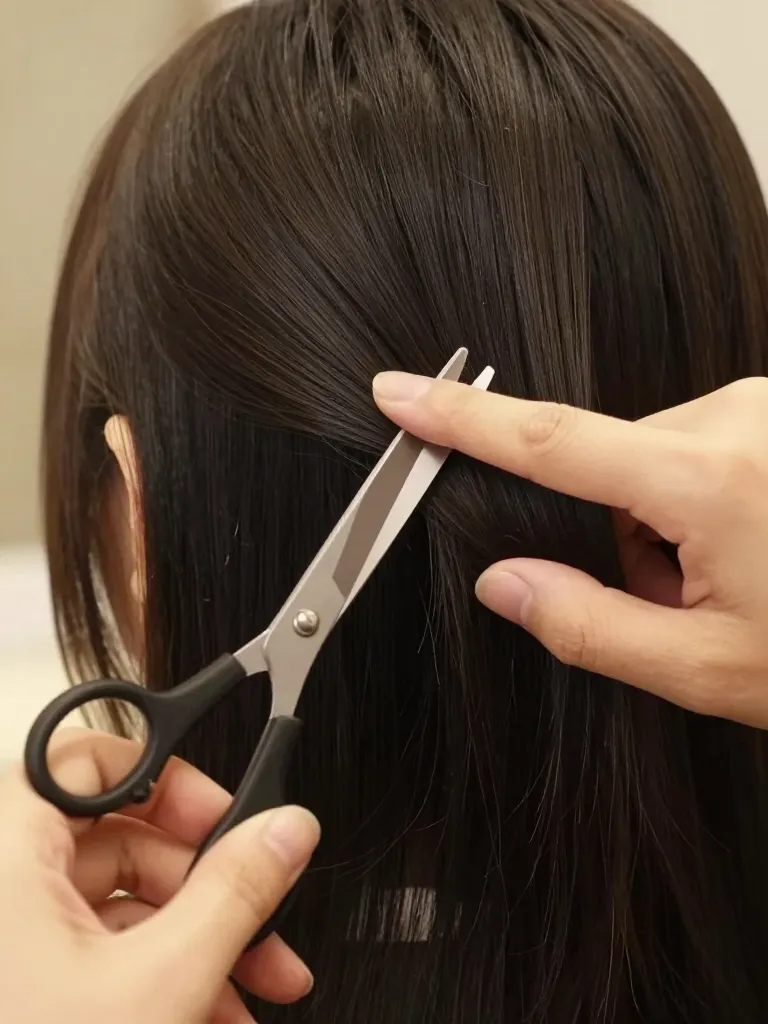
Release the two back sections. Comb them smooth and pull them straight down between two fingers — your fingers act as a cutting guide. For a standard medium goth cut, position your fingers at collarbone length. Cut straight across below your fingers. This is your baseline — everything else will be cut relative to this length. Cut conservatively at first. You can always go shorter, but you can’t glue hair back on. If you’re nervous, start at mid-chest and work your way up to collarbone. Once the back is even, check it with the handheld mirror. The line should be straight across when viewed from behind.
Step 4: Create the Front Layers

Release the front sections. Pull them forward — straight down in front of your face. For the classic goth face-frame, cut at chin length, angling the shears slightly so the pieces closest to your face are shorter than the ones further back. This creates that curtain effect where shorter pieces frame your face while longer pieces blend into the back length. Don’t cut straight across — angle the scissors so there’s a gradual transition. The shortest point should be right at your chin, blending to the longer back length. If you want a more dramatic shattered look, hold each front section straight out to the side (90 degrees from your head) and cut at different lengths — shorter near the face, longer toward the back.
Step 5: Texturize with the Razor Comb
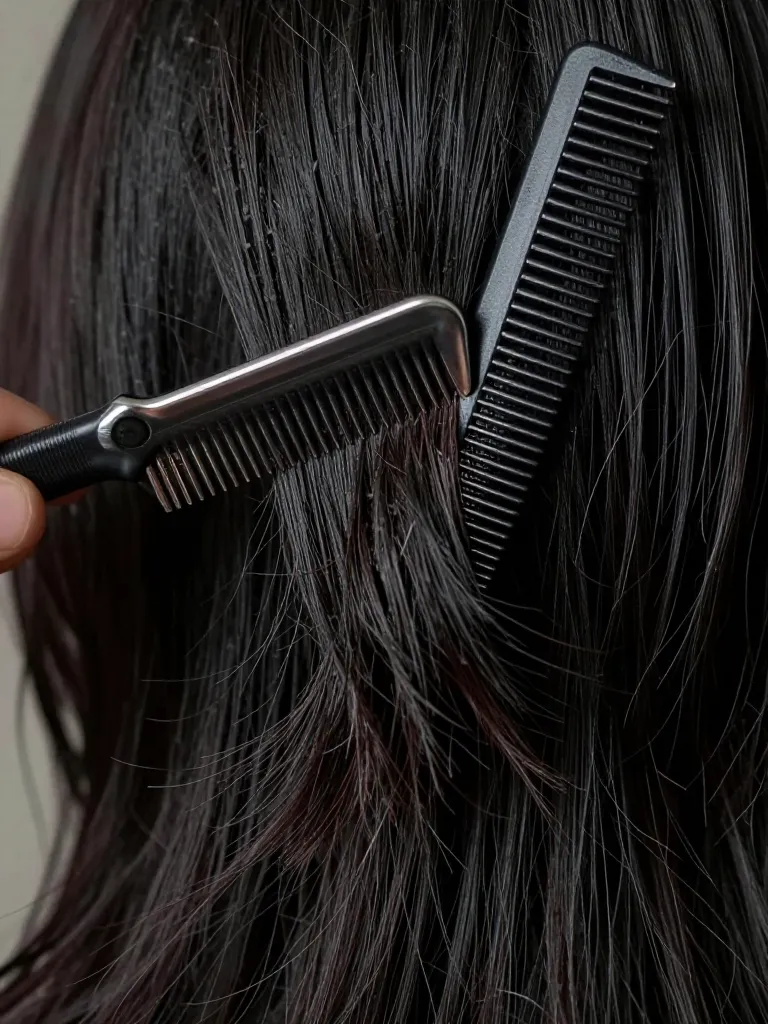
This is where the cut goes from “regular haircut” to “goth haircut.” Take the razor comb and, starting about three inches from the ends, run it through each section with quick downward flicks. The razor creates those wispy, uneven ends that define goth texture. Focus on the ends — don’t razor the roots or mid-lengths or you’ll create frizz. Work through each section, taking small pieces and flicking the razor through the last 3-4 inches. The more you razor, the more textured and piece-y the result. Start conservatively — you can always take more off. The front face-framing pieces should get extra attention since they’re the most visible.
Step 6: Dry, Style, and Refine

Let your hair air-dry or use a diffuser on low heat. Once dry, check the shape in the mirror. Look for any obvious uneven spots — the dark color hides a lot, but you might catch one side sitting higher than the other. If you do, wet that section and trim conservatively. Style by scrunching in a small amount of texture paste or wax, focusing on the ends and face-framing pieces. The goal is piece-y definition — each layer should look separate, not blended into a mass. If you cut bangs, style them now: sweep them across your forehead or split them into a curtain fringe. The finished look should be textured, slightly messy, and like you’ve been wearing this haircut for years even though you just finished it ten minutes ago.
Safety Warnings
- Never cut dry hair with regular shears — the hair bends and creates an uneven cut. Always work with damp hair.
- If you nick yourself with the razor comb, clean the cut and apply pressure. These are shallow and heal quickly.
- Don’t rush the texturizing step — over-razoring creates thin, stringy ends that won’t hold any style.
Why This Works
DIY goth haircuts work because the aesthetic is built on controlled imperfection. A salon-fresh, perfectly blended goth haircut actually looks less goth than one that’s slightly undone. The dark color absorbs light and hides minor unevenness. The layered, textured structure means individual pieces can be different lengths and it still reads as intentional. The razor comb creates organic texture that no amount of scissor work can replicate — that’s why salon goth haircuts often look too polished. You’re not trying to replicate a salon cut. You’re trying to create something the salon can’t.
Pro Tips
Here’s what nobody tells you about cutting your own goth hair: the first time, you’ll be nervous. You’ll cut too conservatively, check the mirror too often, and probably over-texturize one side. That’s fine. The second time, you’ll know your hair’s behavior — how it shrinks when dry, where it’s thicker, which sections need more texturizing. By the third cut, you’ll be faster and better than most stylists because you know exactly what you want and you’re not explaining it to someone who’s never seen a Bauhaus album cover. The DIY goth haircut isn’t just about saving money. It’s about having complete control over the one thing people see every single day.
Get the shears. Wet your hair. Commit to the cut. Dark hair, dark intentions, zero apologies.
