How to Do Fulani Braids on Natural Hair at Home: The Complete Step-by-Step Guide
The cultural braid style you can actually do yourself. No salon required.
Fulani braids at a salon cost $150-300 and take 4-8 hours. Doing them at home costs the price of braiding hair ($10-25) and takes a Saturday afternoon. The trade-off? You need patience, decent finger dexterity, and a willingness to redo your first few braids. But once you get the pattern down, you’ll never pay salon prices again. Here’s the full process, from wash day to finished style.
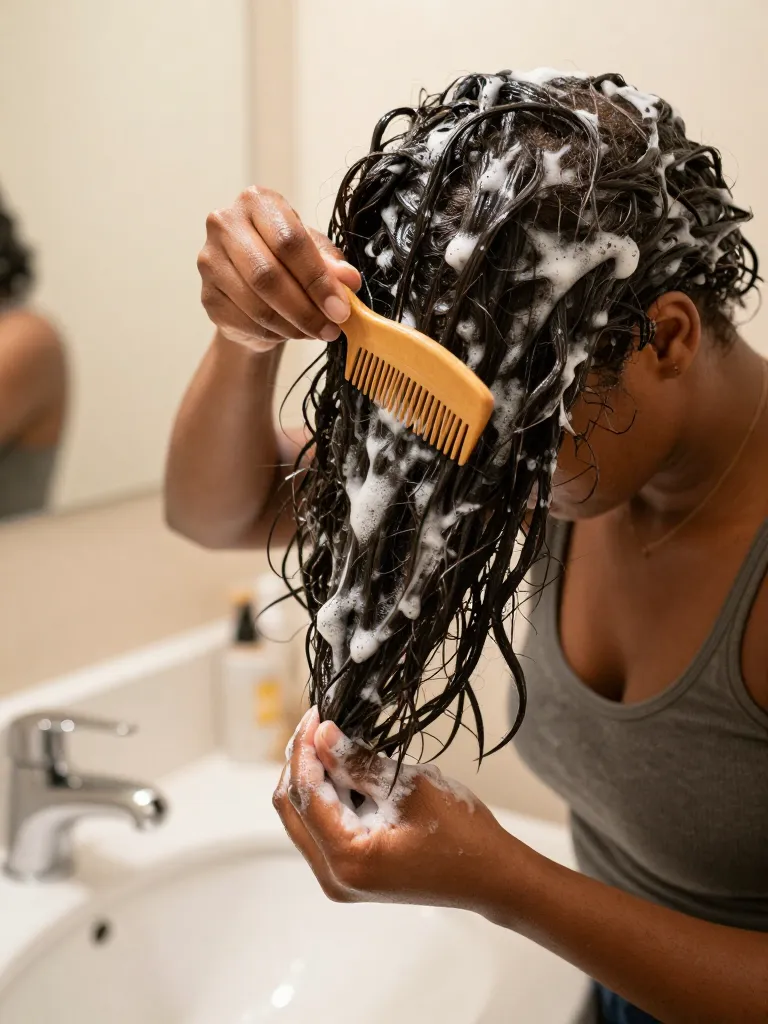
Step 1: Wash, Condition, and Detangle
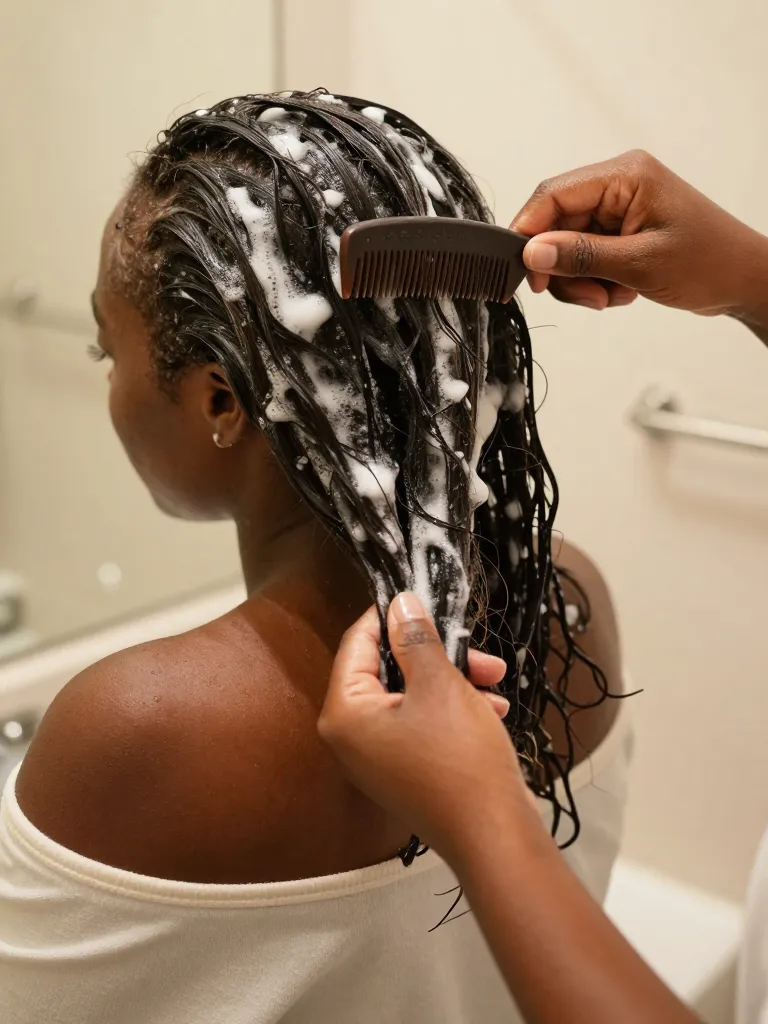
Start with clean, conditioned, fully detangled hair. Wash with a sulfate-free shampoo — you want your scalp clean but not stripped. Follow with a deep conditioner and let it sit for 15-20 minutes under a plastic cap. Rinse and detangle with a wide-tooth comb while the conditioner is still in, starting from the ends and working up. Your hair should be stretched and smooth before you start braiding — if it’s shrunken or tangled, the braids will be uneven. You can blow-dry on low heat for extra stretch, or just air-dry and stretch with braiding sections.
Step 2: Section and Part Your Hair
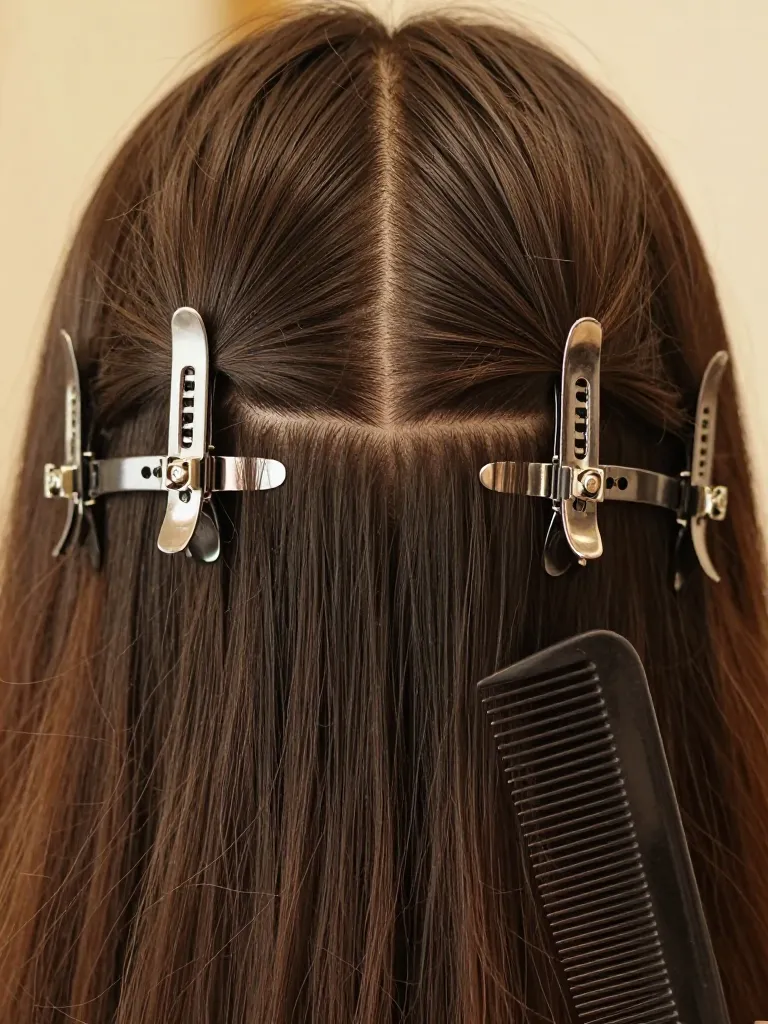
Using a rat-tail comb, create a center part from your hairline to the nape. This is your guide line. Then section your hair into 4 quadrants: front-left, front-right, back-left, back-right. Clip each section. For Fulani braids, you’ll typically create 6-10 cornrows total — 3-5 on each side of the center part. The braids closest to the face should be thinner (about pencil-width) for detail, and the ones further back can be thicker. Mark your parting lines with the comb before you start braiding — consistent parts make the difference between amateur and professional-looking braids.
Step 3: Braid the Cornrows
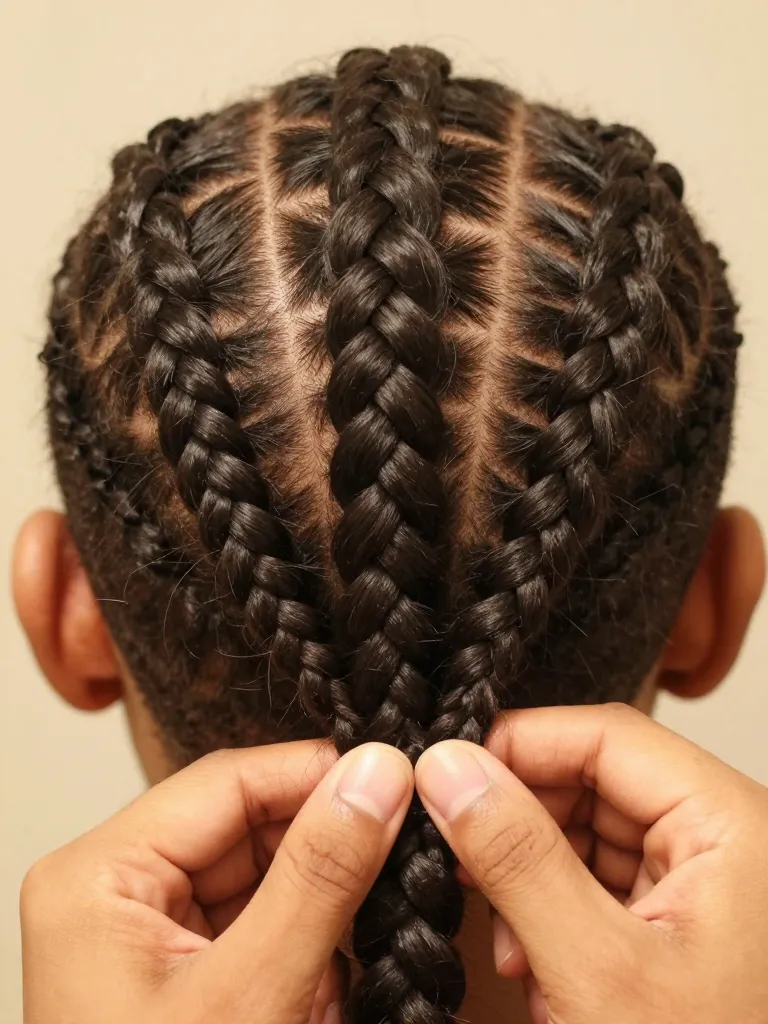
Start with the cornrows closest to the center part. Take a small section at the hairline, divide into three strands, and begin a standard three-strand braid. After the first two stitches, start adding hair from the sides — this is what creates the cornrow effect. Keep tension consistent: tight enough to stay flat against the scalp, but not so tight that it pulls. Braid each cornrow straight back from the hairline toward the nape. When you reach the end of your natural hair, you can either stop and seal with a small elastic, or feed in braiding hair to extend the length. Repeat for each cornrow, working from the center outward.
Step 4: Add Beads and Cuffs
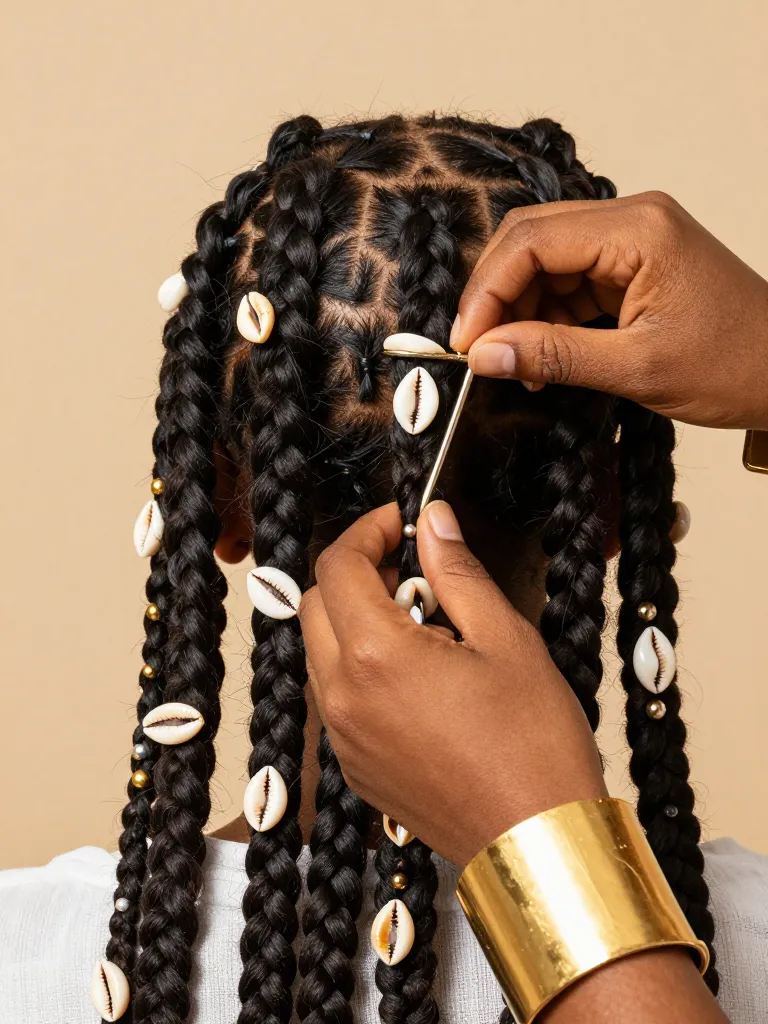
This is where Fulani braids become Fulani braids. Slide gold or silver cuffs onto individual braids — they usually sit at the mid-point or a few inches from the scalp. Thread cowrie shells onto braids using a small loop of thread or by sliding them onto the braid end before sealing. Add beads to the ends of braids for weight and swing. The traditional pattern: heavier decoration near the face, lighter toward the back. Don’t overload — 8-12 accessories total is plenty. Too many and the braids look cluttered instead of curated.
Step 5: Smooth Edges and Set
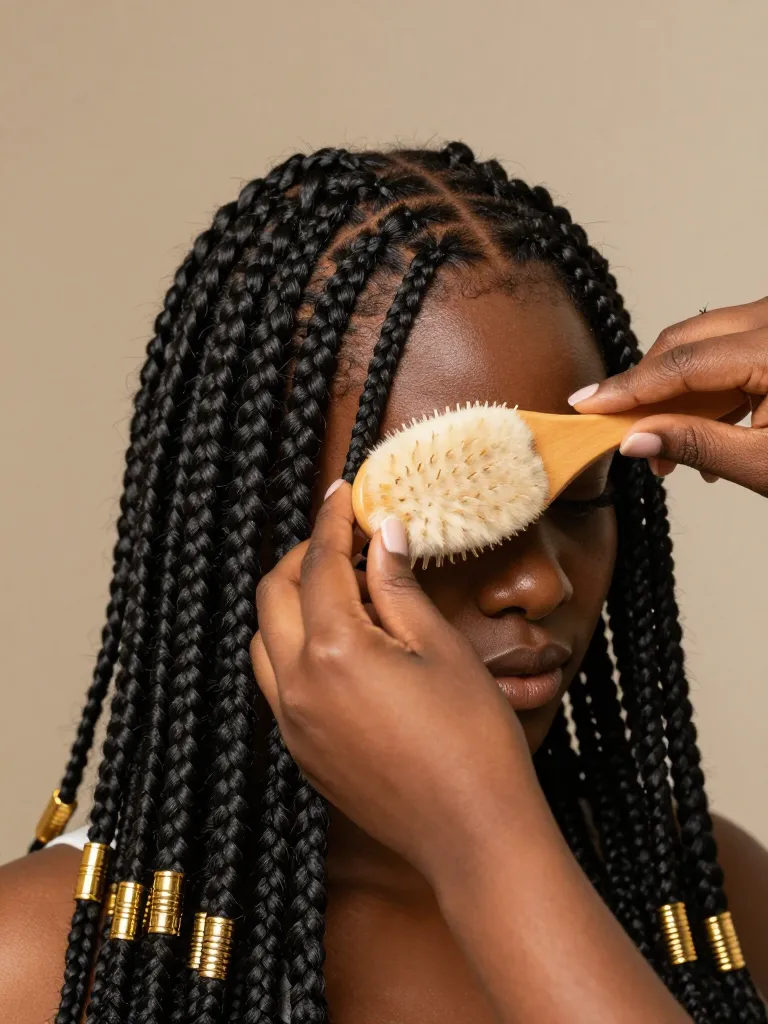
Apply edge control gel to your hairline and baby hairs. Use a soft-bristle brush or an edge brush to smooth and shape your edges — swoops, waves, or just clean and laid. Wrap your braids with a silk or satin scarf for 15-30 minutes to set the edges and smooth any flyaways. Remove the scarf, adjust your braids, and you’re done. The whole process takes 2-4 hours depending on your experience level and braid count. Your Fulani braids should last 4-6 weeks with proper care.
Safety Warnings
- If your braids feel too tight at the hairline, take them out and redo with less tension. Tight braids cause traction alopecia — permanent hair loss at the edges.
- Don’t leave Fulani braids in longer than 6 weeks. Beyond that, your natural hair starts to loc and mat, and removal becomes painful and damaging.
- If your scalp itches or gets flaky, apply tea tree oil diluted in jojoba oil directly to the scalp — don’t scratch, which loosens the braids.
Why This Works
Fulani braids work as a protective style because the cornrow pattern keeps your natural hair tucked away and undisturbed for weeks. The braiding hair adds length and volume without heat or chemicals. The cornrow base distributes tension evenly across the scalp (when done correctly), and the decorative elements — cuffs, shells, beads — are traditional markers of Fulani identity that have been worn for generations. The style is functional, cultural, and beautiful.
Pro Tips
Fulani braids on natural hair are one of the most rewarding DIY styles you can learn. The first attempt might take all day and look imperfect — that’s normal. By your third or fourth set, you’ll be braiding in half the time with twice the precision. And you’ll have saved hundreds of dollars in salon fees while wearing a style that connects you to one of the richest braiding traditions in the world.
Grab your comb. Section your hair. Start braiding. The cultural style is waiting.
