Cute Hairstyles for Short Hair for Kids: 5 Styles That Don’t Need Length to Look Good
Every tutorial assumes your kid has waist-length hair. This one doesn’t.
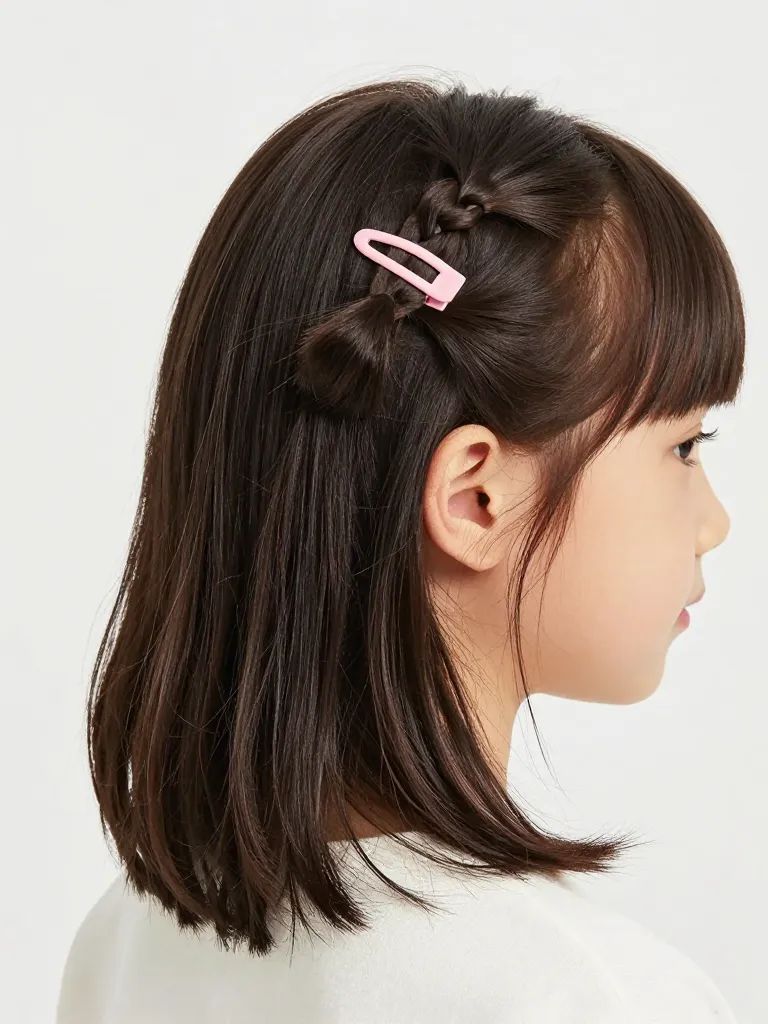
If you’ve ever typed ‘cute school hairstyles for kids’ into a search bar and gotten nothing but braids that require 14 inches of hair, you’re not alone. The internet has a long-hair bias, and it’s leaving short-haired kids with exactly two options: wear it down (and get it in their face all day) or slap on a headband (and lose it by second period). But short hair has its own superpower: it’s faster to style, holds shape better, and doesn’t get tangled into a rat’s nest during recess. Here are five styles designed specifically for bobs, lobs, and pixie-length hair — styles that work because of the short length, not despite it.
Step 1: The Mini Claw Clip Twist
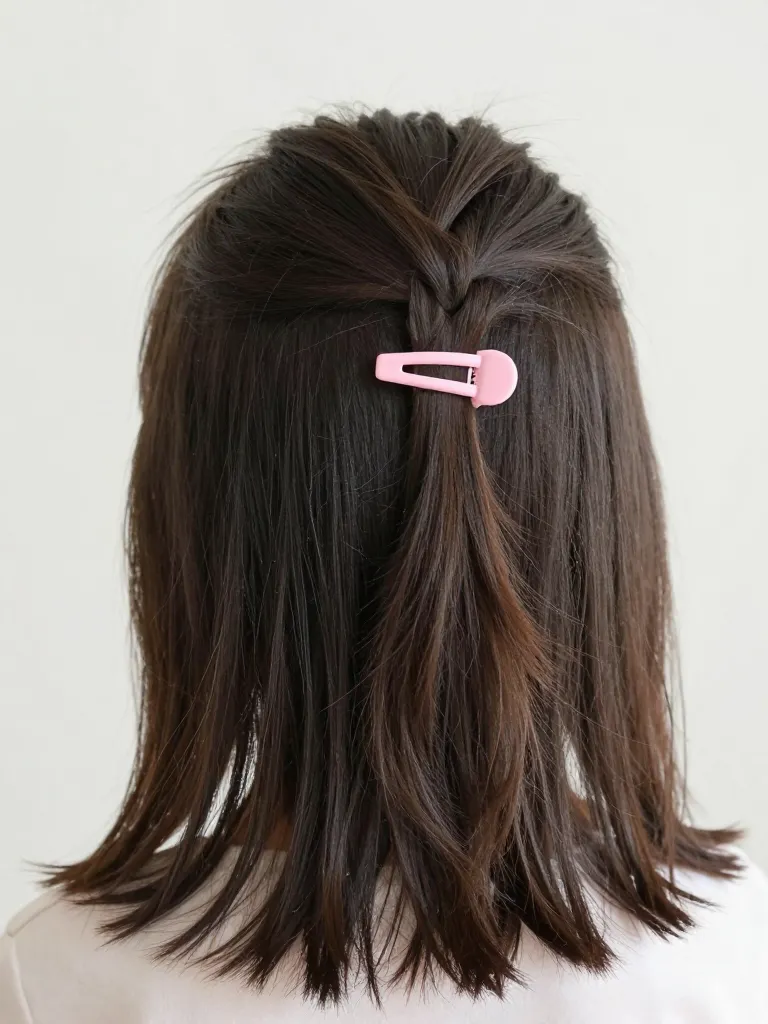
This is the fastest short-hair school style in existence — 30 seconds, no elastic bands, no bobby pins. Take a 2-inch section of hair from the crown (roughly from temple to temple). Twist it upward and away from the face. Clamp a mini claw clip over the twist at the back of the crown. That’s it. The clip holds the twist in place, keeps the front hair out of the face, and adds a pop of color. For bob-length hair, the rest hangs loose below the clip. For shorter hair, the twist itself becomes the entire style. The mini claw clip is the hero here — it’s small enough not to look bulky on short hair, strong enough to hold all day, and easy enough for a 7-year-old to do themselves.
⏱ 30 seconds
Tools needed: Mini claw clip (any color)
Step 2: The Double Bobby Pin Accent
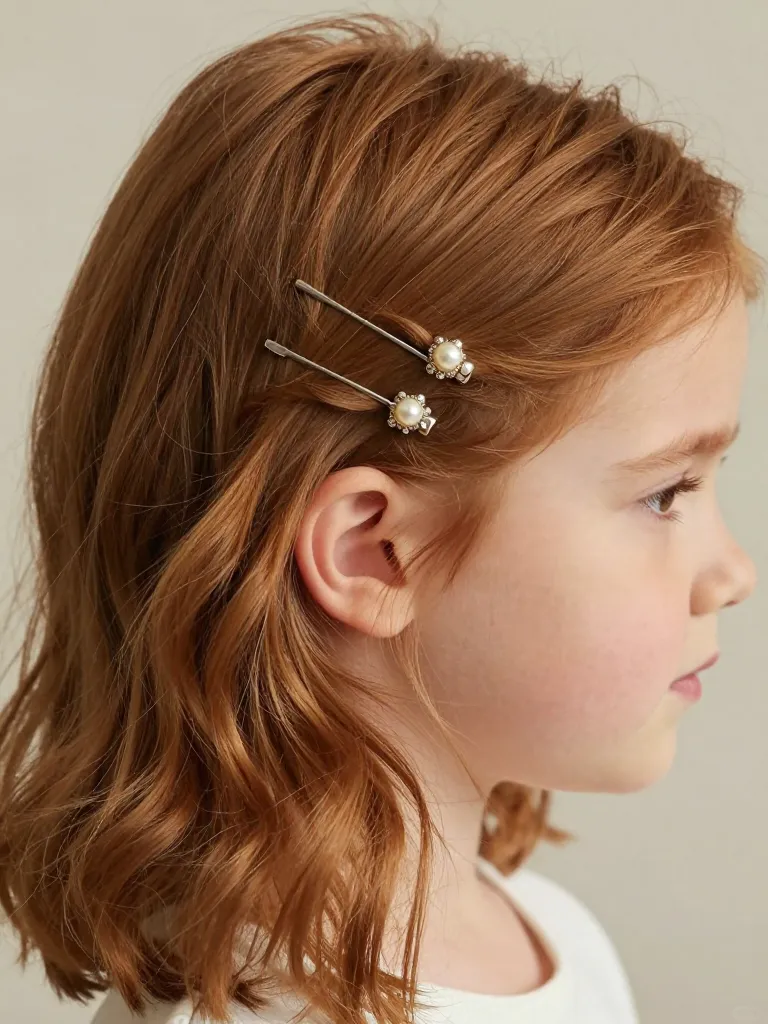
This isn’t a ‘hairstyle’ in the traditional sense — it’s a 15-second styling trick that makes short hair look intentional instead of ‘I just woke up.’ Take two small sections of hair above one ear. Secure each section with a decorative bobby pin — pearl-tipped, star-shaped, whatever the kid likes. Place the pins diagonally, one above the other, like tiny parallel lines. The pins hold the hair back on one side, creating an asymmetric look that’s cute, quick, and survives the entire school day because bobby pins don’t fall out. This works on every short-hair texture: straight, wavy, curly. It also works on very short hair (pixie cuts) — just pin back the longer top section on one side.
⏱ 15 seconds
Tools needed: 2 decorative bobby pins
Step 3: The Half-Up Micro Ponytail
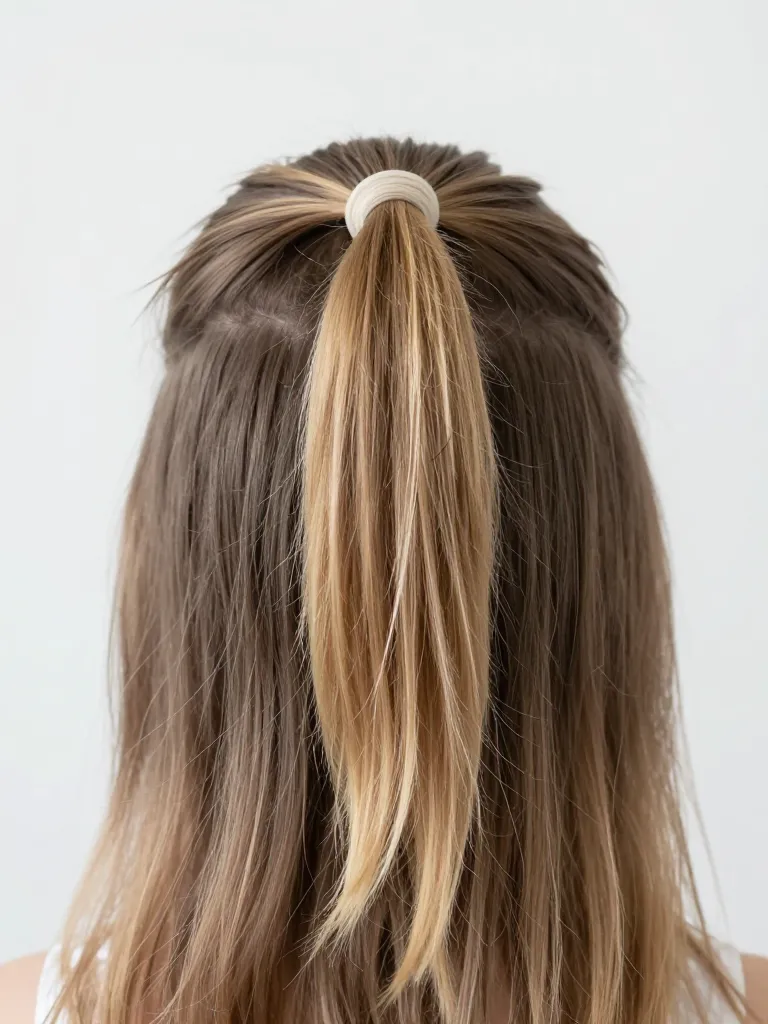
The half-up ponytail is the bread and butter of short-hair styling, but most tutorials make it look sloppy on bob-length hair because there isn’t enough hair to create a smooth ponytail. The fix: make it tiny. Take only the top section — from temple to temple, about 2-3 inches deep. Pull it into a small ponytail at the crown. Secure with a clear elastic. Then, take a thin strand from the ponytail, wrap it around the elastic, and tuck the end under the elastic to hide it. The result is a clean, polished half-up ponytail that looks intentional on short hair. The bottom half hangs loose, creating a layered look. This style is fast (1 minute), secure (the elastic does the work), and works on every short-hair length from chin to shoulder.
⏱ 1 minute
Tools needed: Clear elastic bands, Rat-tail comb for clean parting
Step 4: The Zigzag Part Accent
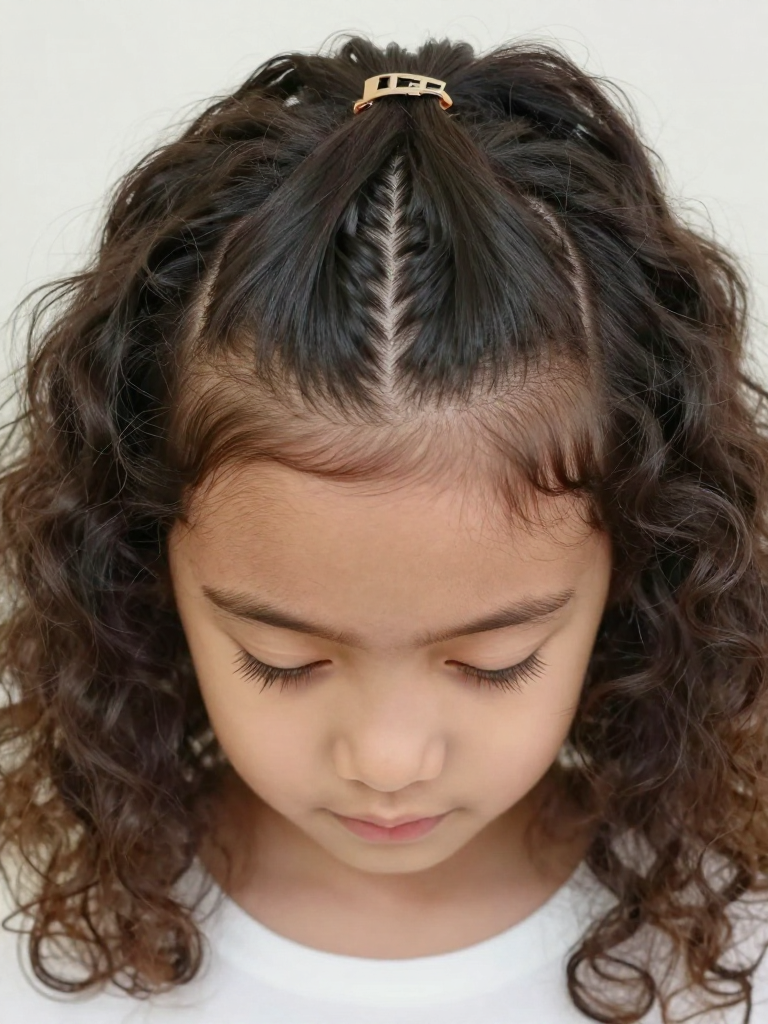
This style turns the part itself into the accessory. Instead of a straight center or side part, create a zigzag part from the forehead to the crown using a rat-tail comb. The zigzag adds visual interest to short hair without requiring any updo, braid, or accessories — just a comb and 60 seconds. To make it school-appropriate (not ‘I styled this for a photo shoot’), keep the zigzag subtle — 3-4 zigzags from forehead to crown, then let the rest of the hair part naturally. Secure a small section at the crown with a clip or elastic to keep the front hair out of the face. The zigzag part works on all textures but is most visible on straight and wavy hair. On curly hair, it creates a subtle textural contrast that still looks intentional.
⏱ 1-2 minutes
Tools needed: Rat-tail comb, Small clip or elastic
Step 5: The French Twist Ponytail
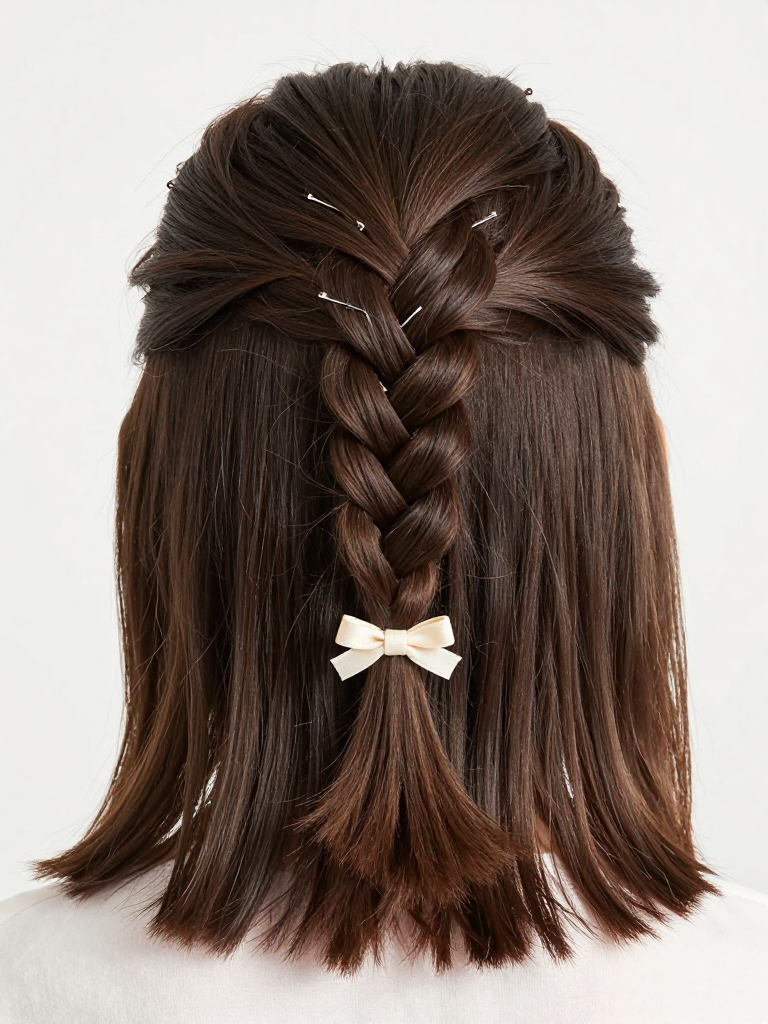
This is the ‘fancy day’ style for short hair — picture day, performances, school events. Gather all the hair at the nape of the neck. Twist it tightly into a rope. Coil the rope upward against the head, tucking the ends under at the top. Secure with 3-4 bobby pins placed in a crisscross pattern for maximum hold. For short hair, the twist will be small — and that’s fine. A small, neat twist looks more intentional than a big, messy one. Add a decorative clip or bow at the base of the twist for polish. This style works on bob-length to shoulder-length hair. On shorter hair (above the chin), the twist will be too small — use the mini claw clip twist instead.
⏱ 2-3 minutes
Tools needed: Bobby pins (4-6), Decorative clip or bow
- Never use metal elastics on kids — they snag and break hair. Use clear polybands or spiral hair ties instead
- Don’t pull bobby pins OUT of hair — push them forward along the scalp to release, then lift. Pulling tears the cuticle
- If the kid says the style hurts, it’s too tight. Loosen it. Tight hairstyles on children can cause traction alopecia over time
Why This Works
Short hair has structural advantages that long hair doesn’t: it’s lighter (so styles don’t sag under their own weight), it has less surface area (so products distribute more evenly), and it dries faster (so morning styles don’t get ruined by damp hair). The styles in this guide exploit those advantages. The mini claw clip twist works because short hair has enough body at the crown to create a visible twist — long hair would just look like a limp rope. The bobby pin accent works because short hair is light enough that two pins can hold it. The half-up micro ponytail works because short hair creates a compact, proportional ponytail at the crown. These aren’t ‘short hair versions’ of long-hair styles — they’re styles designed from the ground up for the physics of short hair.
Pro Tips
Short-haired kids get overlooked by the hairstyle tutorial industrial complex, and it’s time to stop. Short hair isn’t a limitation — it’s a different set of tools. The styles in this guide take 30 seconds to 3 minutes, require zero braiding skill, and survive a full school day. They work because they’re designed for the physics of short hair, not adapted from long-hair tutorials with half the steps removed. Your kid has short hair. Their hair is not a problem to solve. It’s a canvas with different rules — and now you know the rules.
Short hair. Fast styles. Zero complaints at 7 AM. That’s the deal.
