How to Cut Curtain Bangs on Short Hair at Home: The Complete Step-by-Step Guide
You don’t need a salon appointment. You need sharp scissors, a mirror, and 20 minutes.
Curtain bangs are the most forgiving bang style to cut yourself — the center split hides mistakes, the graduated length is supposed to look slightly uneven, and the grow-out is graceful even if you mess up. On short hair, the stakes are even lower: there’s less hair to manage, the sections are smaller, and the result is immediately visible. Here’s how to do it right.
Step 1: Gather Your Tools
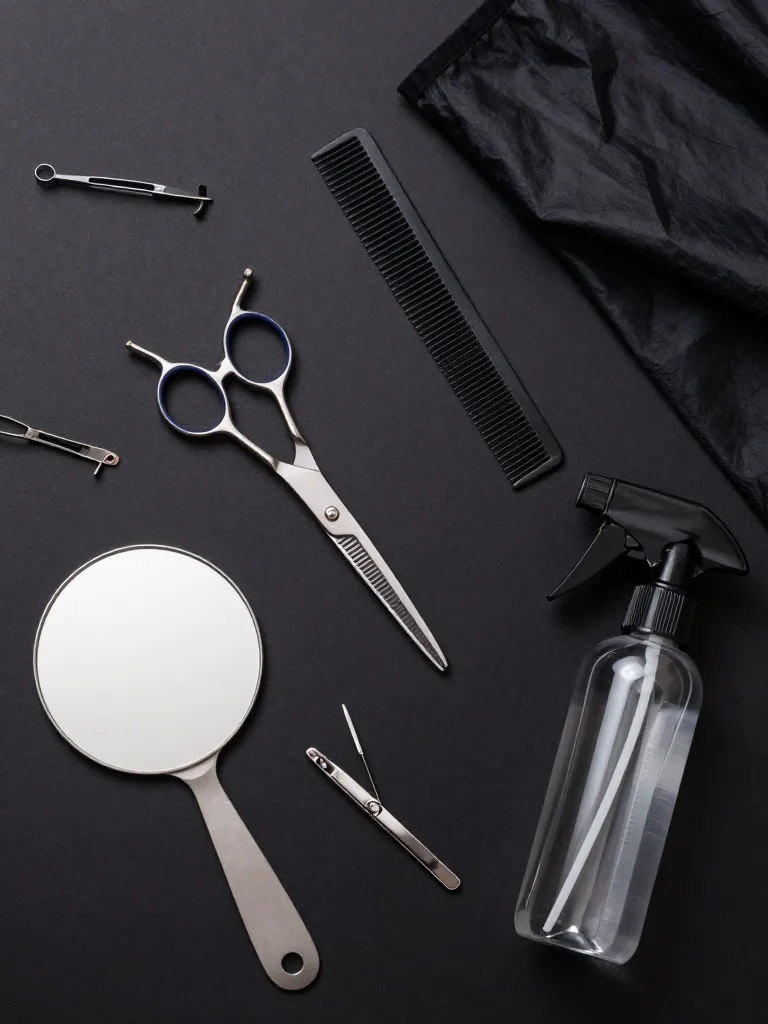
You need professional hair-cutting shears (not kitchen scissors — they’ll crush the hair and create split ends), a fine-tooth comb, sectioning clips, a handheld mirror, and a spray bottle with water. That’s it. If you have thinning shears, have them handy for texturizing at the end, but they’re optional.
The most important tool is the scissors — dull or blunt scissors will damage your hair and make the cut uneven.
Step 2: Section Your Bangs
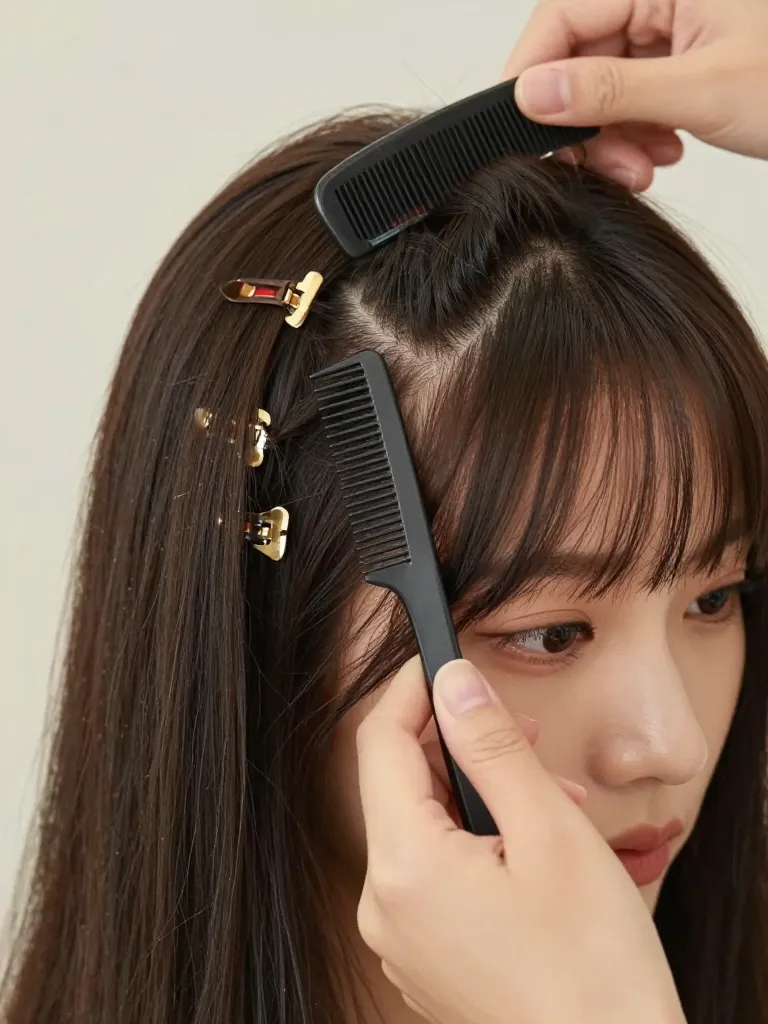
The curtain-bang section is a triangle at the front of your head. Find your center part — that’s the apex of the triangle. Then comb forward a section that’s about 2 inches deep from the hairline (for short hair; use less if your hair is very fine). The sides of the triangle should extend to about the outer corners of your eyebrows.
Clip everything else back. This triangular section is all you’ll cut — the rest of your hair stays untouched. For short hair, keep the section narrower than you would for long hair — about 3-4 inches wide at the base. A narrower section means the bangs will blend better into the shorter sides.
Step 3: Cut the Center First
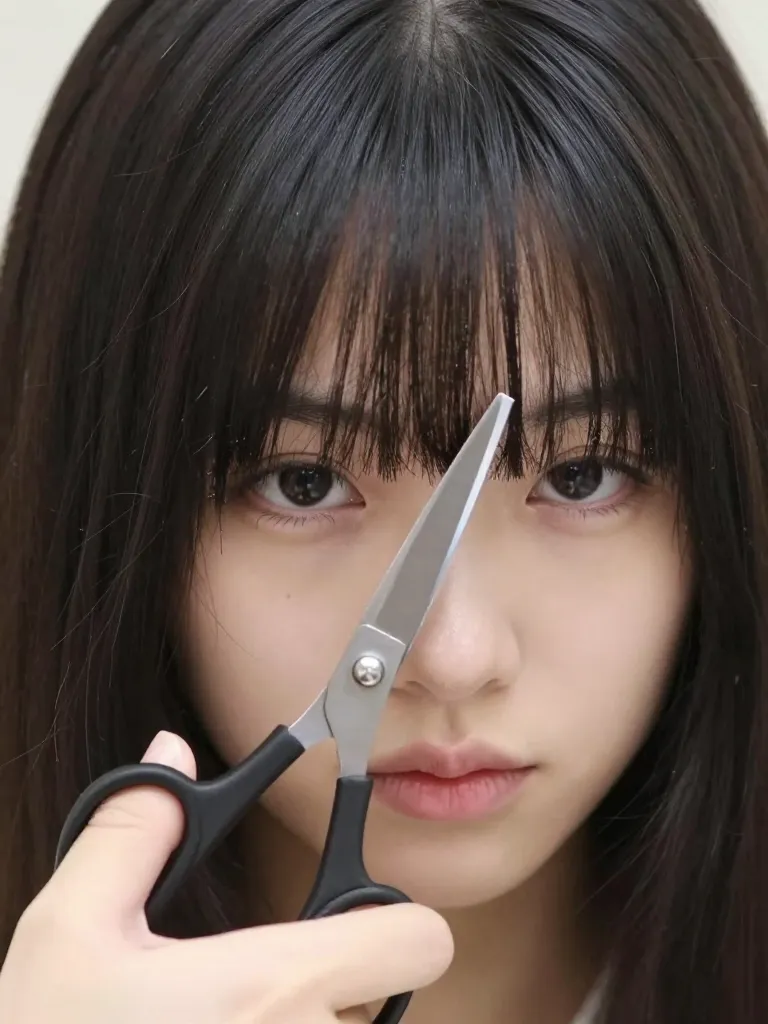
Find the center of your triangular section. Comb it straight down — it should fall to the bridge of your nose (for short hair, the tip of your nose is too long). Hold the scissors horizontally and cut straight across at that length. This is your reference point — every other strand will be measured against this center piece.
Cut only 1/4 inch at a time. You can always take more off, but you can’t add it back. The center piece should be the shortest part of your curtain bangs — about eyebrow to bridge-of-nose length for short hair.
Step 4: Cut the Sides at an Angle
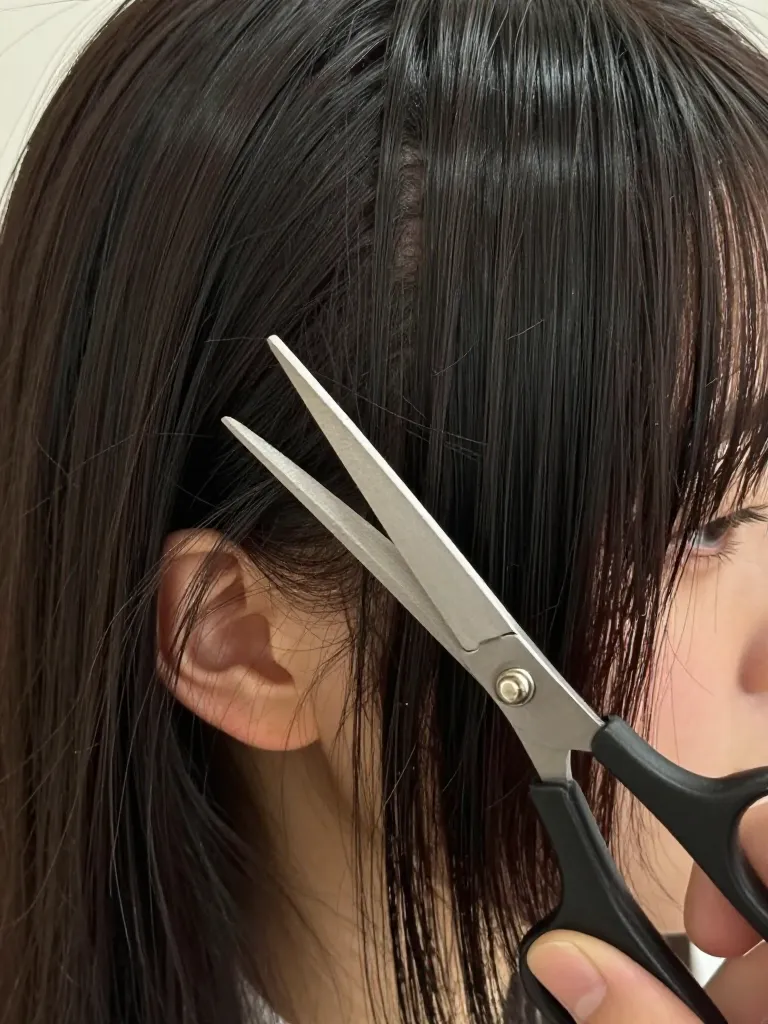
Now work from the center outward, one side at a time. Take a small section from the center piece and the next section over. Comb them together and cut at a slight angle — the new section should be about 1/4 inch longer than the center piece. Continue outward, each section 1/4 inch longer than the last.
By the time you reach the temple, the bangs should be about 1-2 inches longer than the center. This graduated length is what creates the curtain effect — shorter in the center, longer at the sides. Repeat on the other side, matching the length. Use the handheld mirror to check symmetry from the front.
Step 5: Texturize the Ends
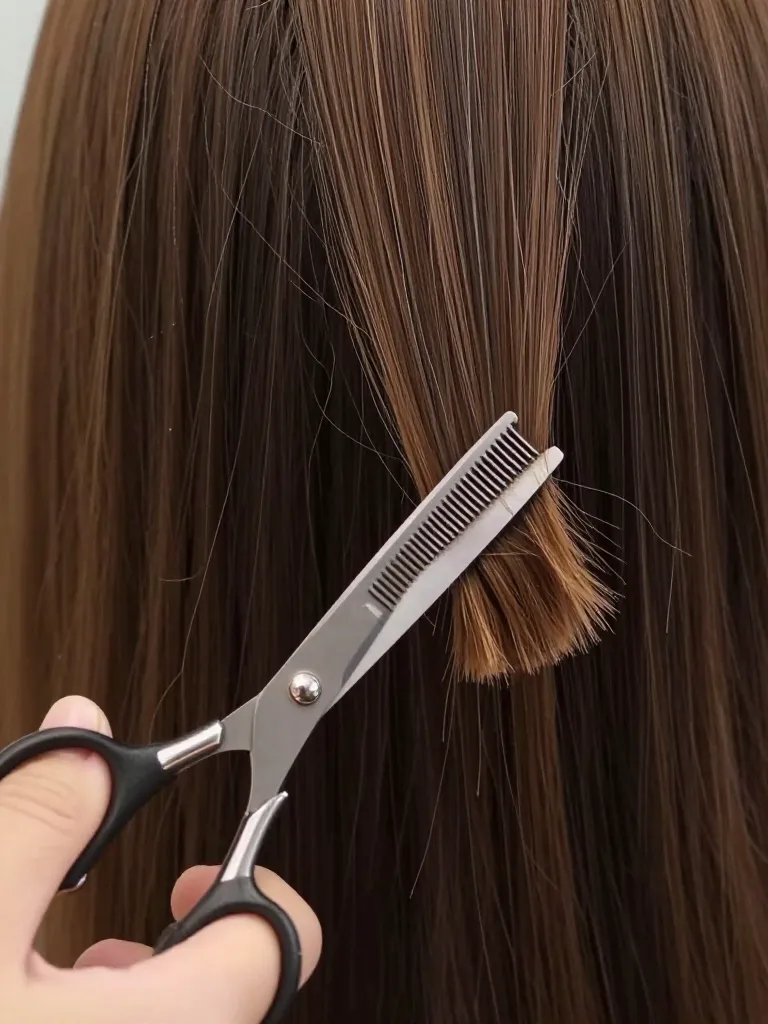
This step separates good curtain bangs from great ones. Take your regular scissors and point-cut into the ends — hold the scissors vertically and snip into the hair at a 45-degree angle. This removes weight and creates the piecey, separated texture that makes curtain bangs look effortless instead of blunt.
If you have thinning shears, use them on the last inch of the bangs — one or two cuts is plenty. Don’t over-texturize. The goal is separation, not thinning. After texturizing, shake your head and let the bangs fall naturally. They should split at the center and frame both sides of your face.
Step 6: Style and Set

Wash your hair or dampen the bangs with the spray bottle. Blow-dry the bangs using a round brush — start at the roots, directing the airflow from the center outward to each side. This sets the curtain shape. If you don’t have a round brush, use your fingers: pull the bangs to each side while blow-drying.
Finish with a light-hold hairspray or texturizing spray. Avoid heavy products — curtain bangs should move, not stay frozen. Shake your head, adjust the split, and you’re done.
Safety Warnings
- Never cut curtain bangs wet — wet hair shrinks 10-15% when dry, making bangs shorter than intended
- Start longer than you think — you can always cut more, but you can’t add length back
- Use hair-cutting shears only — kitchen scissors crush the hair shaft and cause split ends
- If you’re nervous, cut 1/2 inch longer than your target and check before going shorter
Tips for Best Results
Related Articles
Short Hair with Curtain Bangs: 4 Face-Framing Combos — See the full style guide
Curtain bangs on short hair take 20 minutes to cut and about 5 minutes a day to style. The grow-out is forgiving, the look is versatile, and the framing effect flatters every face shape. If you’ve been on the fence about bangs, this is the version to try — the curtain split gives you an out that blunt bangs never will.
Twenty minutes. One pair of scissors. A completely different face.
