Sock Curls: 4 Heat-Free Methods That Actually Work Overnight
Your old socks have been waiting their whole life for this moment. Here’s how to turn them into curling tools that won’t fry your hair.
Forget the $40 curling wand. Forget the heat damage serums you buy to undo what the curling wand did. The internet’s favorite heat-free curling method uses something you already own — socks. Not special socks. Not salon-grade socks. Just the ones sitting in your drawer with the slightly stretched-out elastic. Sock curls work because they wrap damp hair around a soft, cylindrical surface and let it dry into shape overnight. No heat, no clips digging into your scalp, no waking up at 3 AM because a roller is jabbing you behind the ear. The results range from loose, beachy waves to tight ringlets, depending on how you wrap, how long your hair is, and how many socks you sacrifice to the cause. Here are four methods that actually deliver — tested, photographed, and ranked by difficulty.
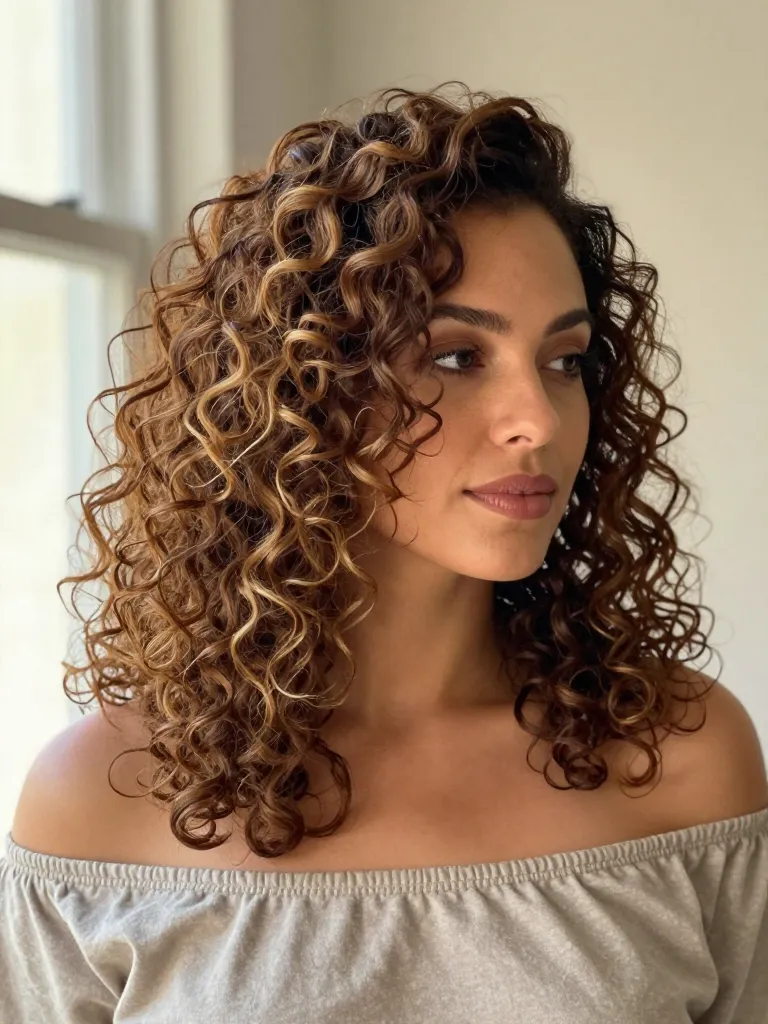
1. The Classic Sock Bun Curl
Cut the toe off a tube sock and roll it into a donut. Pull your damp hair through the center, wrap it around the sock, and tuck the ends under. Sleep on it. In the morning, unroll the sock and shake out your hair. The result is uniform, bouncy curls that start about mid-shaft and cascade down. This method works best on medium to long hair — if your hair is shorter than shoulder-length, the sock takes up too much real estate and you end up with volume at the roots but not much curl at the ends. The classic sock bun gives you the most ‘done’ look of all four methods. It’s the one you’d wear to a wedding or a job interview where you want to look polished without looking like you tried too hard.
2. The Multi-Sock Rod Wrap
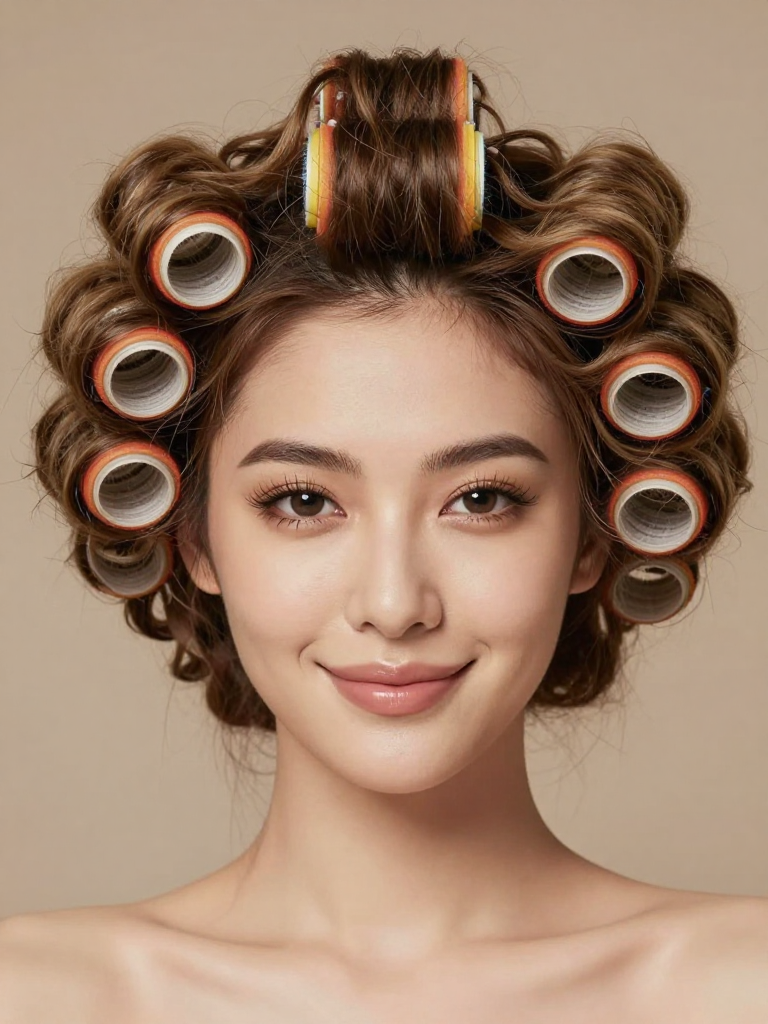
This method uses individual socks as curling rods. Take 4-6 clean socks (the longer the better), section your damp hair, and wrap each section around a sock from end to root, then tie the sock ends together to hold everything in place. The tighter you wrap, the tighter the curl. The looser you wrap, the more wave you get. This method gives you the most control over curl size and placement. Want tighter curls around your face? Wrap those sections tighter. Want looser waves in the back? Go looser. The multi-sock method takes longer to set up than the sock bun — about 20-30 minutes versus 5 — but the results are more customizable. You can also mix curl directions for a more natural, tousled look rather than the uniform ringlets of the sock bun.
3. The Braided Sock Method

This one combines two heat-free techniques. Divide damp hair into 3-4 sections. Place a sock at the root of each section, then braid the hair around the sock — three-strand braid with the sock as one of the strands. Secure the ends with a hair tie and sleep on it. The braided sock method gives you the loosest, most textured curl of all four options. It’s waves more than curls — the kind of effortless texture that makes people ask ‘is that your natural hair?’ This is the method for people who want movement without definition. It works especially well on thick hair that doesn’t hold curl from a wand but responds beautifully to overnight braiding. The sock adds structure to the braid so the wave pattern is more consistent than a regular braid-out.
4. The Pin Curl Sock Hybrid
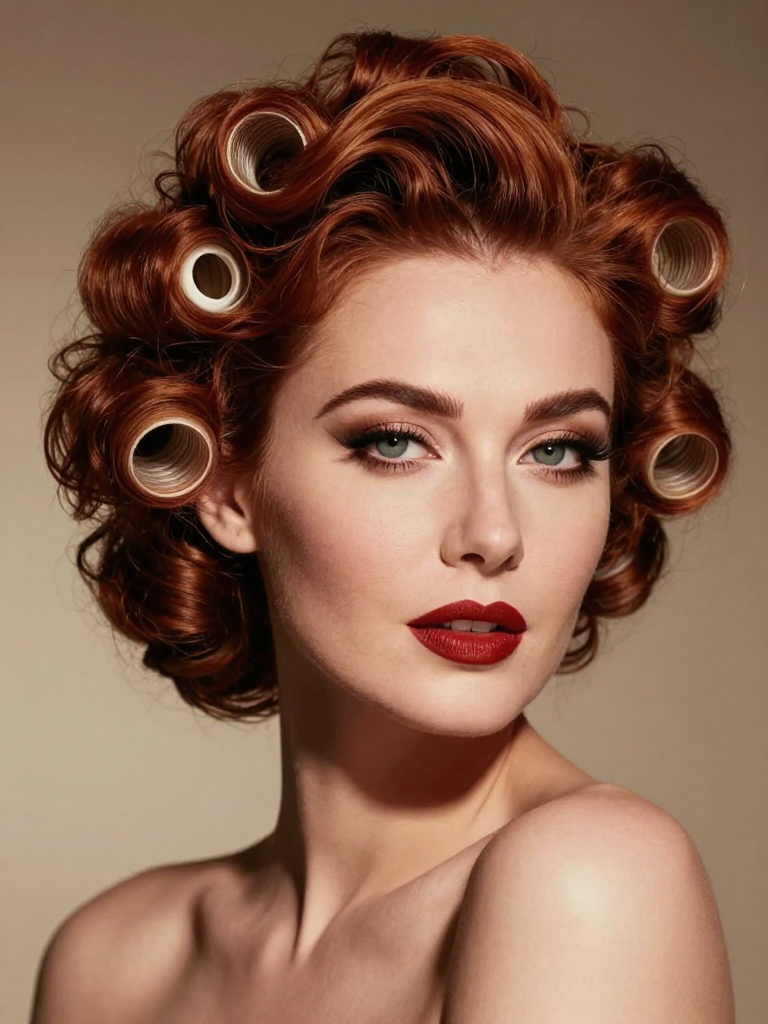
This is the advanced method. Cut a sock into 2-inch strips (each strip becomes a mini roller). Take small sections of damp hair, wrap them around the sock strips from end to root, then pin each curl flat against your head using bobby pins. The flat pinning gives you lift at the root that the other methods don’t — your curls start at the scalp instead of mid-shaft. This method takes the longest to set up (45 minutes to an hour) but gives you the most polished, vintage-inspired result. The curls are defined, uniform, and have that old-Hollywood structure that looks incredible in photos. The pin curl sock hybrid is the method for special occasions — weddings, photoshoots, any time you want to look like you walked out of a 1940s film. The root lift alone makes it worth the extra setup time.
Tools & Products
| Item | Purpose | Category |
|---|---|---|
| Clean tube socks (4-6) | The curling surface — longer socks work better for longer hair | tools |
| Hair ties or scrunchies | Securing sock ends and holding curls in place overnight | accessories |
| Bobby pins | Pin curl hybrid method — securing flat curls against the head | accessories |
| Texturizing spray | Setting curls and adding grip so they last all day | styling |
| Leave-in conditioner | Prep damp hair — adds moisture and reduces frizz while drying | care |
Related Guides
Princess curls — another heat-free curling approach — If you like heat-free styling, princess curls use a different technique for tighter, more structured ringlets.
Utah curls tutorial for voluminous bounce — Utah curls focus on root volume and bouncy ends — a different aesthetic goal from sock curls’ softer wave.
Sock curls are the rare beauty hack that actually lives up to the hype. No heat damage, no expensive tools, no skill ceiling — just socks, damp hair, and patience. The hardest part is sleeping with socks on your head, and even that becomes normal after the first night. The real advantage isn’t just that it’s free. It’s that sock curls look different from wand curls. They’re softer, more natural, and they move differently because the curl pattern formed gradually as the hair dried rather than being heat-set in 10 seconds. People can tell the difference. Not in a ‘those look worse’ way — in a ‘those look like real hair’ way.
Raid your sock drawer tonight. Your hair will thank you tomorrow morning.
