How to Get 90s Layers at Home: The Rachel-Inspired Layer Tutorial
The haircut that defined a decade. Here’s how to do it yourself with a pair of shears and a round brush.
The Rachel haircut was the most requested style of the 1990s — and salons charged $80+ for it. The layers, the face-framing, the bouncy blowout — it all looked effortless (it wasn’t). Getting it at home is actually simpler than you’d think, but there’s one catch: you need to commit to the blowout. The layers alone won’t give you the look; it’s the round brush technique that creates the signature bounce. Here’s the full process, from cutting to styling.
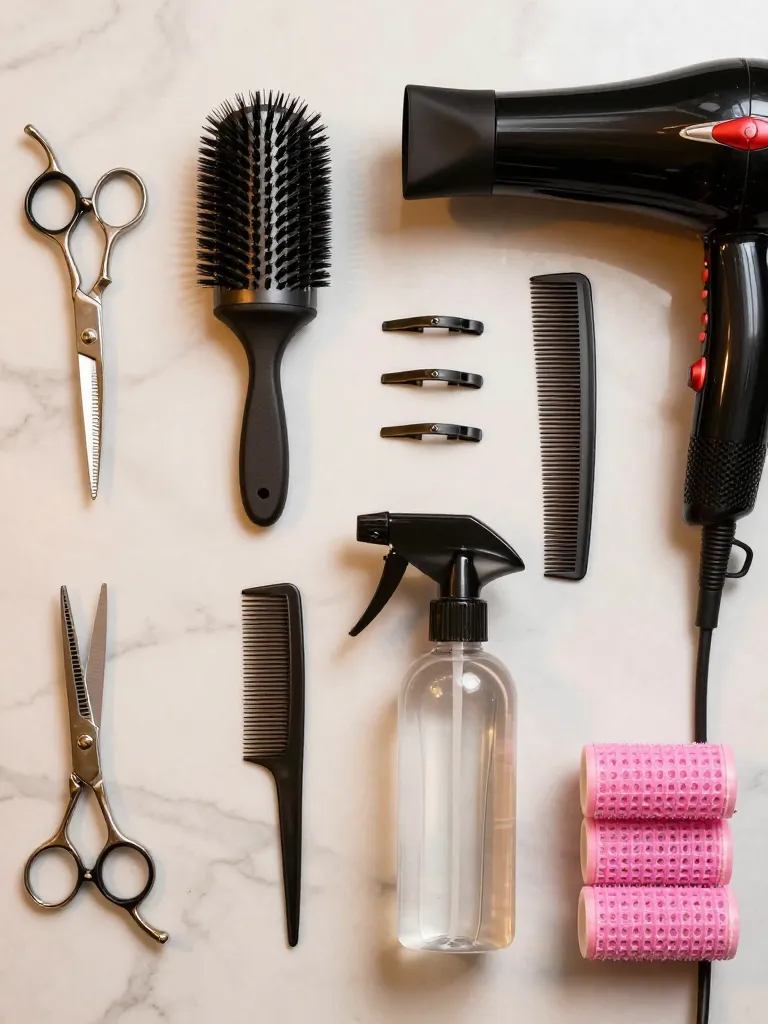
Step 1: Gather Your Tools
5 minutes
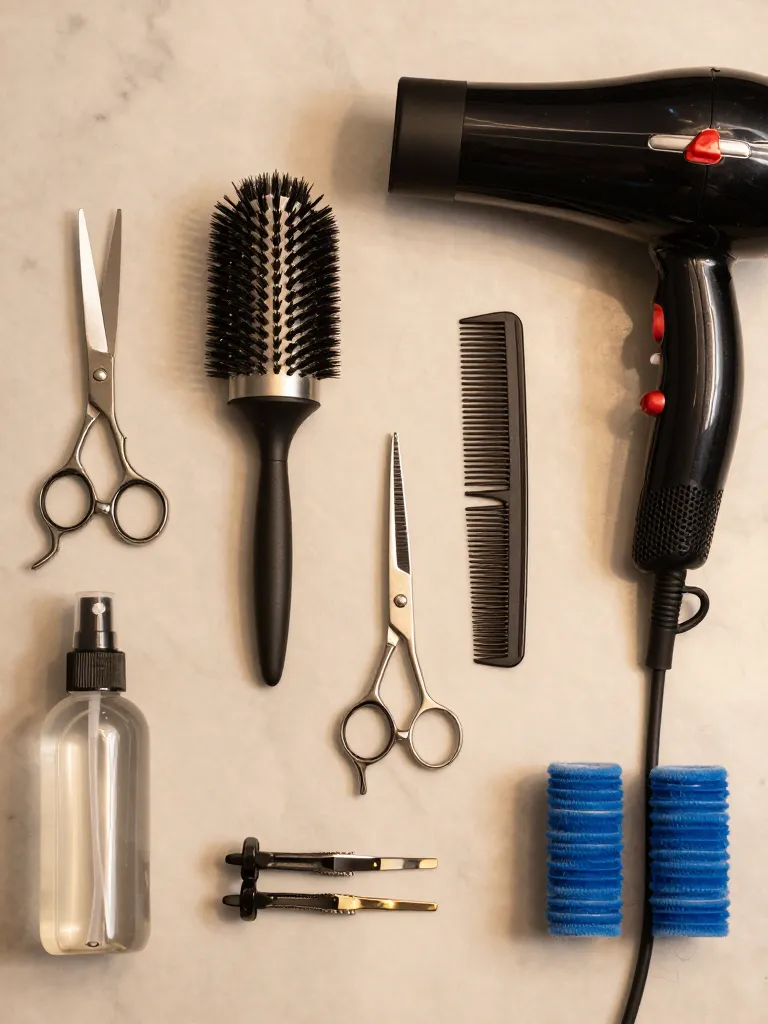
You need sharp haircutting shears (not kitchen scissors — they’ll crush the hair and cause split ends), a large round brush (at least 2 inches in diameter), sectioning clips, a wide-tooth comb, a spray bottle, a blow dryer with a concentrator nozzle, and jumbo velcro rollers. The round brush is the most important tool here — it’s what creates the Rachel bounce. Ceramic or boar bristle brushes work best for smoothing and volumizing.
Prerequisites:
- Sharp haircutting shears (not kitchen scissors)
- Large round brush (2+ inch diameter)
- Sectioning clips
- Blow dryer with concentrator nozzle
- Jumbo velcro rollers
Step 2: Section the Hair
5 minutes
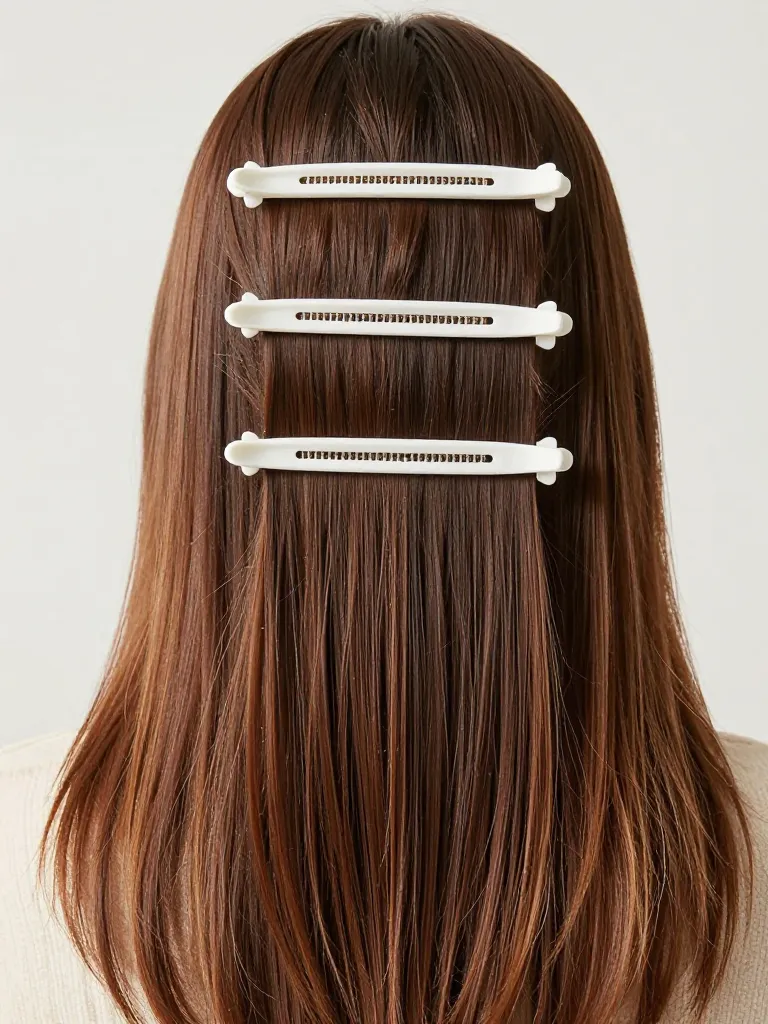
Start with clean, damp hair. Comb it straight and divide it into four horizontal sections: bottom (nape to ears), middle (ears to temples), top (temples to crown), and the front face-framing section. Clip each section out of the way. The bottom section is where you’ll establish your baseline length — everything else builds up from there. This sectioning is critical because 90s layers are all about graduated lengths that create volume at the crown.
Prerequisites:
- Step 1 tools ready
- Clean, damp hair
Step 3: Cut the Baseline
5 minutes
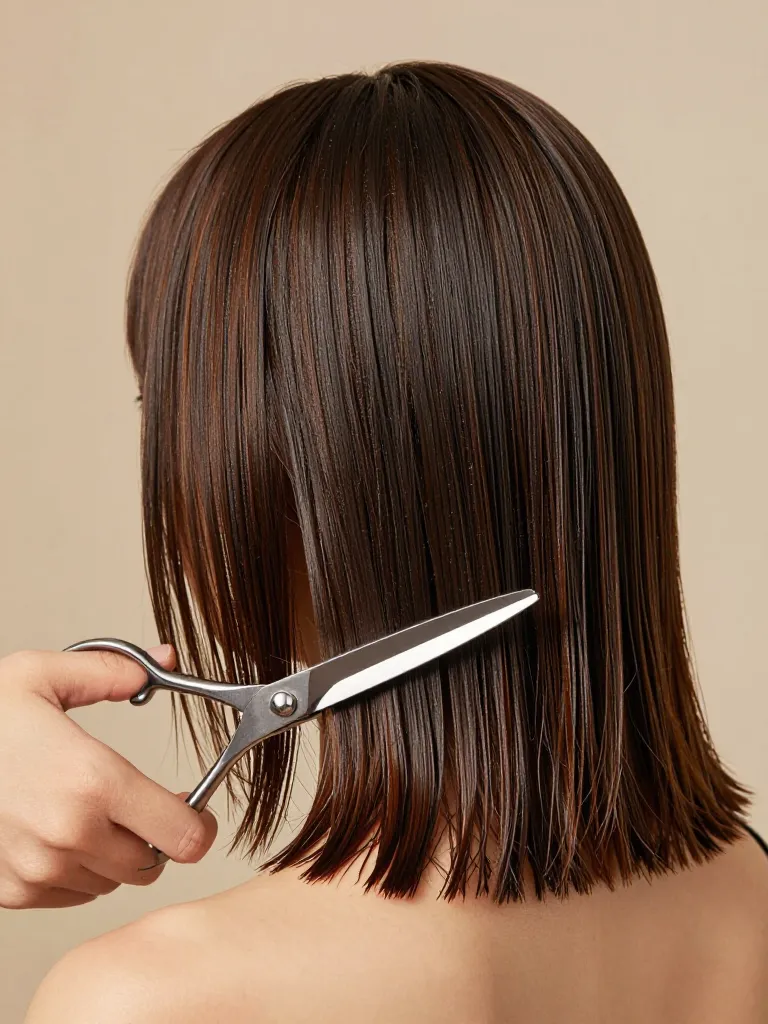
Release the bottom section and comb it straight down. Decide your baseline length — for a true 90s Rachel, this sits at the shoulders or just below. Cut straight across using the ‘point cutting’ technique: instead of cutting perpendicular to the hair, angle your shears into the ends at a 45-degree angle. This creates a softer edge than a blunt cut. Don’t worry about perfection here — the layers will cover most of the baseline. The baseline just gives you a reference point.
Prerequisites:
- Step 2 complete
- Bottom section released
Step 4: Create the Layers
15 minutes
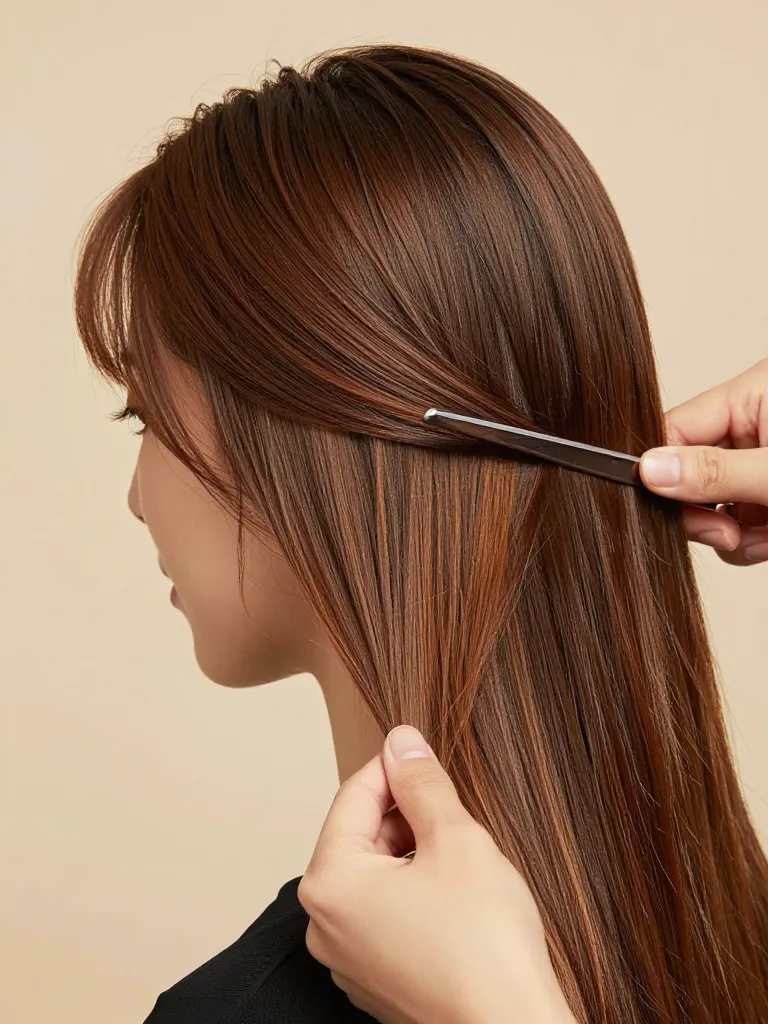
This is where the magic happens. Release the middle section and comb it straight out from the head at a 90-degree angle. Cut this section about 1-2 inches shorter than your baseline — this creates the layering effect. The key technique: pull each section straight out from the head (perpendicular to the scalp) and cut. The further you pull the hair from the head, the shorter the layer will be when it falls. For face-framing layers, release the front section and cut it at chin length, angling slightly longer toward the back. This is what creates the Rachel’s signature face-frame.
Prerequisites:
- Step 3 complete
- Sectioning clips ready
Step 5: The Blowout
20 minutes
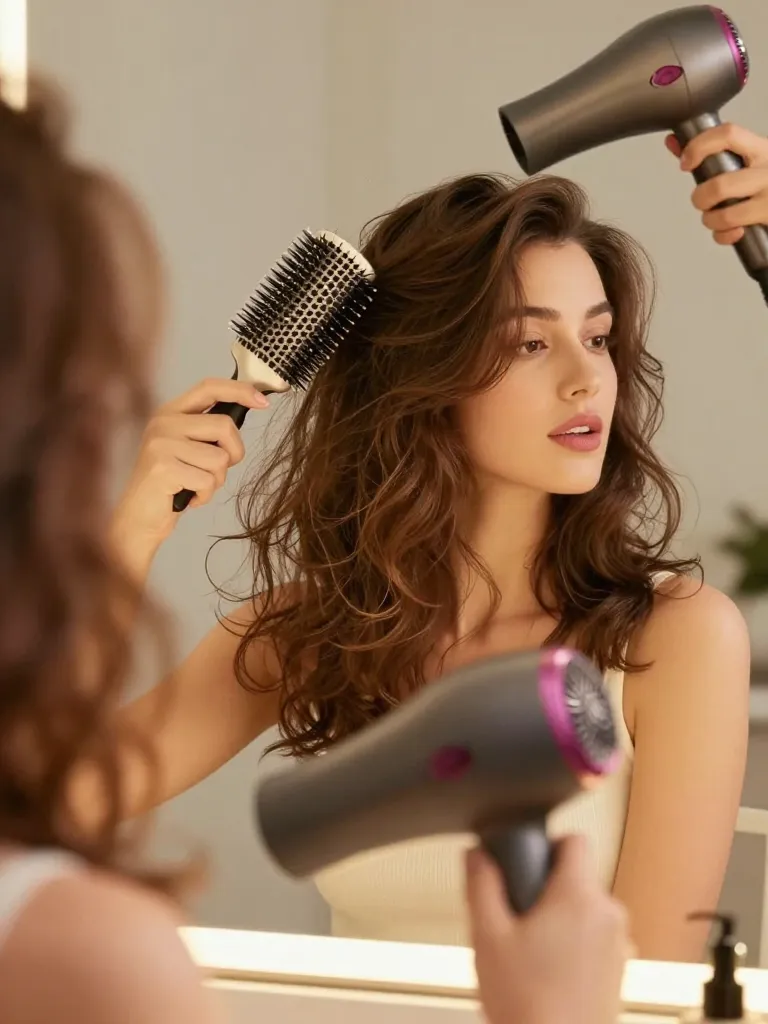
This is what separates 90s layers from just… layers. The blowout creates the volume and bounce that defines the style. Start with the bottom sections: wrap hair around the round brush, pull it taut, and direct heat from the blow dryer underneath the brush. Roll the brush away from your face and hold for 5 seconds, then blast with cool air to set the shape. Work your way up to the crown, lifting each section for maximum volume at the roots. The face-framing pieces get rolled away from the face to create the signature Rachel flip. Finish with a light mist of hairspray and optional velcro rollers at the crown while the hair cools.
Prerequisites:
- Step 4 complete
- Hair roughly dried to 80%
Safety Warnings
- Never cut dry hair with shears — it creates more split ends and the cut won’t be clean.
- If you’re unsure about length, start longer — you can always go back and take more off.
Why This Works
The 90s layer technique works because it creates graduated lengths that build on each other. The shortest layers at the crown create lift, the middle layers create body, and the longest layers create movement. When you blow-dry with a round brush, each layer catches the airflow differently, creating the bouncy, dimensional effect that made the Rachel famous. The face-framing layers work by drawing the eye inward toward the face, creating a slimming effect that works on virtually every face shape.
Pro Tips
The Rachel is one of those haircuts that looks complicated but is surprisingly achievable at home. The cut itself takes 30 minutes; the blowout takes another 20. But once you’ve got it down, you can do the blowout in 10 minutes flat, and the style lasts 2-3 days with some dry shampoo. That’s a lot of mileage for one DIY session.
Grab your round brush. Section your hair. Let the 90s volume begin.
