How to Get Princess Curls at Home: The Complete Step-by-Step Guide
Bouncy, defined spirals that last for days. Here’s how to do it yourself.
Princess curls look like they require a professional stylist and a fairy godmother. They don’t. What they require is the right tools, the right product, and about 45 minutes of your time. The difference between limp waves that fall out in an hour and bouncy ringlets that last three days comes down to three things most people skip: section size, cooling time, and product application. Get those right and you’ll never pay for a curl session again.
Step 1: Prep Your Hair
10 minutes
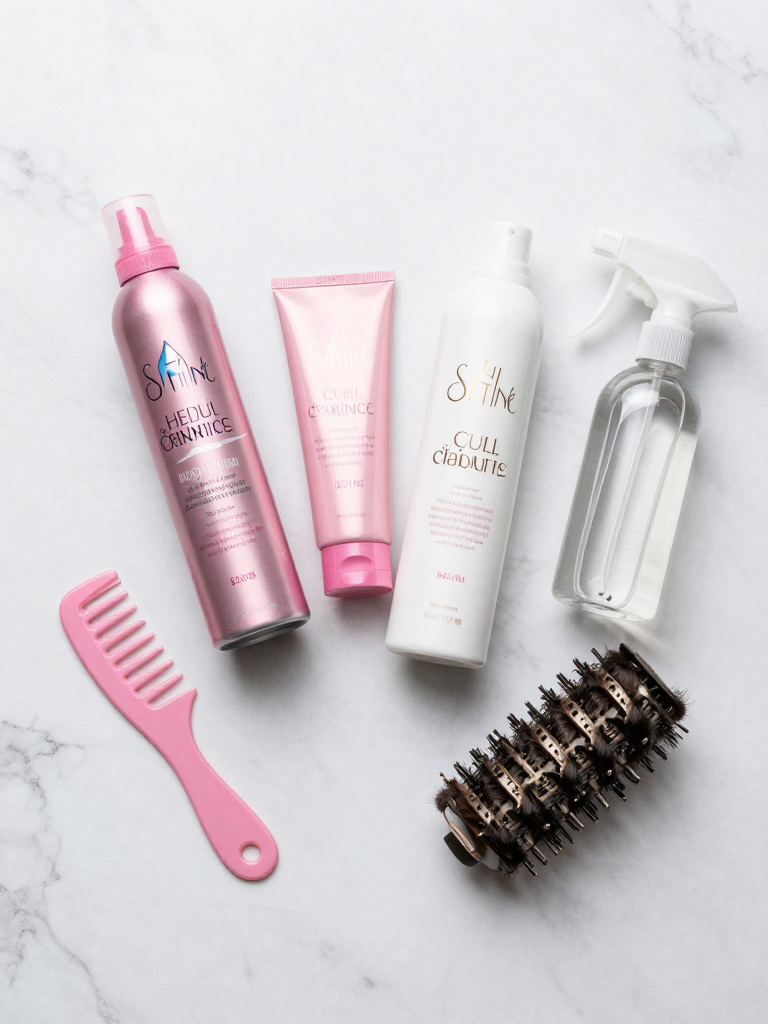
Start with freshly washed, conditioned hair. Towel-dry until damp — not dripping, not dry. Apply a heat protectant from roots to ends, then work a golf-ball-sized amount of curl-defining cream through your hair, focusing on the mid-lengths and ends. The cream is what gives your curls definition and hold — skip this and your curls will be frizzy and short-lived. Comb through with a wide-tooth comb to distribute product evenly.
Pro Tip: Use a microfiber towel to reduce frizz during the drying step
Step 2: Section Your Hair
5 minutes
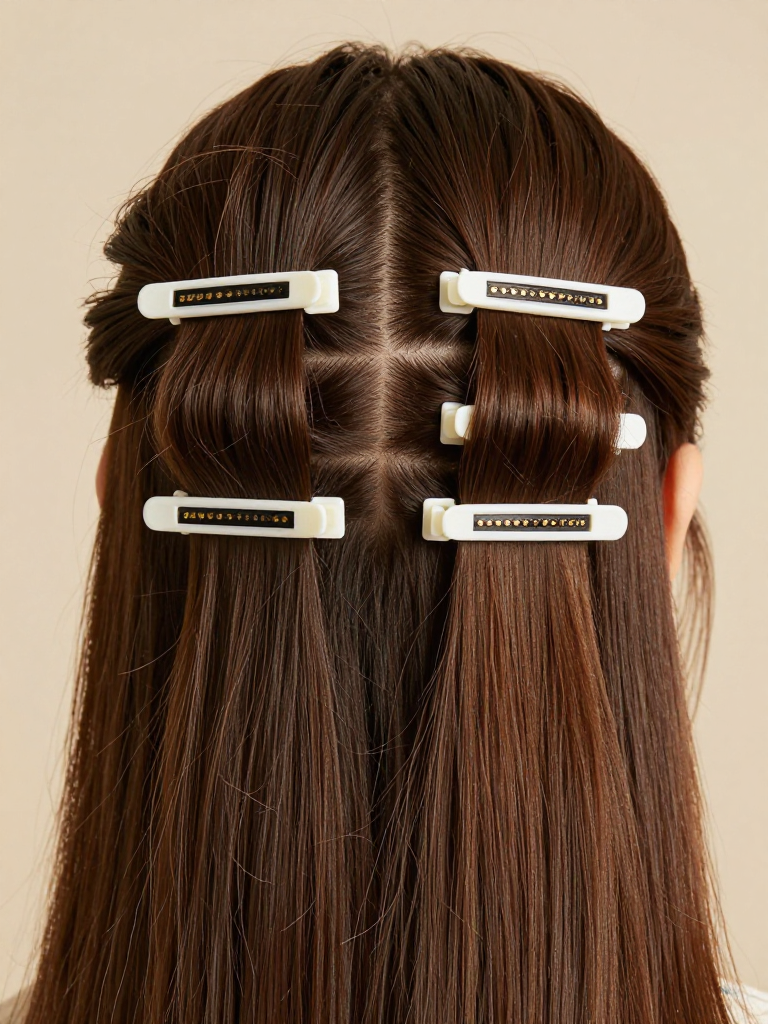
Divide your hair into four quadrants — two on top, two on bottom. Clip the top sections out of the way. The bottom sections are where you start. The key to princess curls is small sections — no wider than one inch. If your sections are too big, the heat won’t penetrate to the center and the curl will be loose and undefined. This is the step most people rush, and it’s the reason their curls don’t hold.
Pro Tip: Use the rat-tail comb to create clean, even parts for consistent curl size
Step 3: Curl with a Small-Barrel Iron
25-30 minutes
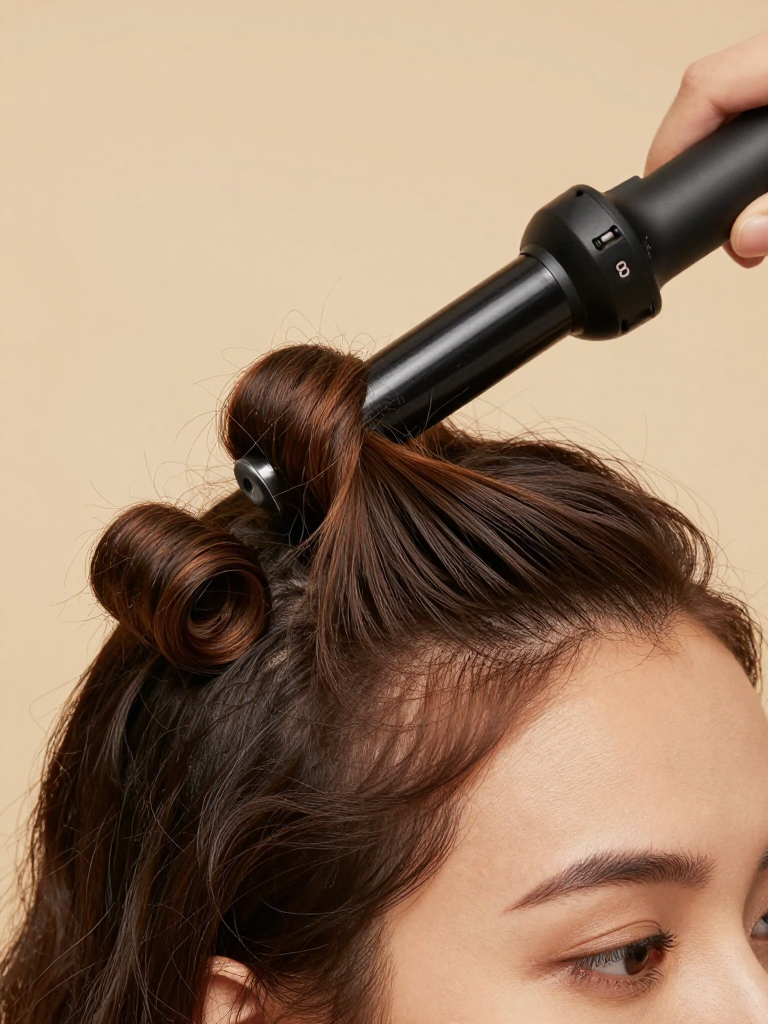
Use a 3/8-inch curling iron (or the smallest barrel you have). Take a one-inch section, clamp the iron near the root, and wrap the hair tightly around the barrel all the way to the end. Hold for 8-10 seconds — no more, or you’ll damage the hair. Release the curl into your palm and let it cool there for 5 seconds before dropping it. This cooling step is what sets the curl pattern. Skip it and your curls will stretch out immediately. Work through the bottom sections first, then move to the top.
Pro Tip: Alternate curl direction (toward face, away from face) for a more natural look
Step 4: Set and Separate
5 minutes
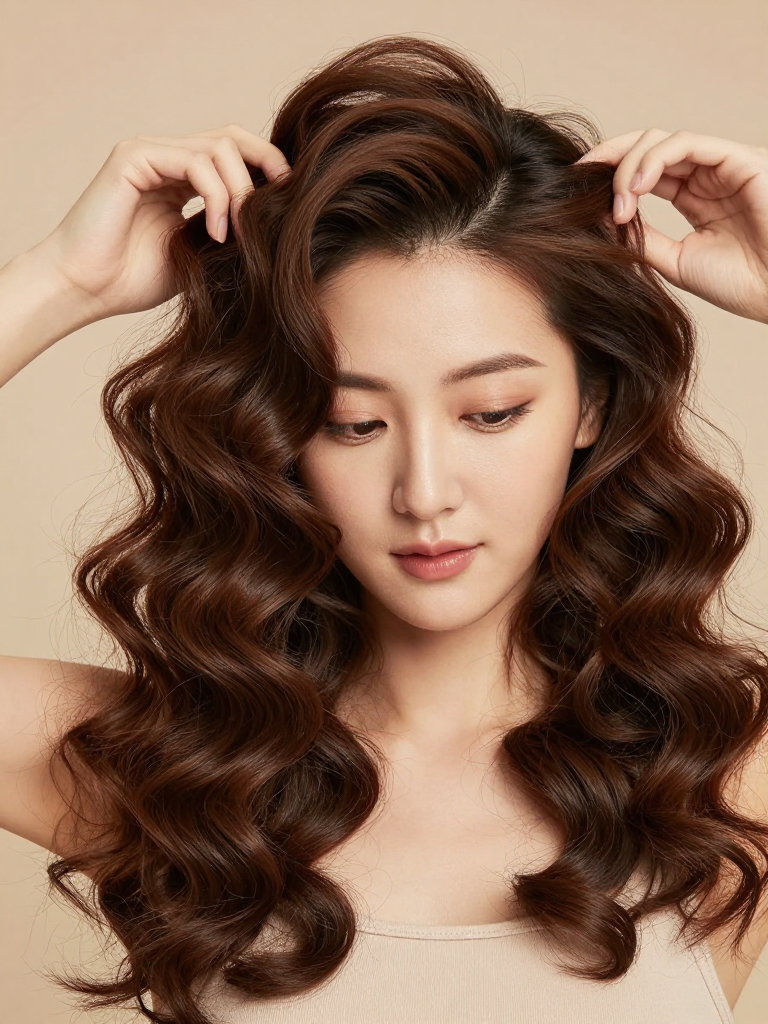
Once all curls are cooled, mist lightly with a flexible-hold hairspray from about 12 inches away — you want hold, not crunch. Then use your fingers (never a brush) to gently separate each curl into two or three smaller spirals. This creates volume and movement without destroying the curl pattern. If you want maximum volume, flip your head upside down and shake gently at the roots. For a more polished look, leave the curls as-is and let gravity do the work.
Pro Tip: For extra hold, pin each curl to your head with a bobby pin while it cools, then remove after 10 minutes
Safety Warnings
- Don’t hold the curling iron on any section for more than 10 seconds — excessive heat causes breakage and damage.
- Always use a heat protectant. Skipping this step will fry your hair over time, no matter how good your technique is.
Pro Tips
Related Articles
Princess Curls: 4 Fairy-Tale Spirals That Actually Hold — Overview of 4 princess curl styles with aesthetic vibes and tool recommendations.
Princess curls are one of those styles that look like they require a professional but are completely doable at home. The technique isn’t complicated — small sections, tight wraps, and proper cooling time. The product does the heavy lifting. Once you’ve done it once, you’ll be able to knock out a full head of fairy-tale ringlets in under 30 minutes. And they’ll last three days. Try getting that from a salon blowout.
Grab your iron. Section small. Let them cool. You’ve got this.
