Boho Braids: 4 Free-Spirited Styles That Refuse to Follow Rules
Structured chaos for people who think braids are too neat.
Boho braids are what happens when braiding technique meets ‘I don’t care but actually I care a lot’ energy. They’re messy on purpose. They’re frizzy by design. They have loose tendrils that frame your face like you just walked through a wind tunnel and somehow looked incredible. The ‘boho’ in boho braids isn’t a vibe — it’s a structural philosophy. Every imperfection is engineered. Every flyaway is placed. Every loose section exists because someone with very sharp shears and very precise hands put it there. These four variations prove that boho braids aren’t a lazy alternative to clean braids — they’re a harder skill to master.
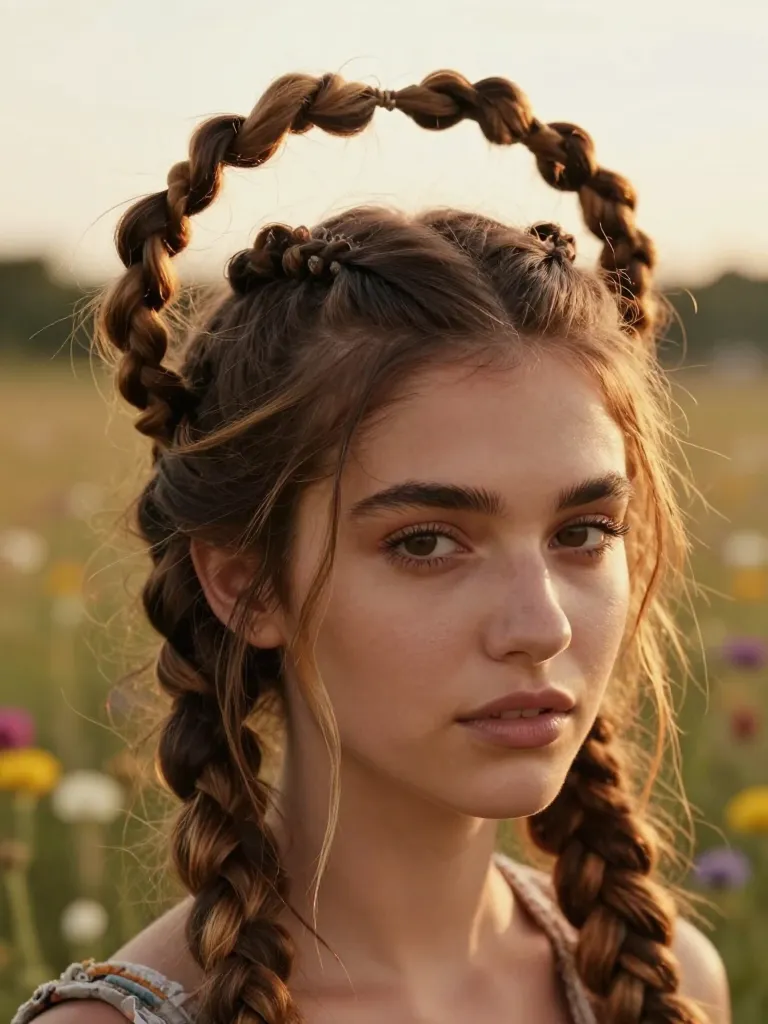
1. The Milkmaid Crown Braid
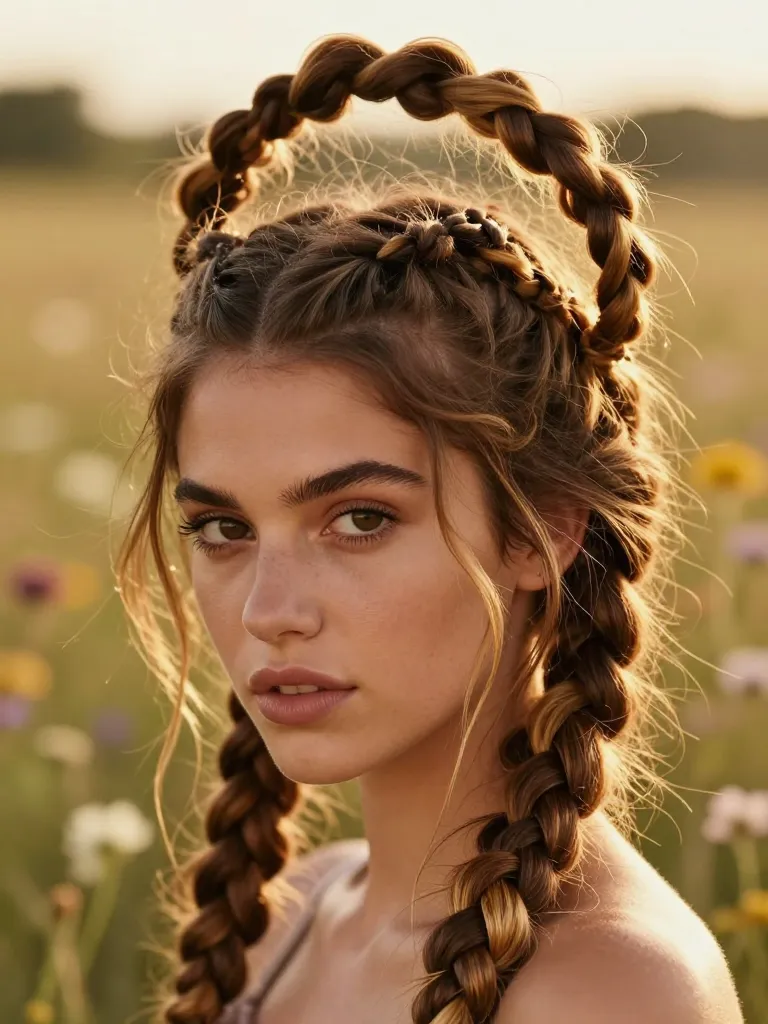
The Milkmaid Crown Braid is the gateway boho braid — it looks effortless, which means it takes the most effort. You’re creating two separate braids (fishtail or Dutch, depending on how much dimension you want), wrapping them over the crown, and pinning them so they overlap slightly. The boho part comes from the finishing: pull apart each braid section by section to create width and irregularity. Then use a rat-tail comb to gently lift small pieces at the temples, behind the ears, and at the nape. These aren’t mistakes — they’re the entire point. The braid should look like it survived a gentle breeze, not like it was constructed in a salon. The Milkmaid Crown works on second-day hair (the texture grip helps), medium to long lengths, and virtually every face shape — the crown placement elongates round faces and softens angular ones.
2. The Half-Up Boho Rope Braid
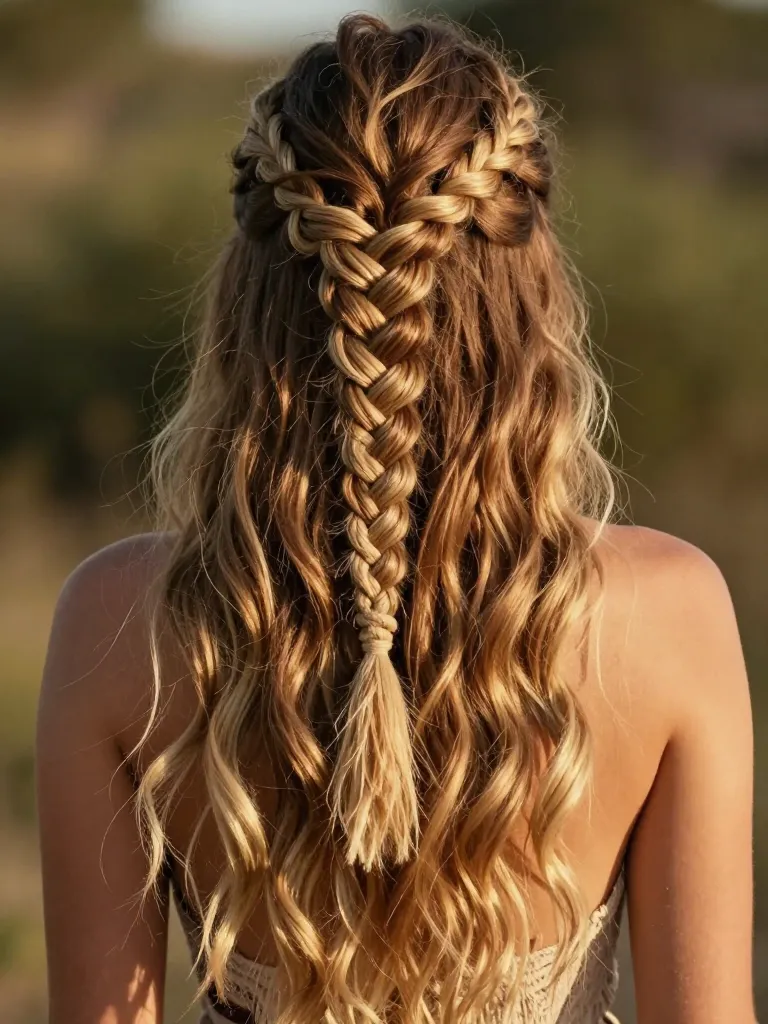
The Half-Up Boho Rope Braid is the ‘I tried but not too much’ style that actually requires precision. You’re taking a section from temple to temple (about ear-level depth), splitting it into two strands, and creating a rope braid — two strands twisted in the same direction, then wrapped around each other in the opposite direction. The rope braid texture is chunkier and more organic than a standard three-strand, which gives it that boho character. The key is the gathering: don’t use a hair tie at the base. Instead, twist the rope braid into a small bun or let it hang loose, and secure with bobby pins hidden inside the twist. The bottom half should be air-dried or loosely waved — no curling iron perfection, just natural movement. Pull two face-framing pieces at the front, and you have a style that looks like it took five minutes but actually took twenty.
3. The Fishtail Side Braid
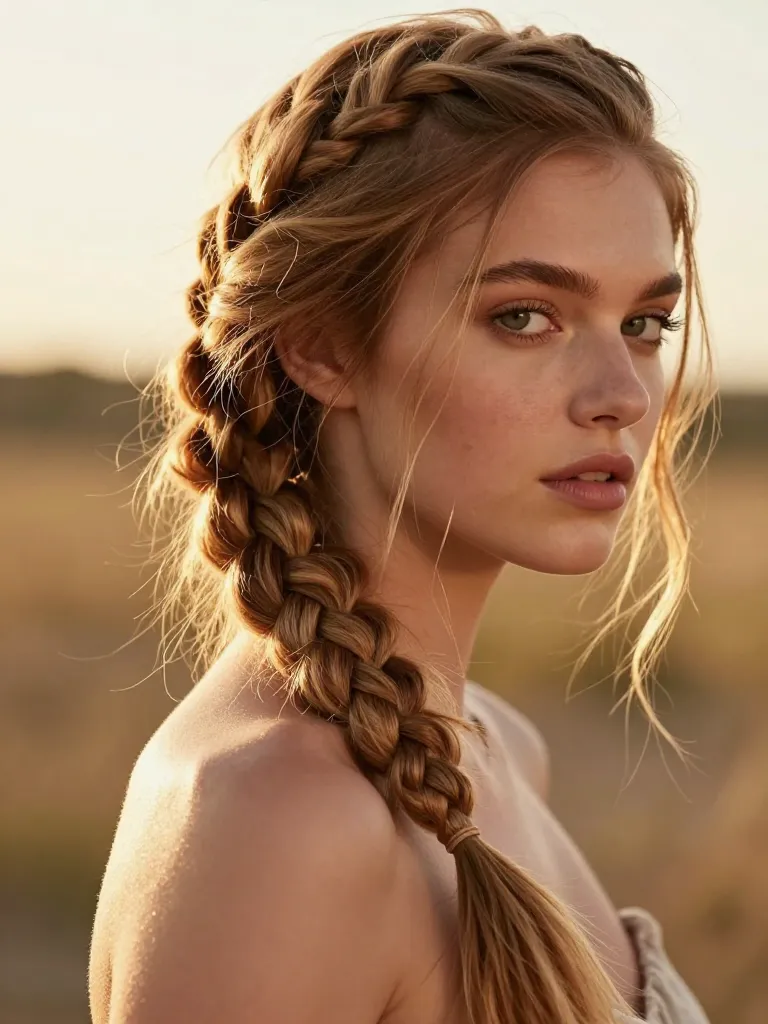
The Fishtail Side Braid is the most visually complex boho braid — it looks intricate, which is the point. Start by gathering all hair to one side (left or right, depending on preference). Create a standard fishtail braid: divide into two sections, take a small piece from the outside of one section, cross it over to the inside of the other section, repeat. Once the fishtail is complete, the real work begins. Starting from the bottom, gently pull apart each ‘stitch’ of the braid — pinch the edges and tug outward to create width. Work your way up, making each section progressively wider toward the top. The result is a flat, woven-looking braid that reads as much more complex than it actually is. The boho detailing comes from the face-framing: pull 4-6 small sections from the braid at the temples and cheeks, and let them curl naturally.
4. The Messy Boho Braid Bun
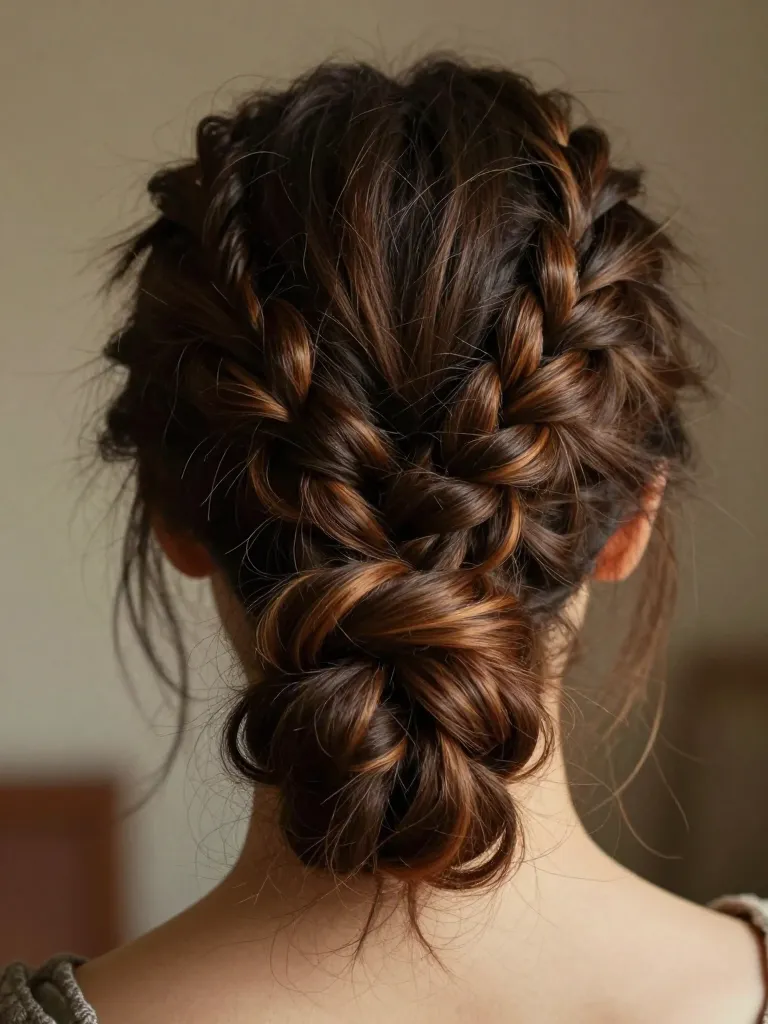
The Messy Boho Braid Bun is the formal boho option — it’s the style that works at weddings, garden parties, and anywhere you need to look like you care but not too much. Start by creating a low ponytail at the nape. Braid the ponytail (three-strand or fishtail — fishtail gives more boho character). Then, pull apart the braid aggressively — you want it wide, flat, and irregular. Wrap the braid around the base of the ponytail, pinning as you go, and let the end tuck underneath. The bun should sit flat against the nape, not stick out. The boho detailing is the final layer: use a fine-tooth comb to gently pull baby hairs loose around the entire hairline — temples, forehead, nape, behind the ears. Then use your fingers to pull 3-4 small sections from inside the bun to create loose tendrils that fall around the bun.
Materials Checklist
| Item | Purpose | Category |
|---|---|---|
| Texturizing spray | Adding grip and volume before braiding — boho braids need texture to hold | Styling Products |
| Clear elastic bands | Securing braid ends without visible hardware | Accessories |
| Bobby pins (matte finish) | Securing braid wraps and hidden anchor points | Accessories |
| Rat-tail comb | Sectioning and pulling baby hairs for the undone finish | Styling Tools |
| Flexible-hold hairspray | Setting the boho texture without stiffness — the braid needs to move | Styling Products |
| Sea salt spray | Creating the lived-in texture that makes boho braids work on clean hair | Styling Products |
Related Articles
Boho braids are proof that ‘effortless’ is the most effortful thing you can do with hair. Every loose strand, every pulled-apart section, every face-framing tendril is a deliberate choice made by someone who understands that imperfection — real, engineered, structural imperfection — is harder to achieve than clean lines. The braiding is the easy part. The unbraiding is the art.
Messy by design. Perfect by accident. That’s boho. 🌿
