The Flow Hairstyle for Men: How to Build Korean-Level Movement in Your Hair
Straight hair doesn’t have to lay flat. You just have to cut it wrong on purpose.
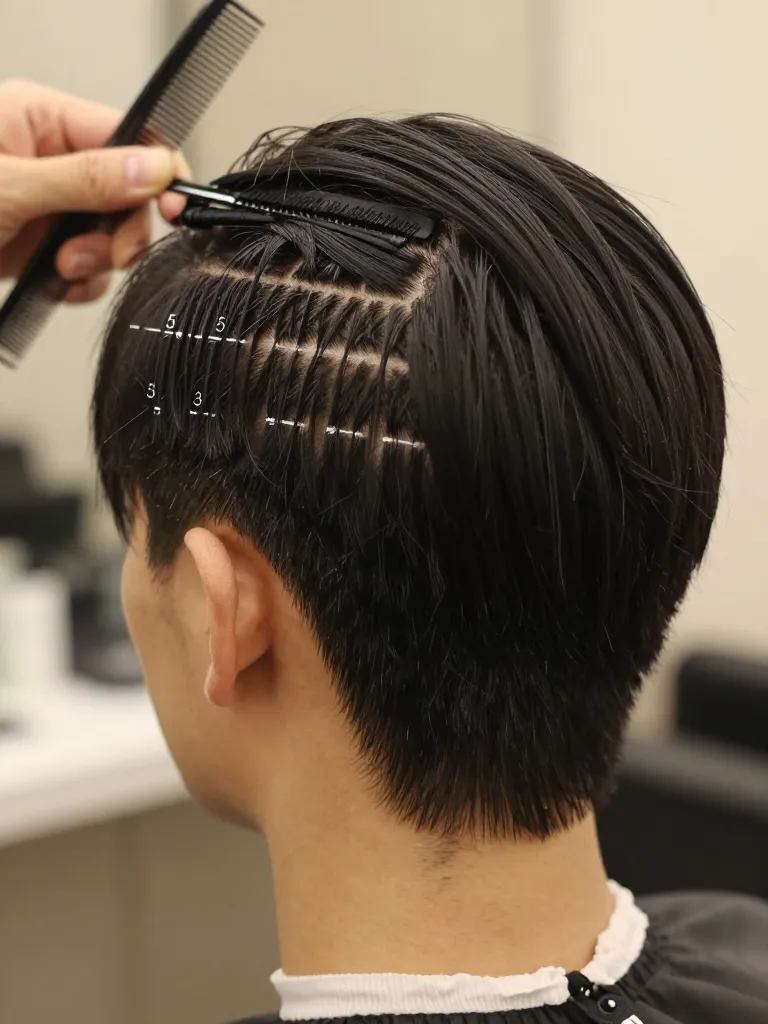
The flow hairstyle is the Korean barbering answer to one question: how do you make straight, flat Asian hair move? The answer isn’t product — it’s architecture. Korean barbers use specific layering techniques that create internal weight removal, allowing straight hair to separate, wave, and flow when it moves. The result is hair that looks alive — not styled into submission, but structurally engineered to have natural movement. The flow hairstyle is what happens when you stop fighting straight hair’s flatness and start engineering around it. Here’s how to build it.
Step 1: Establish the Overall Length Map
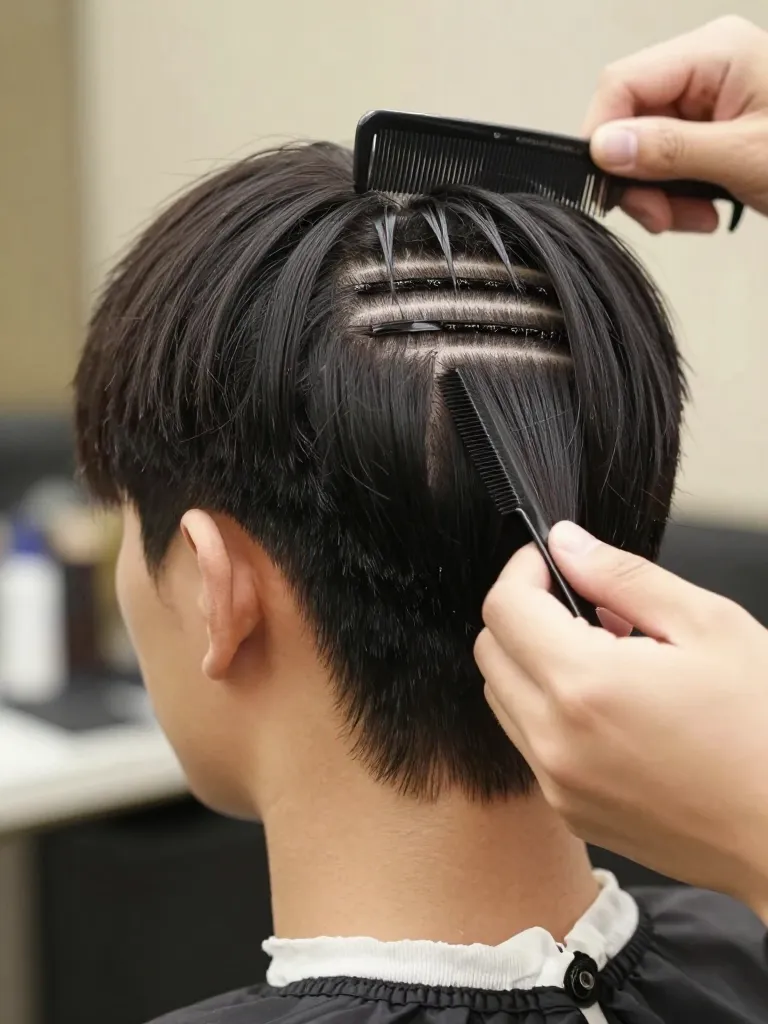
The flow hairstyle is built on a graduated length map — the hair is longest at the crown and shortest at the nape, with a smooth length transition between them. Start by establishing your target lengths: crown should be 5-6 inches, mid-back should be 4-5 inches, and nape should be 3-4 inches. The key difference from a regular layered cut is that the length graduation is more dramatic — Korean barbers use steeper graduation to create the ‘flow’ effect. Section the hair horizontally from ear to ear, clipping the top sections up. The bottom section (nape) will be cut first, then each subsequent section is cut slightly longer as you work upward. This creates the cascade effect that makes the hair flow backward when it moves.
Step 2: Cut the Nape with Internal Weight Removal
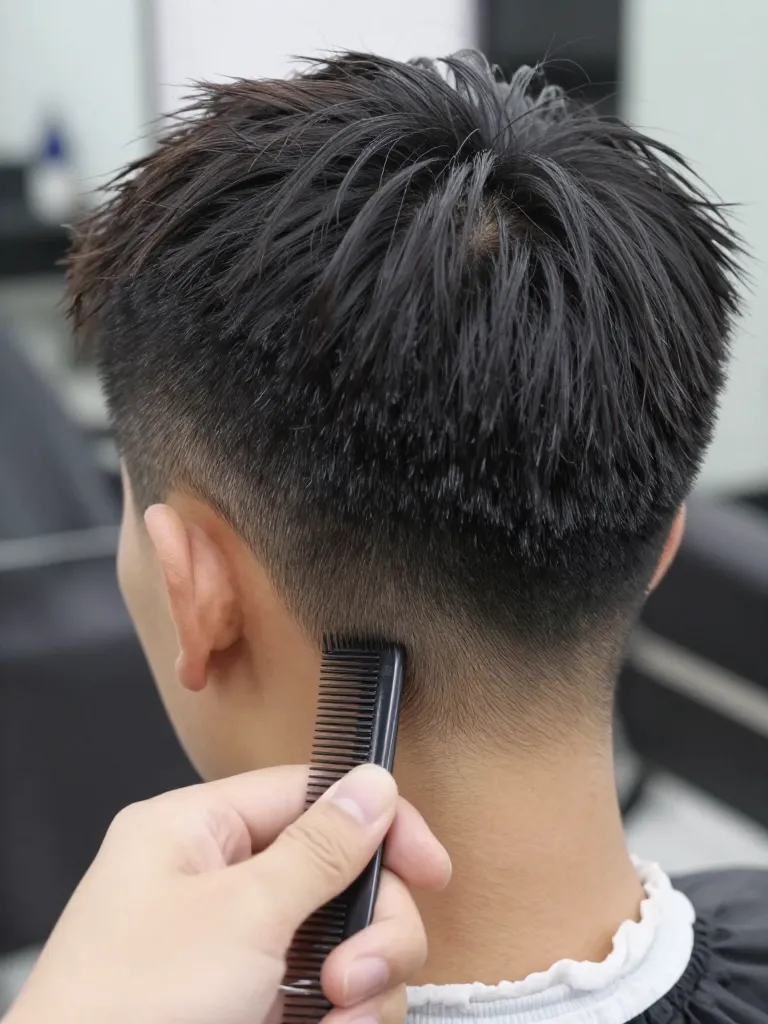
The nape is the foundation of the flow — it’s the shortest zone and controls how the hair falls at the back of the neck. Comb the bottom section straight down and cut to your target length (3-4 inches). Then, the critical step: point-cut vertically into the ends in small sections. This creates internal weight removal — the outer layer looks clean and shaped, but the inside has space for movement. Without this step, the nape hangs like a flat curtain. With it, the nape has dimension and separation. For the flow hairstyle specifically, the nape should be textured more aggressively than a standard layered cut — the extra weight removal is what allows the hair to ‘flow’ rather than hang.
Step 3: Layer the Mid-Back for Cascade
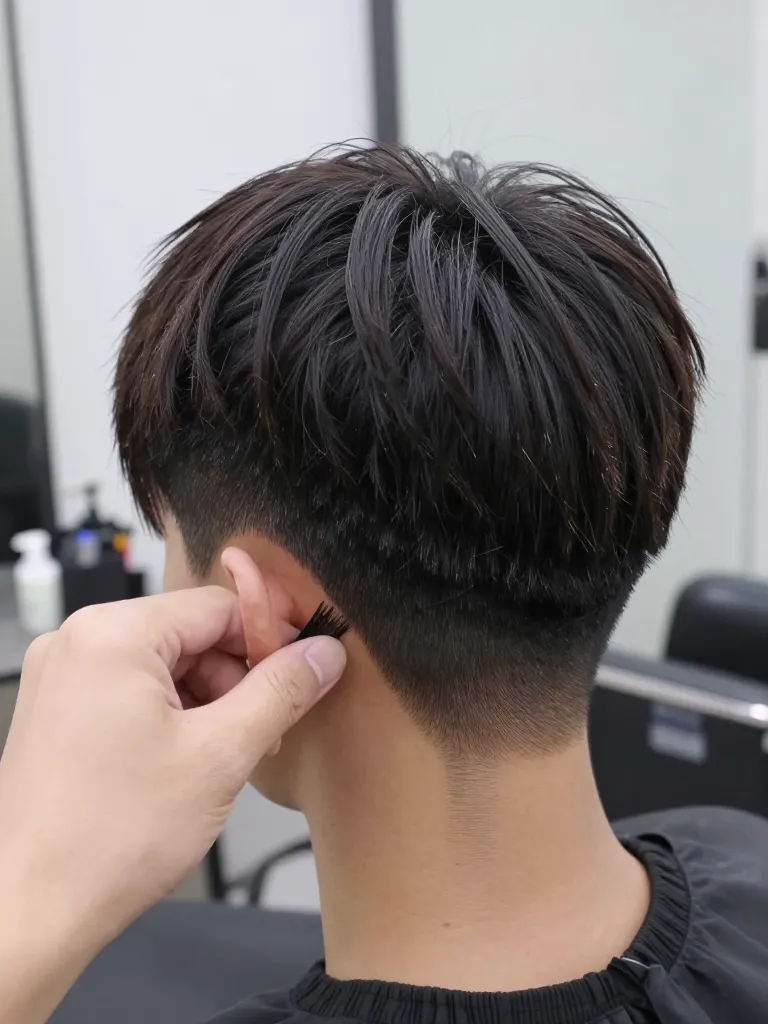
Release the next section up (mid-back). Pull it straight out from the head at a 90-degree angle and cut to your target length (4-5 inches). The mid-back section should be 1-1.5 inches longer than the nape — this length differential creates the cascade effect that’s the hallmark of the flow hairstyle. Layer the mid-back using the same point-cutting technique: vertical sections, steep angle cuts into the ends. The mid-back layer acts as the ‘bridge’ between the short nape and the long crown — it needs enough texture to flow, but enough structure to support the layers above it. When you release this section, it should fall naturally over the nape with visible movement.
Step 4: Build the Crown Layer for Maximum Flow
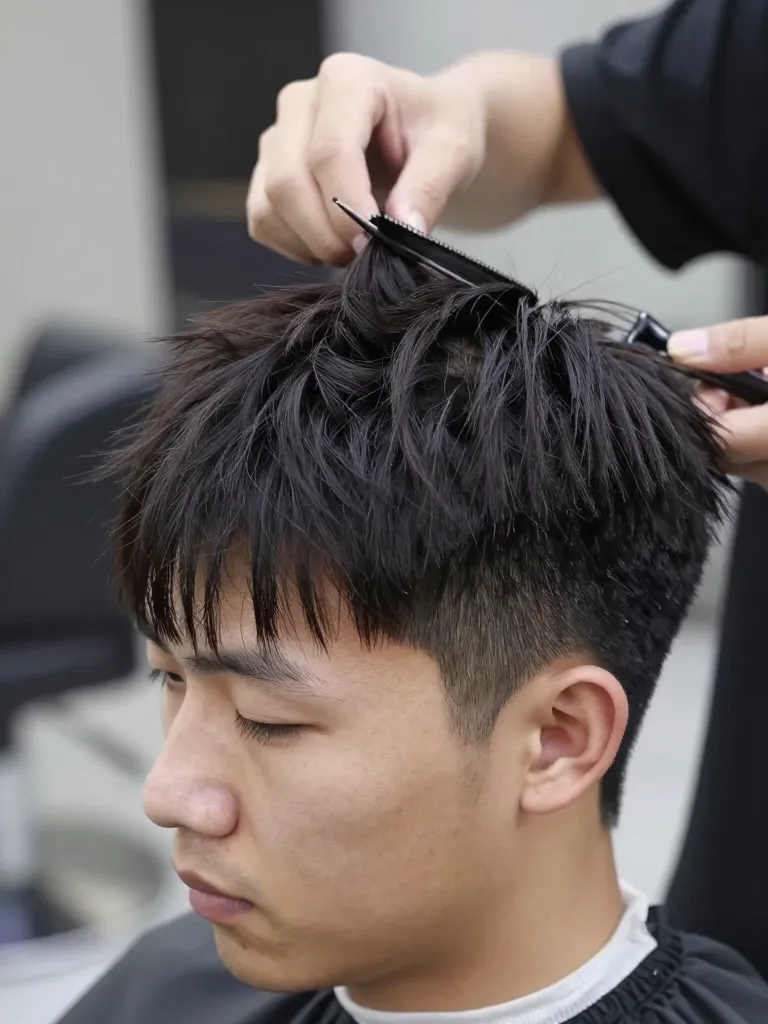
The crown is the longest zone and controls the overall flow direction. Release the top/crown section. Pull it straight up at 90 degrees and cut to 5-6 inches. The crown needs the most aggressive texturing of all the layers — this is where the ‘flow’ lives. Take small vertical sections and point-cut into the ends at the steepest angle you can manage. Then, use thinning shears to remove additional weight from the interior of the crown section. The goal is hair that separates into distinct, flowing sections when it moves — not hair that moves as one solid mass. The crown layer should be textured enough that when you run your fingers through it, you feel individual strands, not a wall of hair.
Step 5: Style the Flow
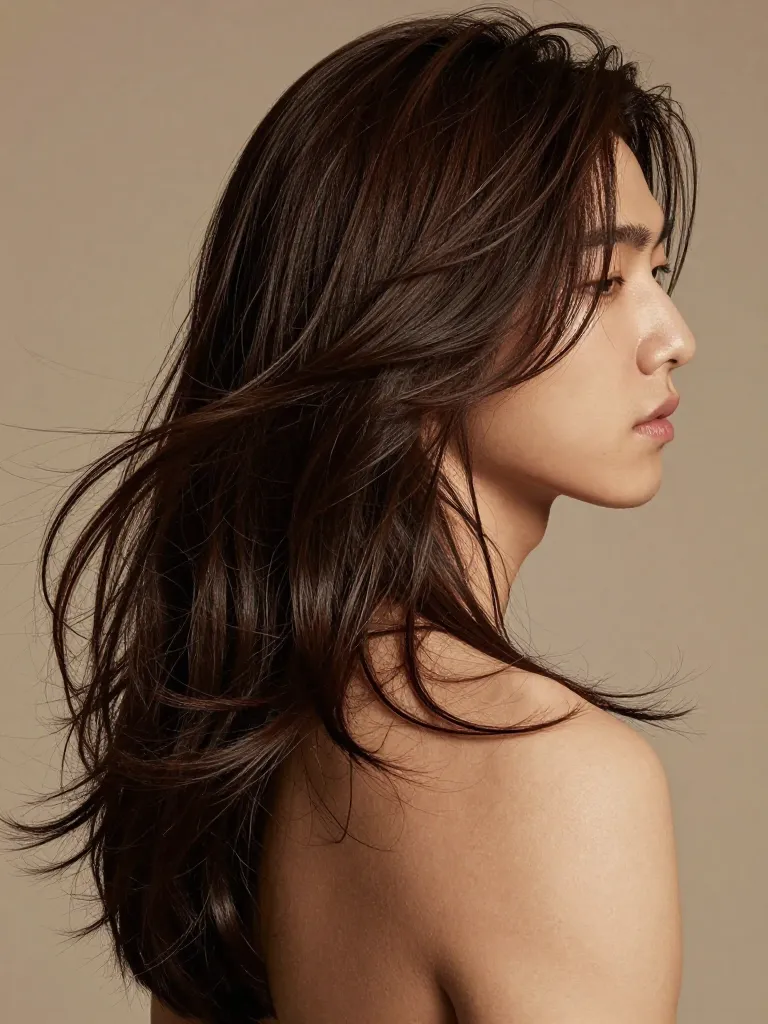
The flow hairstyle is designed to look best with minimal styling — the architecture does the work. Start with damp hair. Apply a lightweight sea salt spray or texturizing mist — work it through the mid-lengths and ends, scrunching the hair to encourage separation. Air-dry is the preferred method — the flow hairstyle looks best when it dries naturally, allowing the layers to settle into their cascade pattern. If you must blow-dry, use a diffuser on low heat and direct the airflow backward — this reinforces the flow direction without flattening the layers. Once dry, tousle with your fingers to separate the layers. The final look should have visible movement from crown to nape, with each layer cascading over the one below. The hair should look like it’s in motion even when you’re standing still.
Safety Warnings
- Never cut the flow hairstyle to your target length while wet — straight Asian hair shrinks 0.5-1 inch when dry and the cascade effect disappears
- Point-cut at steep angles — shallow cuts create blunt texture that straight hair can’t overcome
- Use thinning shears sparingly on the surface — surface thinning creates frizz, not movement. Interior thinning is the move.
Why This Works
The flow hairstyle works because it uses graduated layering to create structural movement in straight hair. Each layer is cut to a different length, and each layer is internally textured to remove weight. When the hair moves, the layers cascade over each other — the long crown falls over the mid-back, the mid-back falls over the nape — creating a waterfall effect that reads as ‘flow.’ The internal weight removal is critical: without it, straight hair’s natural weight holds the layers together as one unit. With it, the layers separate and move independently. Korean barbers developed this technique specifically for Asian hair — the steeper graduation and more aggressive texturing account for the thickness and straightness that would otherwise prevent movement.
Pro Tips
Related Articles
The flow hairstyle is proof that straight hair doesn’t have to be flat. Korean barbers figured out that the secret isn’t fighting straight hair’s texture — it’s engineering around it. Graduated layers, internal weight removal, aggressive texturing — these techniques create movement where straight hair has none. The result is hair that flows, cascades, and moves with you. Not styled. Not forced. Structured. That’s the Korean difference.
Straight hair. Engineered flow. Zero flatness. ✂️
