Short Layers Haircut: How to Add Volume and Texture to Short Hair
Short layers aren’t just for long hair. On short hair, layers are the difference between a flat helmet and a textured, voluminous shape.
On short hair — bobs, lobs, shoulder-length cuts — layers serve a completely different purpose than on long hair. Long layers add movement. Short layers add volume and shape. The shorter the hair, the more dramatic the layer effect — because each layer is a higher percentage of the total length. A 2-inch layer on 20-inch hair is subtle. A 2-inch layer on 8-inch hair is transformative.
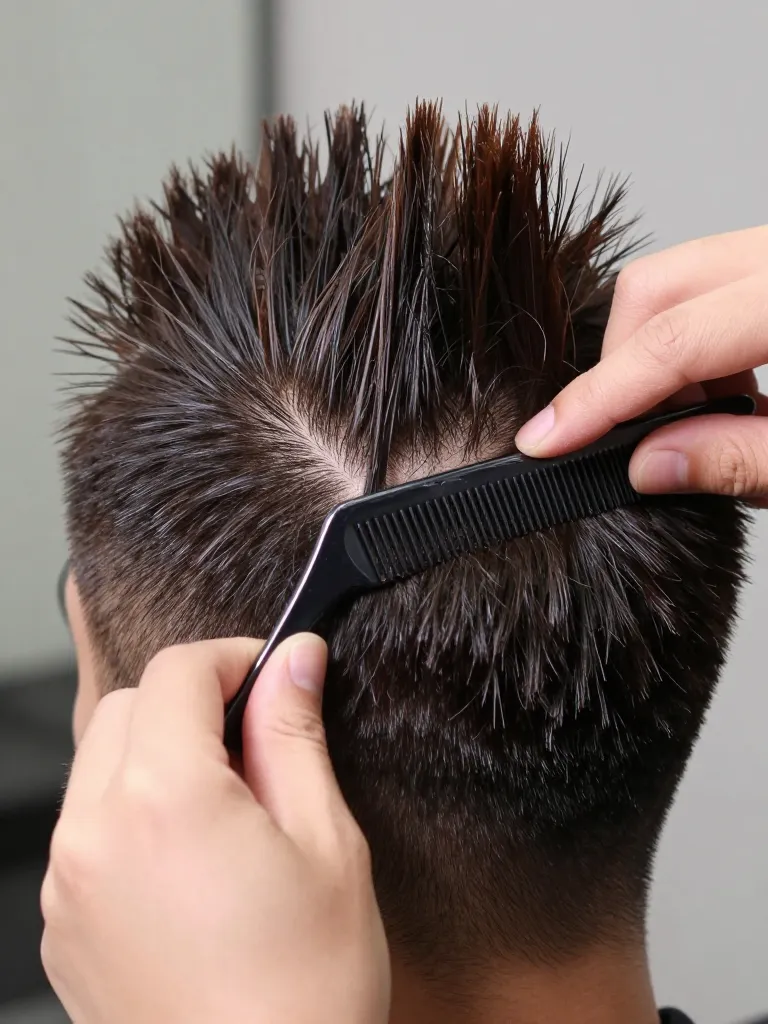
Step 1: Section the Crown Mohawk
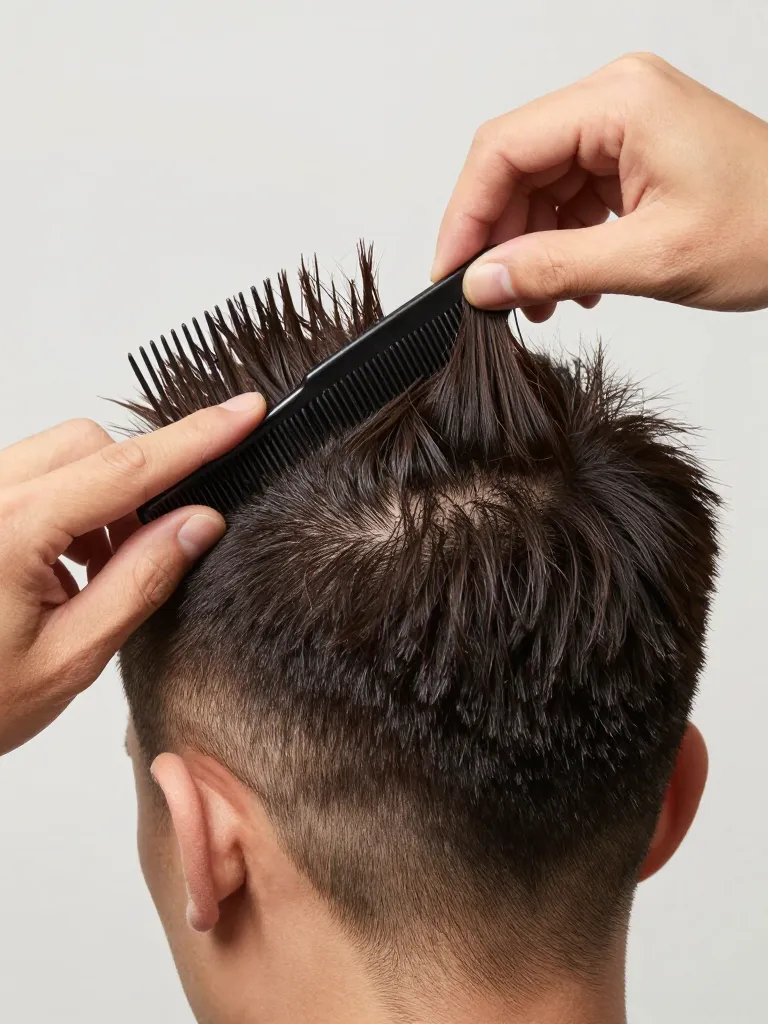
Part your hair down the middle from forehead to nape. Then part horizontally from ear to ear across the crown. You now have a mohawk-shaped section on top — this is your layer zone. Clip the sides and back out of the way. Everything you cut in this section will create the volume and shape on top. The sides and back stay at their current length or get trimmed separately.
Timing: 3 minutes
Prerequisites: Rat-tail comb, Sectioning clips
Step 2: Cut the Shortest Crown Layer
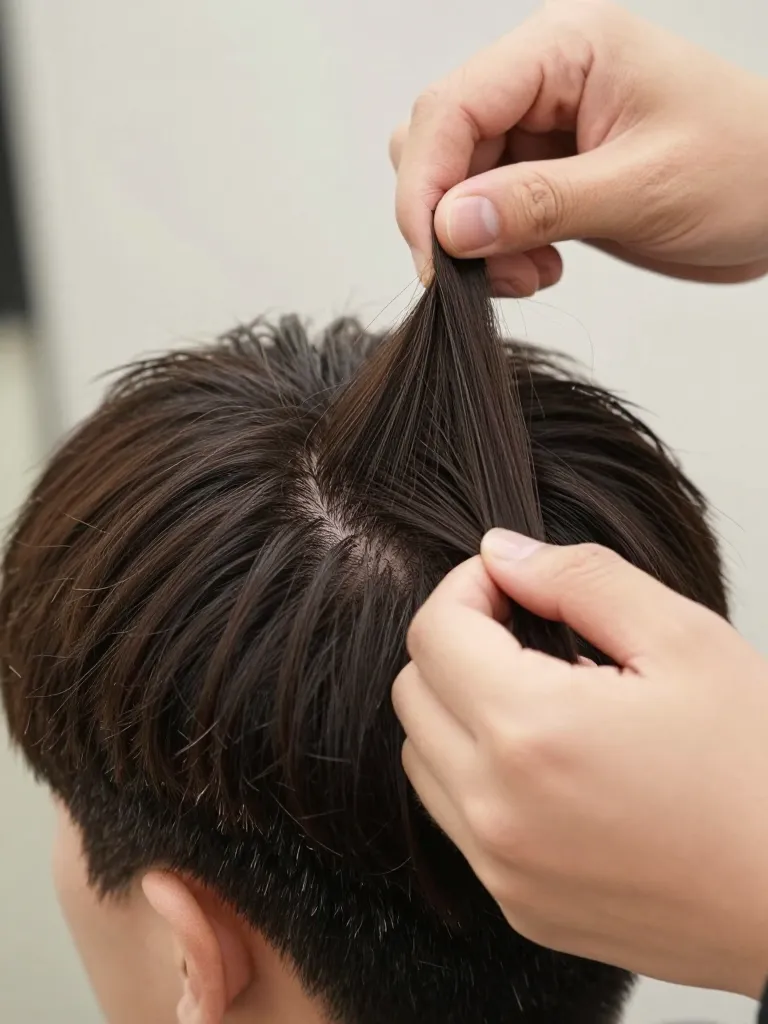
Pull the front of the mohawk section straight up from the head. This is your shortest layer — the one that creates height at the crown. For maximum volume, cut at 2-3 inches from the scalp. For moderate volume, cut at 4-5 inches. Cut straight across. This is your guide layer for all the other crown layers.
Timing: 2 minutes
Prerequisites: Hair shears
Step 3: Layer the Rest of the Crown
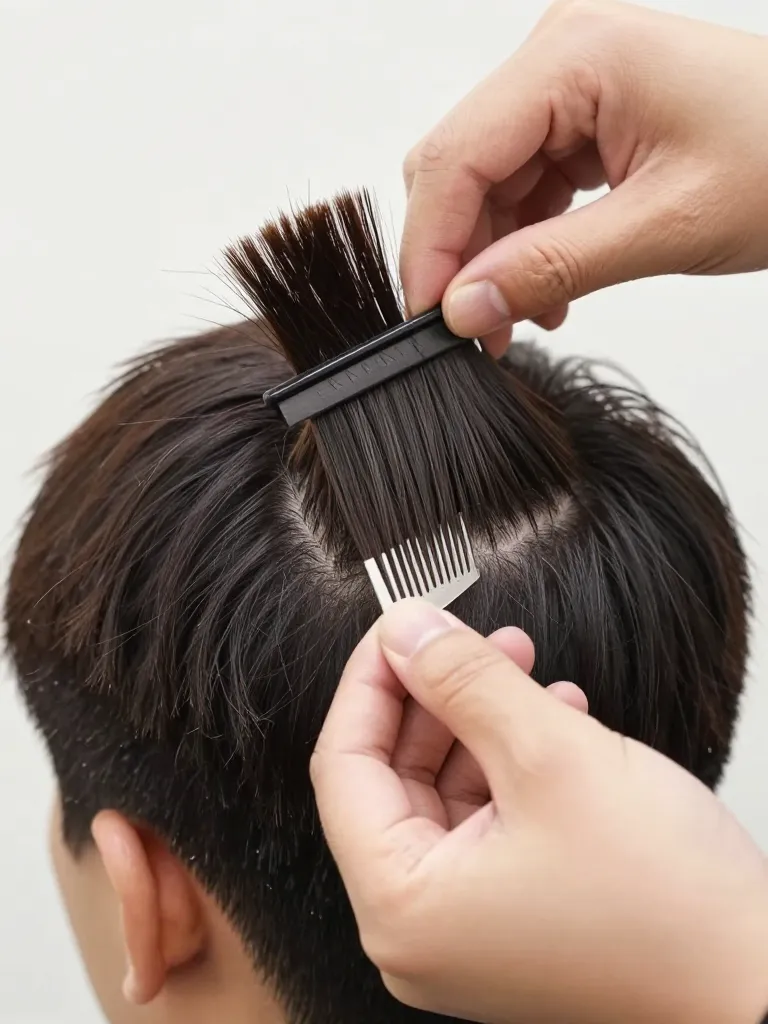
Take 1/2-inch sections from the mohawk, working from front to back. Pull each section straight up to the guide layer and cut. As you move toward the back of the crown, add 1/4 inch per section — the back should be slightly longer than the front. This creates a graduated crown that’s shorter at the forehead and longer at the nape, which is what gives short hair its natural shape.
Timing: 5 minutes
Prerequisites: Hair shears, Sectioning clips
Step 4: Blend the Crown into the Sides
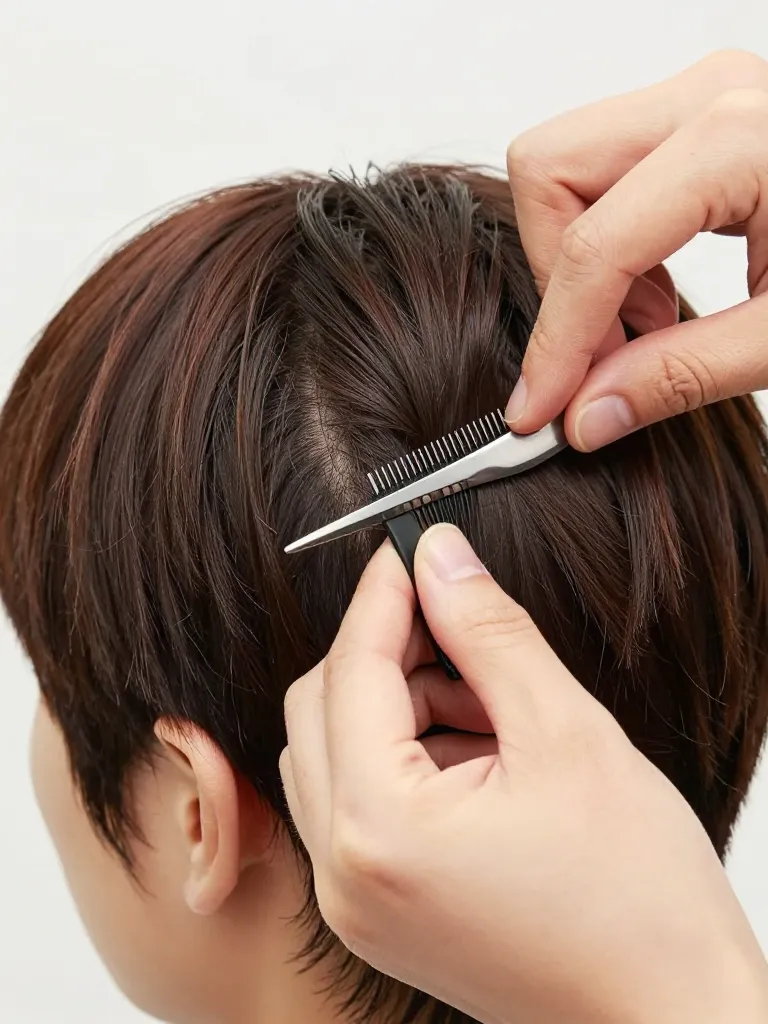
Release the side sections. You’ll see the crown layers sitting on top of the longer side hair. This transition needs blending. Take a section that includes both the crown layer and the side hair. Hold the shears vertically and point-cut into the transition zone. Work from the front of the head to the back, blending each section. The goal is no visible line between the crown and the sides — just a seamless gradient from short to longer.
Timing: 8 minutes
Prerequisites: Hair shears
Step 5: Texture the Ends
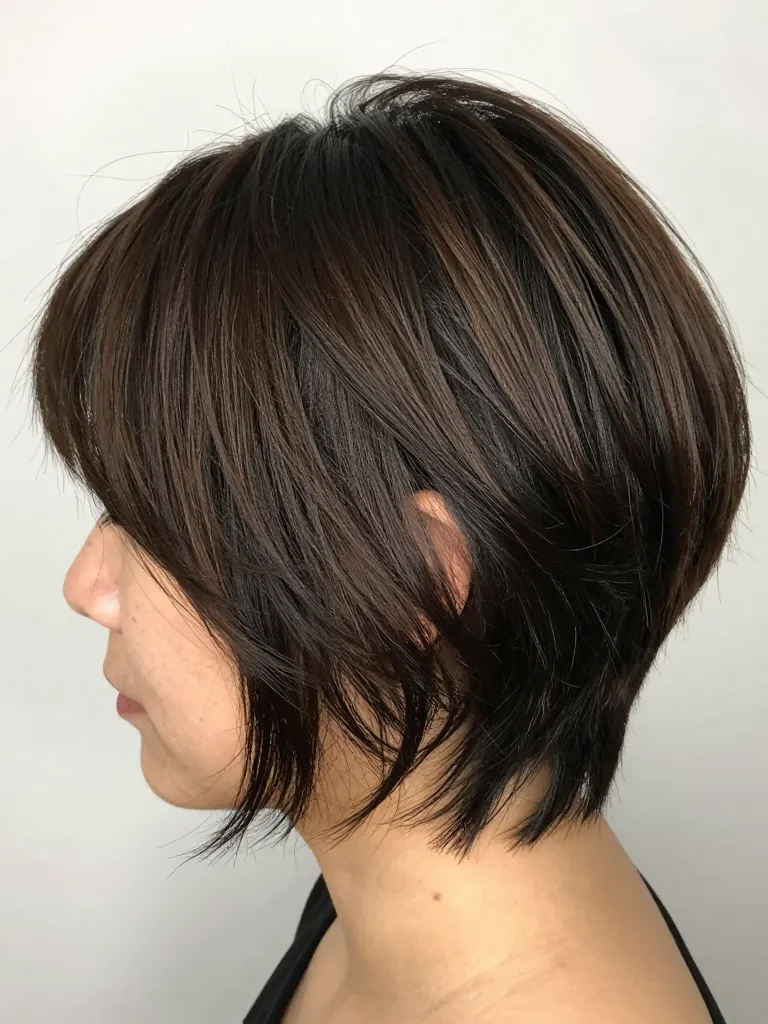
The final step is texturing. Take the ends of the crown layers and point-cut into them — hold the shears vertically and snip into the ends at 45-degree angles. This removes bulk and creates a wispy, textured finish. Don’t texture the sides — only the crown layers. The sides should remain slightly heavier to support the volume on top. Shake your head and check the shape from all angles.
Timing: 5 minutes
Prerequisites: Hair shears, Mirror
Safety Warnings
- Always use sharp hair shears. Dull scissors crush the hair shaft and cause split ends.
- Never cut curly hair while wet — it shrinks when dry and you’ll cut too short.
Why This Works
Short layers work because they create lift at the crown. The shorter top layers have less weight, so they stand up and away from the scalp instead of lying flat. The longer underneath layers provide the base and support. The result is volume that lasts all day without product.
Pro Tips
- Volume boost: Blow-dry the crown layers with your head flipped forward. Gravity helps the layers stand up while they dry.
- Maintenance: Short layers grow out fast — trim every 4-6 weeks to maintain the volume shape.
- Product tip: A small amount of texturizing powder at the roots gives short layers extra hold without stiffness.
Short layers are the secret to volume on short hair. The mohawk-section technique gives you precise control over how much lift you get at the crown, and the point-cutting blend makes the transition invisible. Master this and your short hair will never look flat again.
Short hair, big volume. That’s the layer way.
