Long Layers Haircut: How to Cut Layers at Home Without Ruining Your Length
The fear: ‘I want layers but I don’t want to lose length.’ The solution: layers that add movement while keeping every inch you want.
Long layers are the most requested haircut in salons, and the most feared DIY cut. The fear is valid — one wrong snip and you’ve lost 4 inches you spent a year growing. But the technique is simpler than you think. The key is cutting layers that are proportional to your total length — short enough to create movement, long enough that your overall length stays intact. Here’s how to do it step by step.
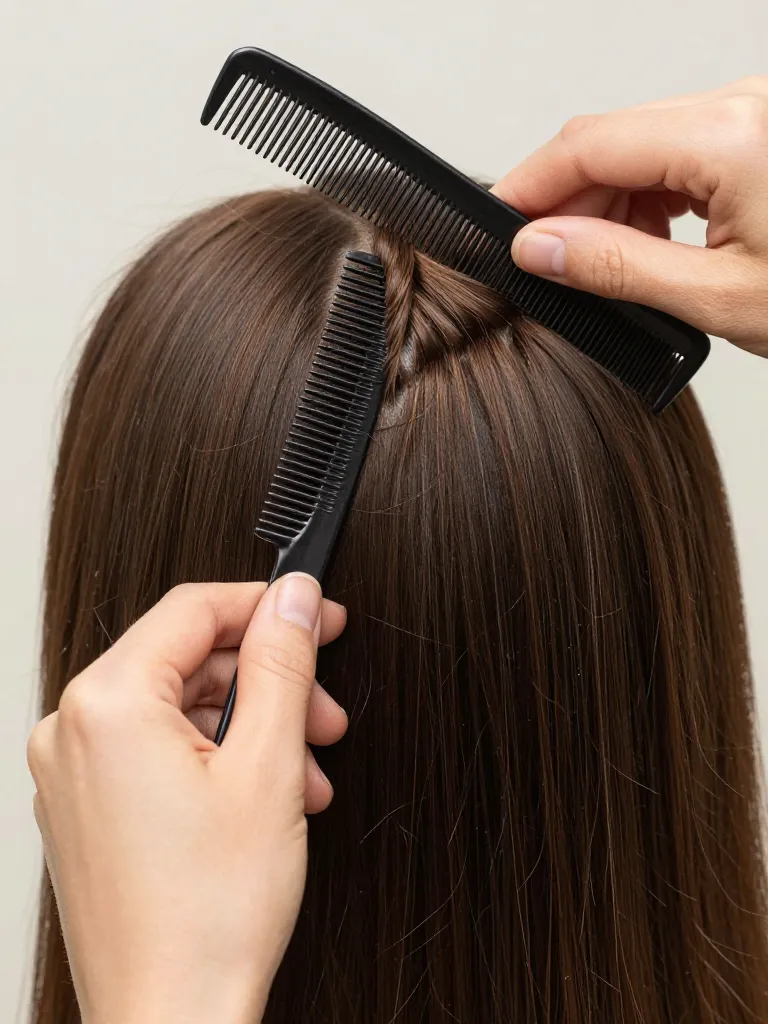
Step 1: Create the Top Crown Section
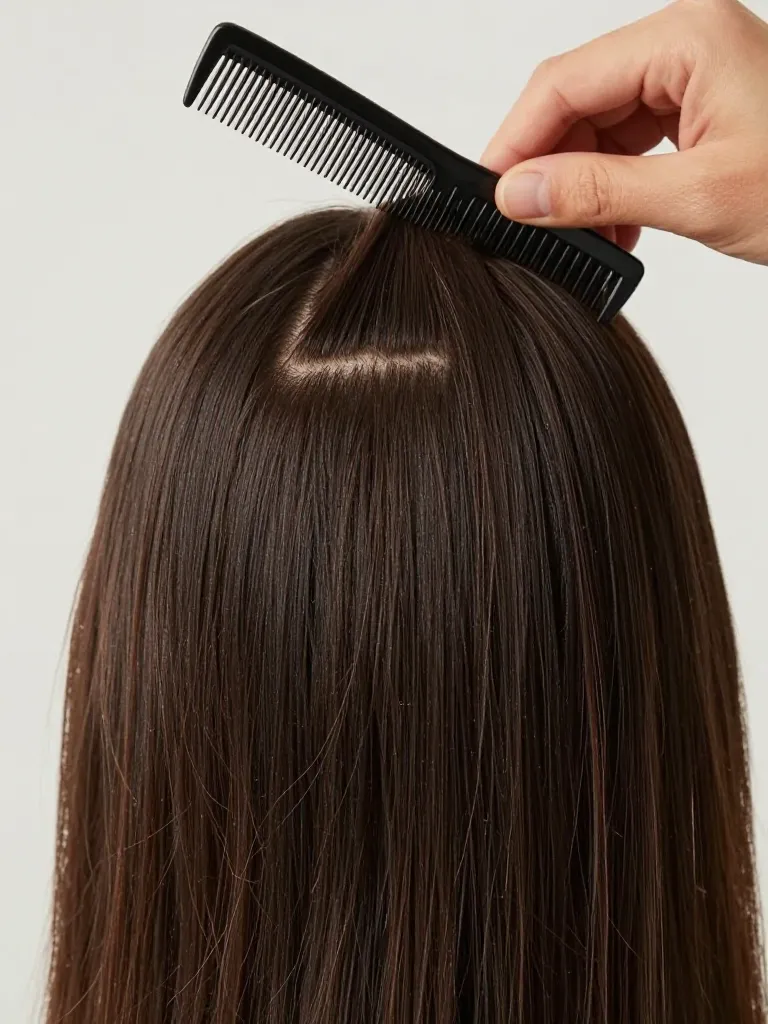
Flip your head forward and gather all the hair at the crown — the highest point of your head. This is your layer guide section. The hair here will be the shortest layer, and every other layer will be measured against it. Secure it with a clip. The length of this section determines how much ‘layer’ you get. If you want subtle layers, cut this section 2-3 inches shorter than your total length. If you want dramatic layers, cut it 4-6 inches shorter.
Timing: 3 minutes
Prerequisites: Rat-tail comb, Sectioning clips, Hair shears
Step 2: Cut the Crown Guide
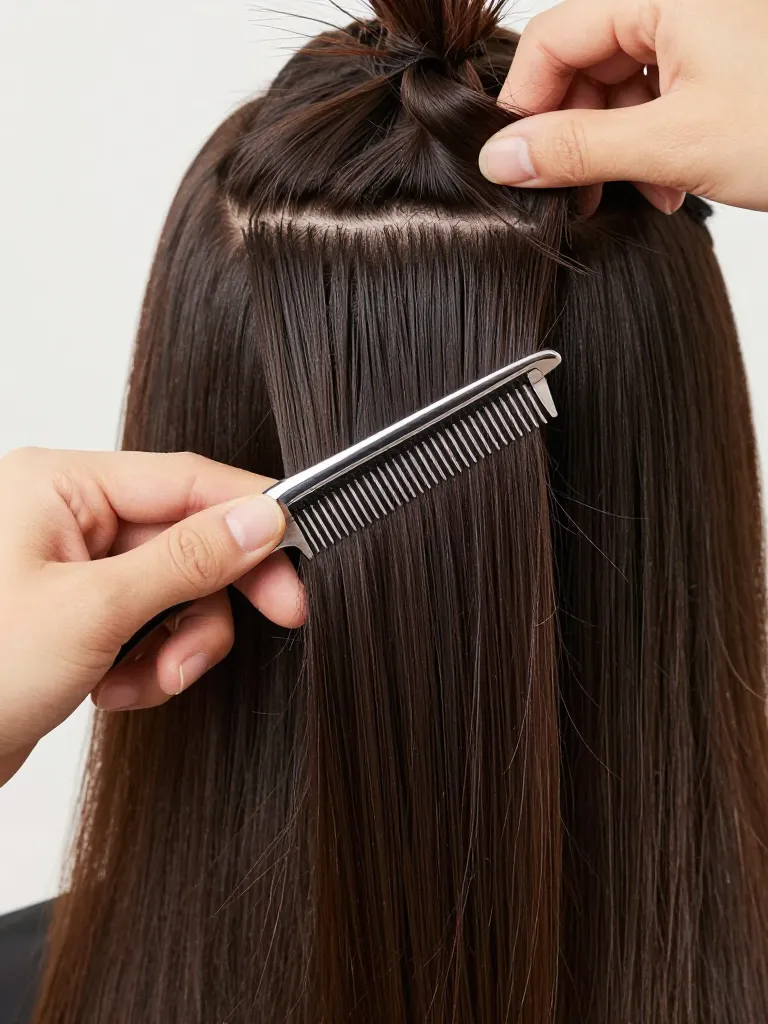
With the crown section gathered, pull it straight up from the head. Hold it between your index and middle fingers at the length you chose — 2-6 inches shorter than your total length. Cut straight across. This is your guide layer. Every other layer will be measured against this cut. The crown guide should be the same length all the way around — don’t angle it.
Timing: 2 minutes
Prerequisites: Hair shears
Step 3: Release and Section the Sides
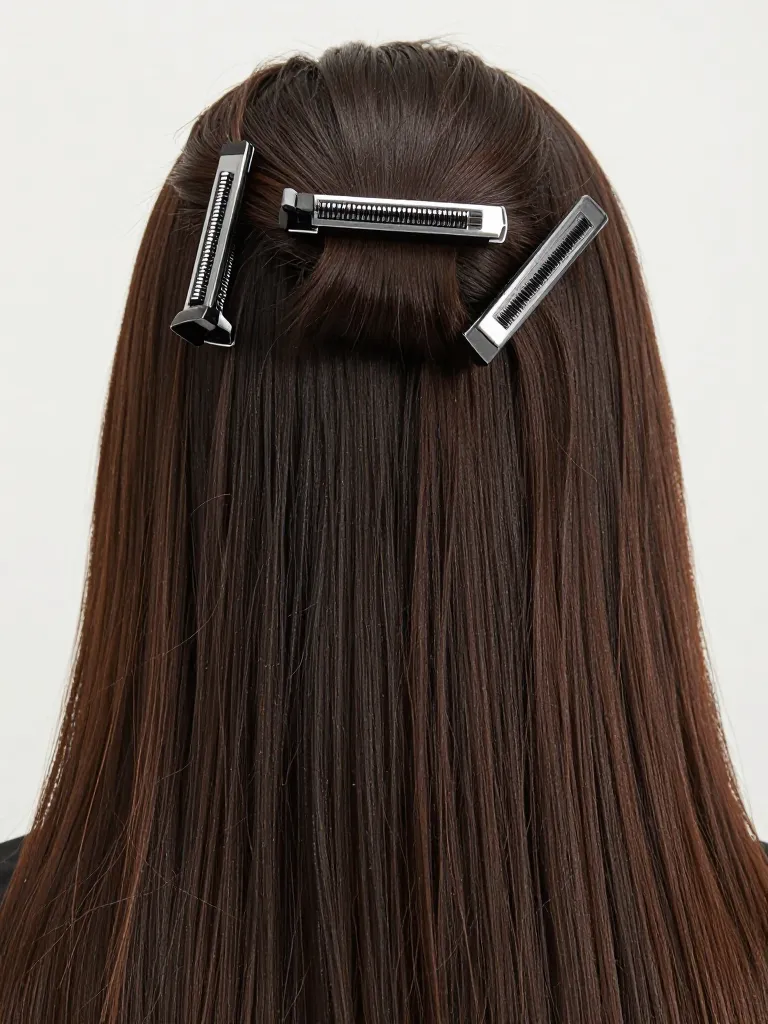
Release all the hair and let it fall naturally. The crown layers will be visible as shorter pieces on top. Now part your hair down the middle and bring each side forward over your shoulders. You’ll see the layers creating a stepped effect — shorter on top, longer underneath. This is correct. The next step blends these layers so the transition is gradual, not abrupt.
Timing: 2 minutes
Prerequisites: Mirror
Step 4: Point-Cut the Layer Transition
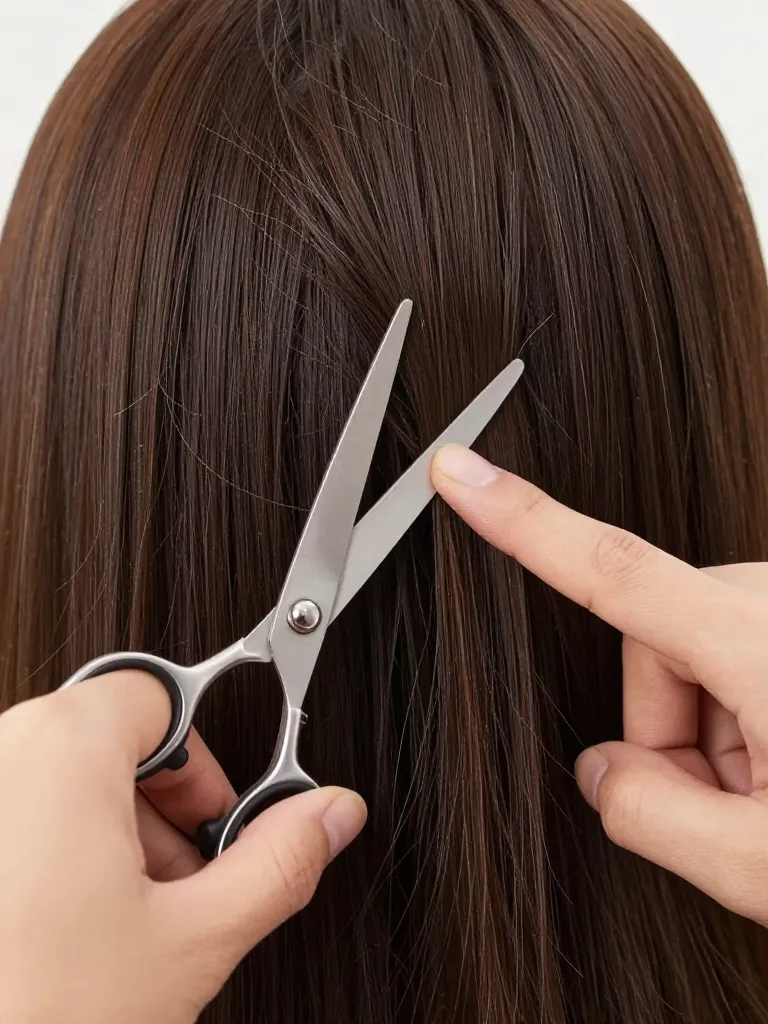
This is the blending step. Take a section of hair that includes both the short crown layer and the long underneath hair. Hold the shears vertically and cut into the transition zone — the area where the short layer meets the long hair. This is called point-cutting, and it softens the line between layers. Work around the entire head, section by section. The goal is to make the layer transition invisible — no harsh lines, no visible steps.
Timing: 10 minutes
Prerequisites: Hair shears
Step 5: Check the Layer Cascade
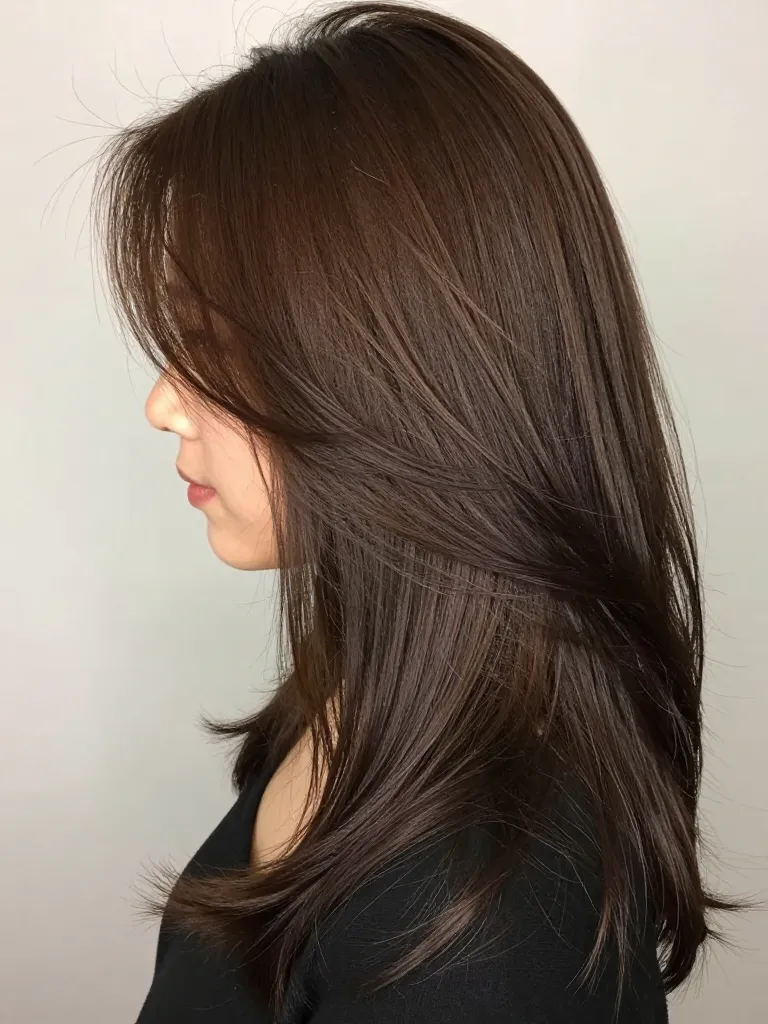
Shake your head and let the hair fall naturally. The layers should cascade from the shortest crown pieces to the longest ends, with no visible lines or steps. Run your fingers through the hair — it should feel smooth, not choppy. Check from all angles: front, sides, and back. The back is the hardest to check — use two mirrors or take a photo. If you see any harsh lines, point-cut them out.
Timing: 5 minutes
Prerequisites: Mirror, Phone camera (optional)
Safety Warnings
- Always use sharp hair shears. Dull scissors crush the hair shaft and cause split ends.
- Never cut curly hair while wet — it shrinks when dry and you’ll cut too short.
Why This Works
Long layers work because they remove weight from the top of the hair while maintaining length at the bottom. The shorter crown layers create volume and movement, while the longer underneath layers maintain the overall length you want. The result is hair that moves and bounces instead of hanging flat.
Pro Tips
- Length preservation: If you’re nervous about losing length, start with 2-inch layers. You can always cut more, but you can’t grow it back overnight.
- Curly hair tip: For curly hair, cut each curl individually. Cutting curly hair in sections creates uneven results because each curl has a different spring factor.
- Maintenance: Long layers grow out gracefully — you can go 10-12 weeks between cuts without the shape looking messy.
Long layers are the foundation of dimensional hair. The crown-guide technique gives you control over how much layer you want, and the point-cutting blend makes the transition invisible. Master this technique and you’ll never pay for a layer cut again.
Your length is yours. The layers just make it move.
