Front Layers Haircut: How to Cut Face-Framing Layers at Home
The front layers are the ones everyone sees first. Get them wrong and the whole cut looks off. Get them right and your face has a frame.
Face-framing layers are the most impactful part of any layered haircut — they’re the first thing people notice, and they determine whether the cut looks intentional or accidental. The good news: cutting front layers at home is one of the more forgiving DIY techniques, because the face-framing pieces are small enough to fix if you go too short. Here’s the complete step-by-step guide.
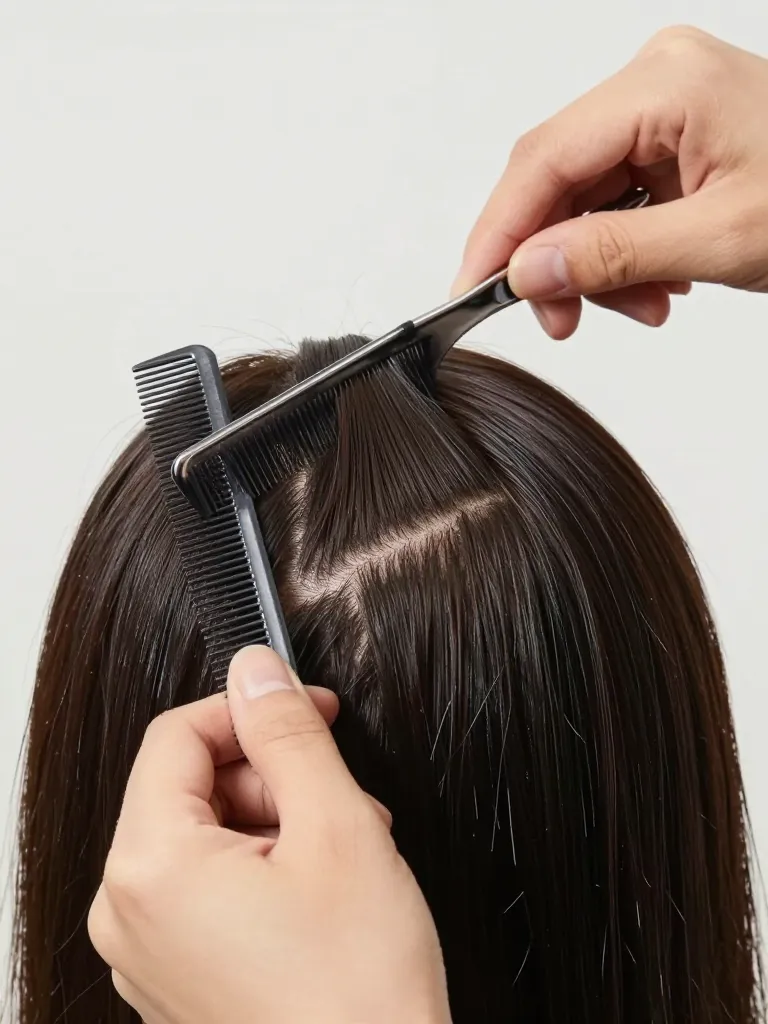
Step 1: Section the Front Triangle
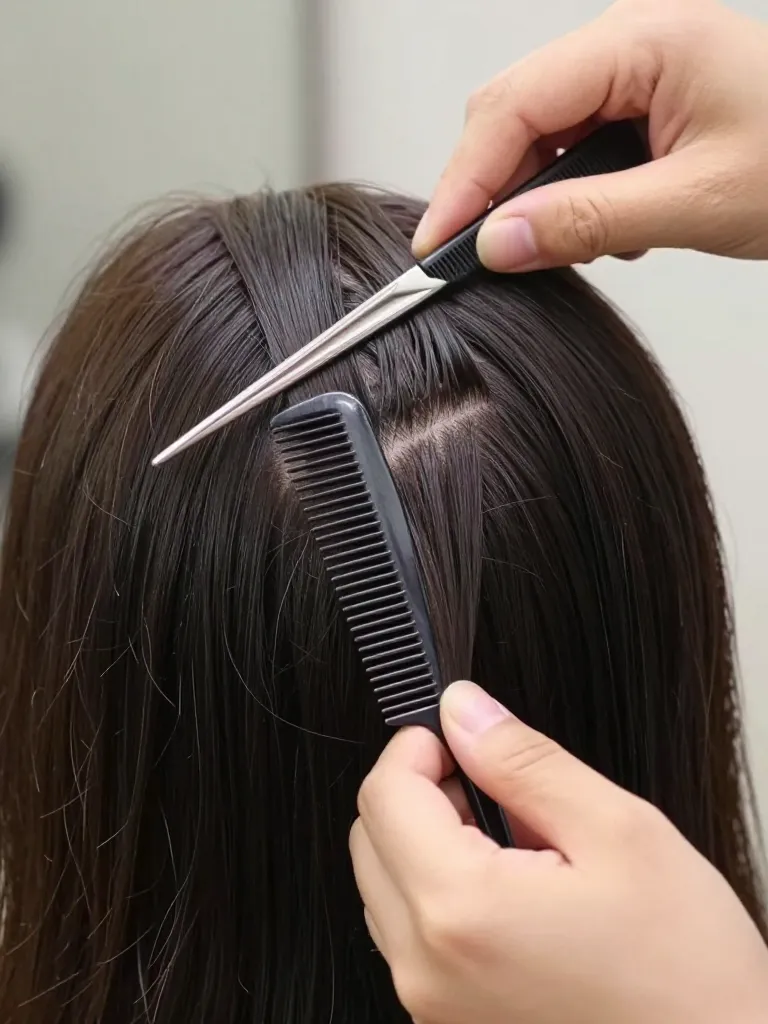
The front layer section is a triangle. Part your hair down the middle. From each side of the part, draw a diagonal line to the top of each ear — this creates a triangle of hair at the front. Clip the rest of the hair back. This triangle is your front layer zone. Everything you cut here will frame your face. Everything behind this section stays at its current length.
Timing: 2 minutes
Prerequisites: Rat-tail comb, Sectioning clips, Hair shears, Spray bottle
Step 2: Determine Your Shortest Layer Length

Hold the front section straight down and decide where you want the shortest face-framing layer to fall. Chin length is the most versatile — it frames the face without looking like a bob. Jaw length is more dramatic. Cheekbone length is bold and works for heart-shaped faces only. Whatever length you choose, add 2 inches — you’ll cut more later, but you can’t add length back. Mark this length with your fingers.
Timing: 1 minute
Prerequisites: Mirror
Step 3: Cut the Guide Layer
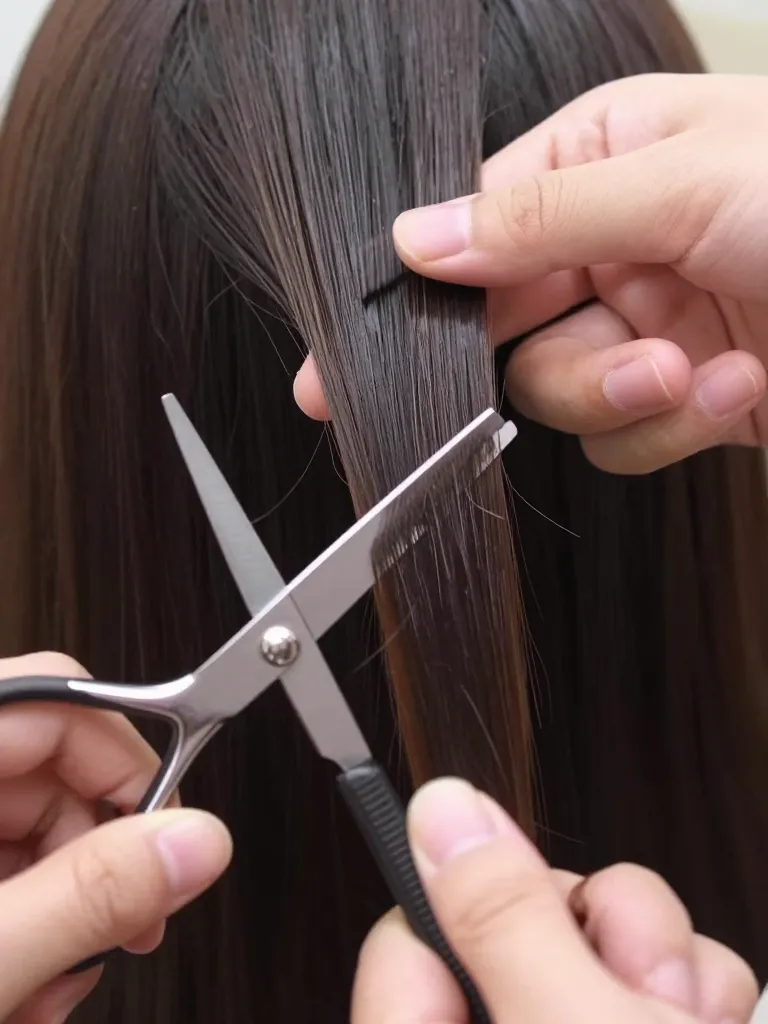
Take a thin section (about 1/4 inch) from the center of the triangle. Comb it straight down. Hold it between your index and middle fingers at the length you marked. Cut straight across — this is your guide layer. Every other front layer will be measured against this guide. If this one is wrong, they’ll all be wrong. Cut at a slight angle (the center slightly shorter than the sides) to create a natural curve around the face.
Timing: 2 minutes
Prerequisites: Hair shears
Step 4: Cut the Remaining Front Layers
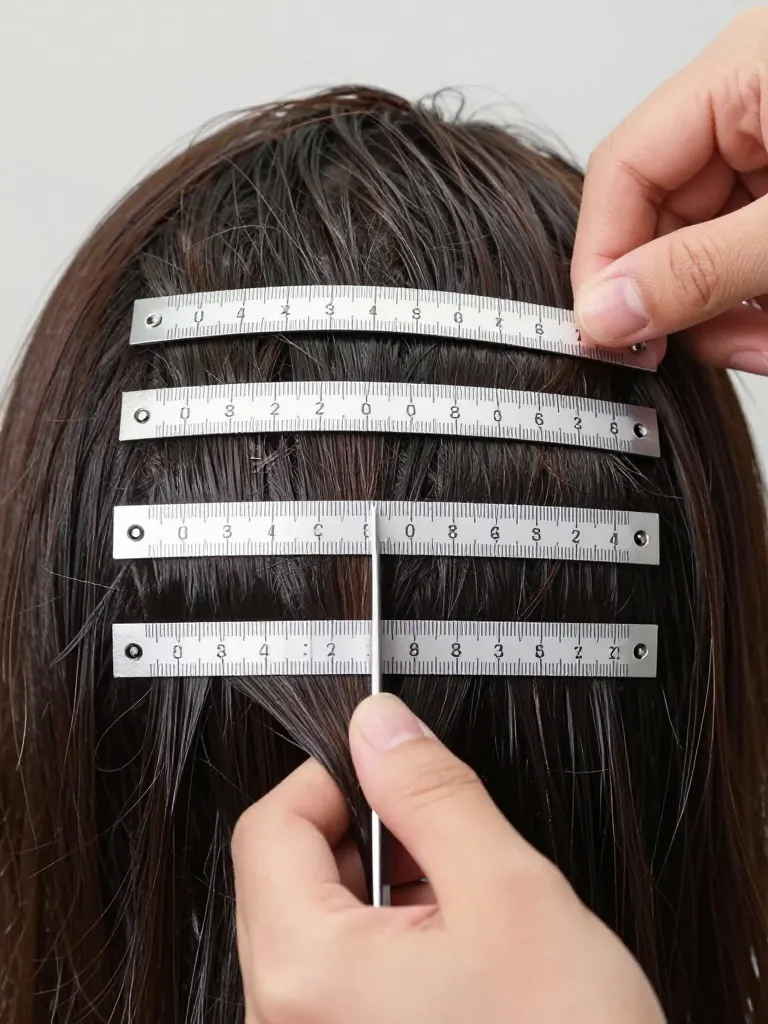
Take 1/4-inch sections from the triangle, one at a time. Comb each section forward to the guide layer, hold it at the same length, and cut. Work from center to left, then center to right. Each section should be slightly longer than the one before it — about 1/4 inch per section — to create a gradual cascade. The outer sections (closest to the ears) should be the longest. This creates the curtain effect: short in the center, longer at the sides.
Timing: 5 minutes
Prerequisites: Hair shears, Sectioning clips
Step 5: Blend and Check Symmetry

Release all the hair and shake your head. The front layers should fall naturally around your face, creating a curtain effect. Check both sides in the mirror — they should be symmetrical within 1/4 inch. If one side is longer, trim the longer side to match. Use thinning shears or point-cut the ends to soften any blunt lines. The final result should look like your hair grew this way naturally.
Timing: 3 minutes
Prerequisites: Mirror, Thinning shears (optional)
Safety Warnings
- Always use sharp hair shears. Dull scissors crush the hair shaft instead of cutting it cleanly, leading to split ends.
- Never cut dry curly hair — it shrinks when dry and you’ll cut too short.
Why This Works
Front layers work because they create a frame around the face. The shortest layer draws attention to the cheekbones, the medium layers soften the jawline, and the longest layers maintain overall length. The cascade effect creates depth and dimension that flat, one-length hair can’t achieve.
Pro Tips
- Curly hair adjustment: Cut curly hair while dry or stretched. Curly hair shrinks 1-2 inches when dry, so cut 2 inches longer than your target length.
- Maintenance schedule: Front layers grow out faster than the rest of your hair because they’re shorter. Trim every 6-8 weeks to maintain the frame.
- Styling hack: Blow-dry front layers with a round brush, rolling away from the face. This creates the curtain effect without heat tools.
Front layers are the face-framing foundation of any layered haircut. Once you master this triangle-and-guide technique, you can maintain your own face-framing layers between salon visits — saving time and money while keeping the frame sharp.
Your face deserves a frame. Cut it yourself.
