Balayage Hair: How the Hand-Painted Technique Actually Works
It’s not highlights. It’s not ombré. It’s freehand painting — and it works because of geometry.
Balayage has been the most requested hair color technique for over a decade, and most people still don’t understand what it actually is. It’s not a color — it’s a method. The word means ‘to sweep’ in French, and the technique involves painting color directly onto the hair in freehand strokes, without foils or caps. The result is color that looks like it was placed by sunlight: brighter at the mid-lengths and ends, softer at the roots, with no harsh lines of demarcation. The reason balayage looks more natural than traditional highlights is mathematical: foils create uniform, parallel stripes of color, while freehand painting creates irregular, organic placement that mimics how the sun actually hits hair. This guide breaks down the technique, the science, and why it works on every hair type.
Step 1: Sectioning for Natural Fall
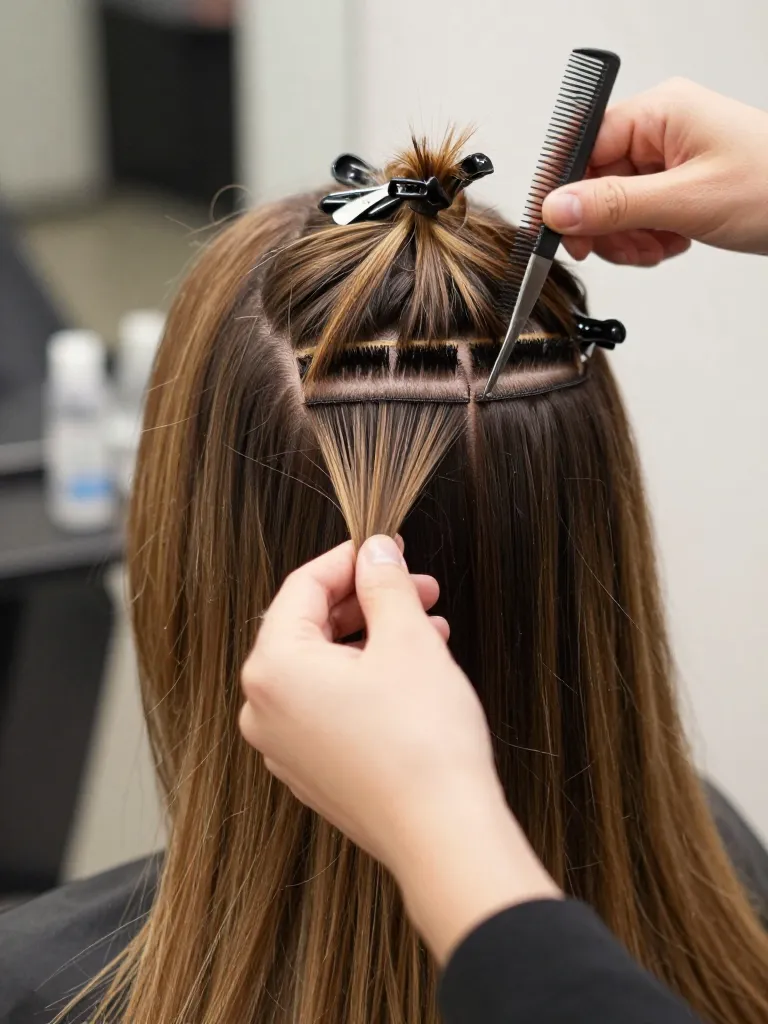
Balayage sectioning is the opposite of foil highlighting. Foils use thin, uniform sections that create parallel stripes of color. Balayage uses thick, irregular sections that follow the hair’s natural movement. The colorist starts by dividing the hair into four quadrants (left front, left back, right front, right back). Within each quadrant, they take thick sections — usually 1-2 inches wide — and apply color to the surface of each section, not saturated through to the underside. This surface-only application is what creates the graduated, sun-kissed effect: the top layers get more color (they’re painted directly), while the bottom layers get less (they’re only indirectly affected by the color seeping through).
Step 2: Freehand Painting the Color
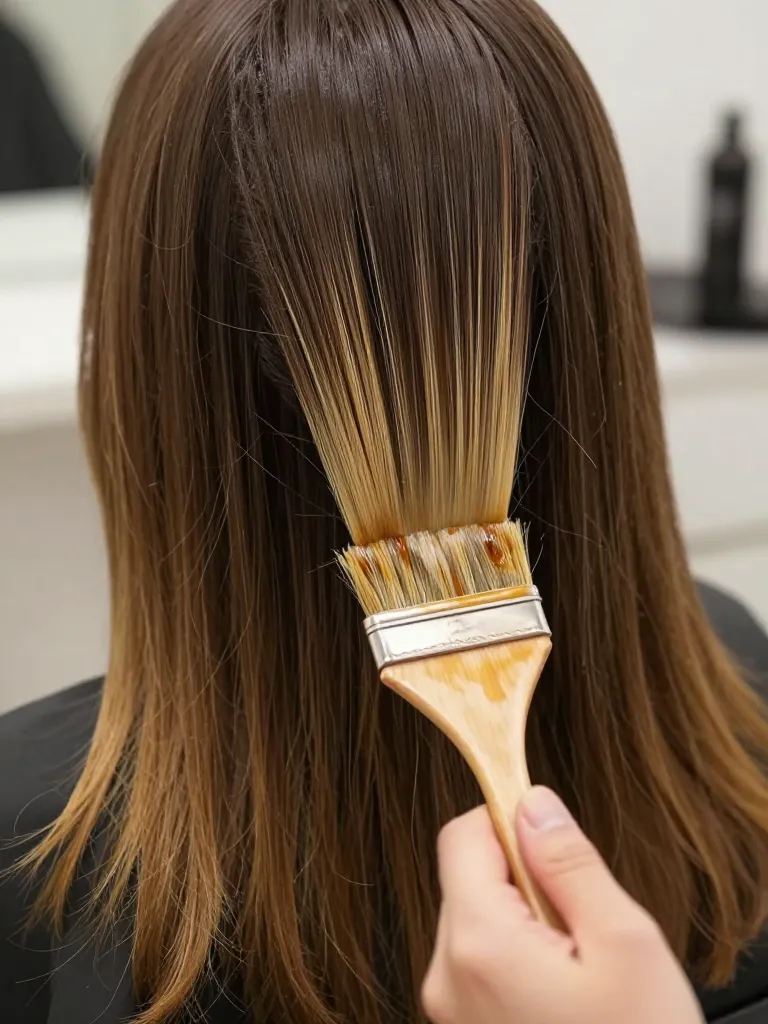
This is the step that separates balayage from every other technique. The colorist loads a wide, flat brush with lightener (not traditional dye — balayage uses lightener for lift, then toner for the final shade). They paint the lightener onto the surface of each section in freehand strokes, starting at the mid-lengths and working toward the ends. The key technique: the colorist applies more product at the ends (where hair is oldest and most porous) and less toward the root (where the color should be subtle). The brush strokes are deliberately irregular — some sections get more paint, some get less, creating the organic, sun-faded variation that makes balayage look natural. No foils are used. The color processes in open air, which gives the colorist real-time control over the lift.
Step 3: Processing in Open Air
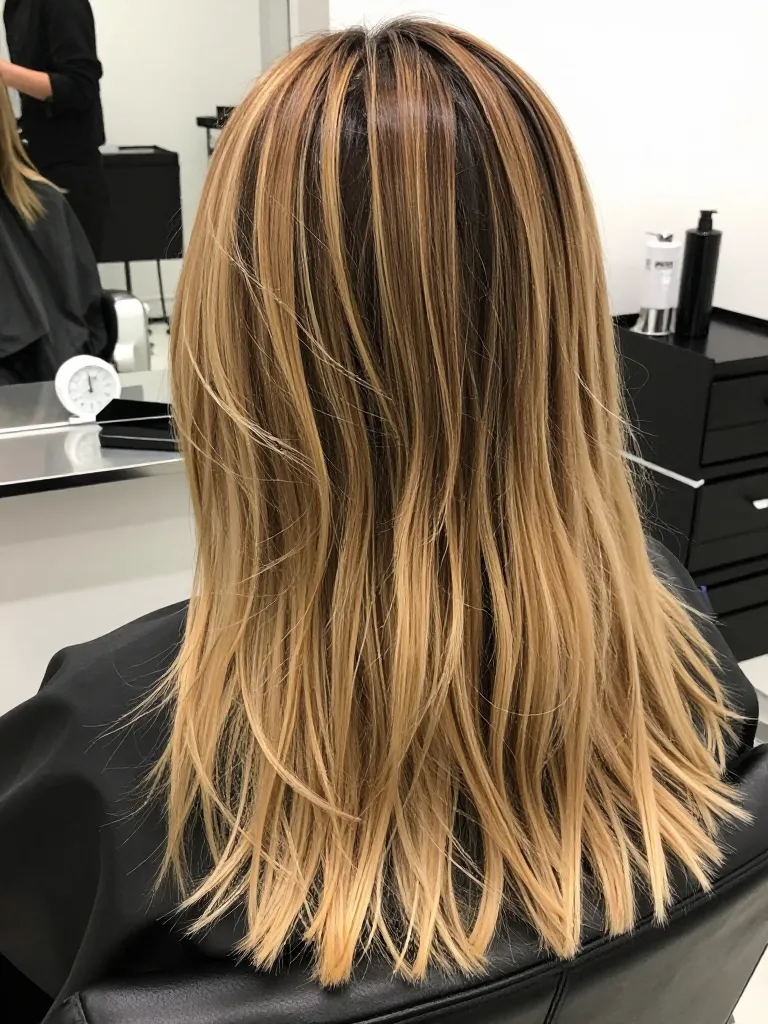
Balayage processes in open air — no foils, no heat caps, no plastic wrap. This is a deliberate design choice, not a shortcut. Open-air processing gives the colorist two advantages: first, they can monitor the lift in real time by simply looking at the hair (foils hide the color until you open them). Second, the open air creates a slower, more gradual lift than the trapped heat inside foils, which means less damage and more control over the final shade. Processing time varies by hair type and desired lift level — fine hair may lift in 20 minutes, coarse resistant hair may need 45. The colorist checks progress every 10 minutes by wiping a small section with a damp cloth to see the true color underneath the lightener.
Step 4: Toning to the Final Shade
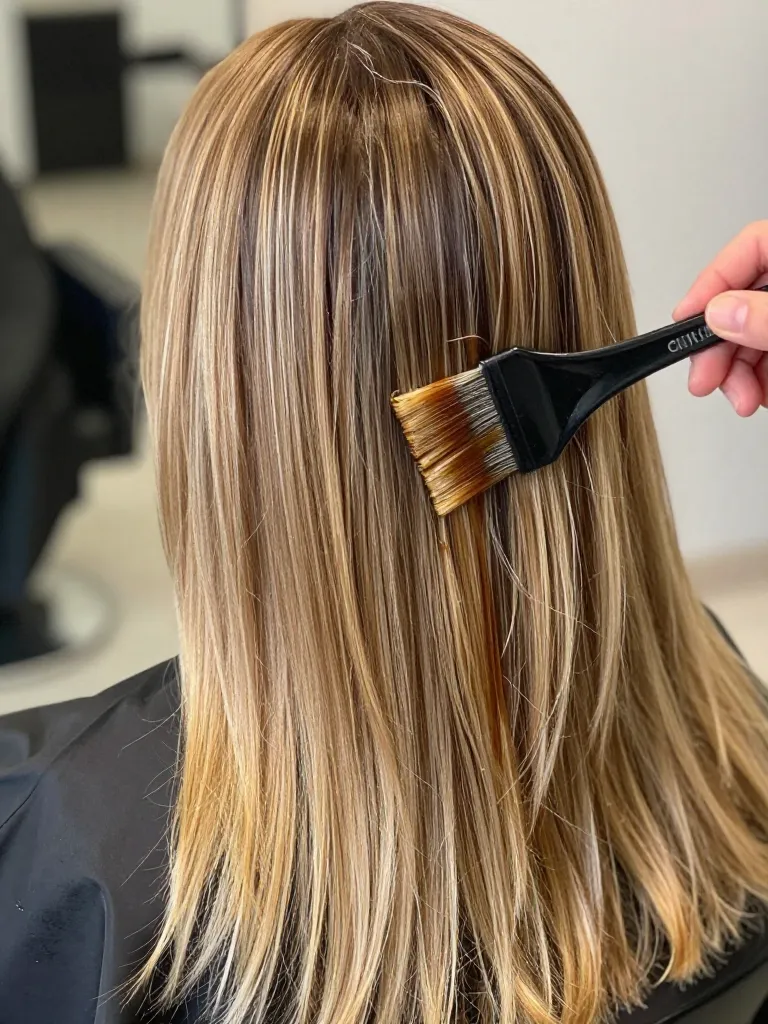
Lightener lifts the hair to a raw, warm undertone — usually orange or yellow, depending on the starting level. Toner is what transforms that raw lift into the final shade: caramel, honey, ash, platinum, or whatever the client chose. The colorist applies demi-permanent toner over the lightened sections, processing for 10-20 minutes. Toner does two things: it neutralizes unwanted warm undertones (purple toner cancels yellow, blue toner cancels orange), and it adds the target shade on top. For balayage, the toner is applied to the lightened areas only — the natural root color stays untouched. This is why balayage looks so natural: the final shade is a blend of the client’s natural color at the root and the toned lightened shade through the mid-lengths and ends.
Step 5: The Final Cut and Style
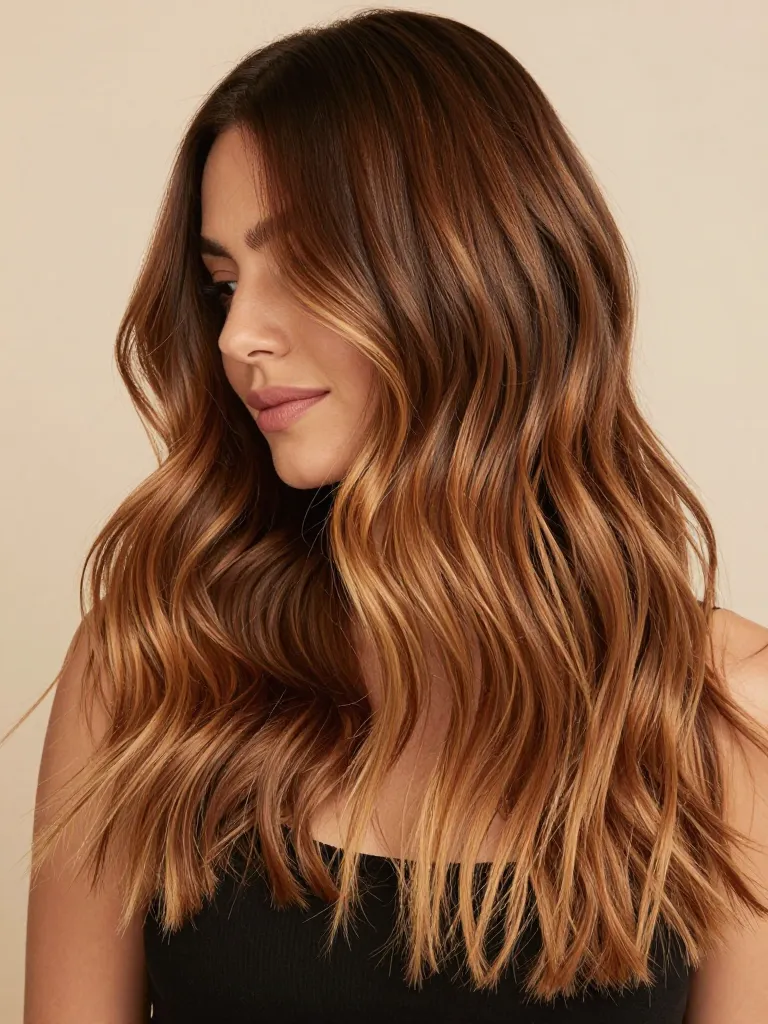
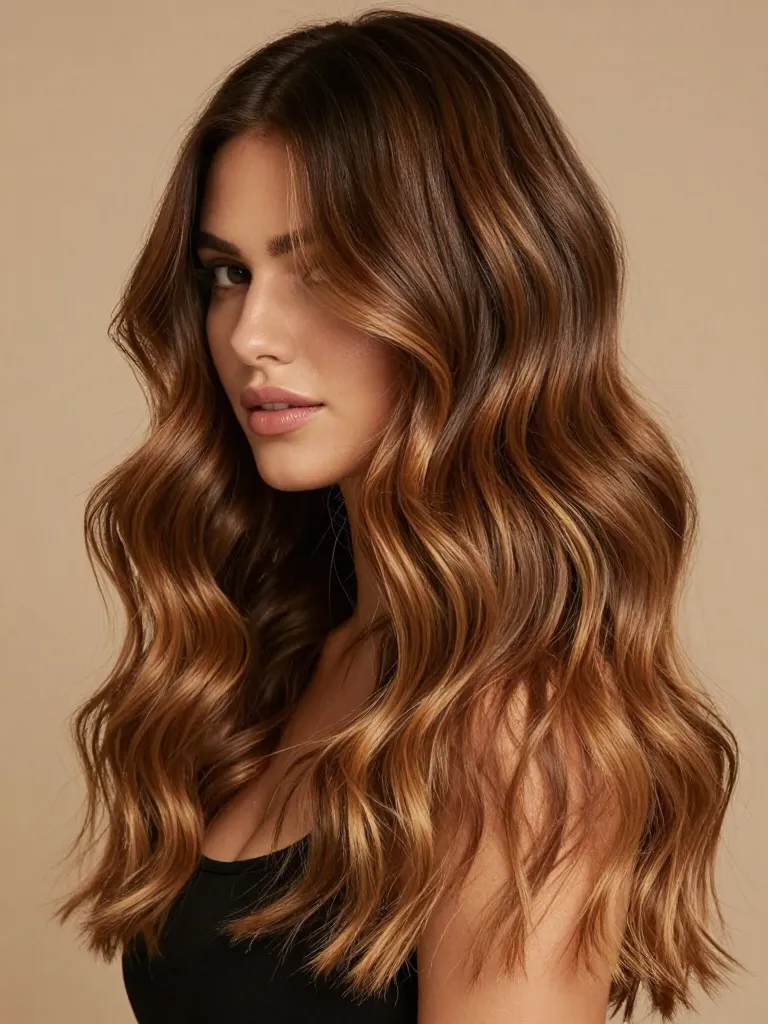
The final step is cutting and styling to showcase the color placement. Balayage works best with layers because layers create movement that catches light differently on the painted sections versus the natural sections. A blunt cut with balayage looks flat — the color needs texture and movement to read as dimensional. The stylist adds face-framing layers that highlight the brighter pieces around the face, then styles with a curling iron or diffuser to create waves that show off the color gradient. The finished result should look like the client spent a summer on a Mediterranean coast: natural, sun-kissed, and effortlessly dimensional.
Safety Warnings
- Always perform a strand test before lightening — hair that’s been previously colored may react unpredictably to lightener
- Never apply balayage lightener to the scalp — balayage is a mid-lengths-to-ends technique, not a root technique
- If hair feels gummy or stretchy during processing, rinse immediately — this indicates protein bond breakage
Why This Works
Balayage looks more natural than traditional highlights because of placement geometry. Foils create uniform, parallel stripes of lightened hair — a pattern that never occurs in nature. Sunlight doesn’t hit hair in parallel lines; it hits the surface irregularly, brightening the top layers more than the underlayers, and creating variation within those layers based on the hair’s movement and texture. Balayage mimics this pattern by painting color onto the surface of thick sections, creating the same irregular, surface-focused lightening that the sun would create. The graduated application (more at ends, less at roots) mimics how hair naturally lightens from sun exposure — the ends, which have been exposed longest, are lightest. The result is color that doesn’t look dyed because it follows the same pattern that nature uses.
Tips
Maintenance is minimal: Balayage grows out beautifully because there’s no hard line of demarcation — you can go 3-4 months between appointments
Tone it at home: Use a color-depositing conditioner in your target shade every 2-3 washes to keep the toner fresh between salon visits
Protect from heat: Lightened hair is more vulnerable to heat damage — always use heat protectant before hot tools, and keep temperature below 350°F
Purple shampoo is your friend: If your balayage has blonde or ash tones, purple shampoo once a week prevents brassiness from creeping in
Sleep on silk: Cotton pillowcases create friction that accelerates color fading — a silk pillowcase preserves vibrancy 3x longer
Ask for face-framing pieces: The brightest balayage pieces should frame your face — this is what creates the ‘just got back from vacation’ effect
Related Guides
Balayage isn’t a trend — it’s a technique that has earned its place as the most requested hair color method in the world because it solves a fundamental problem: how do you lighten hair without it looking like you lightened hair? The answer is freehand painting that mimics the sun’s own pattern. It’s geometry, not magic. But when it’s done right, it might as well be both.
Painted by hand. Lit by the sun. Engineered by geometry.
