Fringe Cut: How to Cut Your Own Fringe at Home Without Ruining It
Your barber charges $40 for a fringe trim. Here’s how to do it yourself in 10 minutes.
The fringe is the highest-visibility haircut element you have. It sits on your forehead. Everyone sees it. And a bad fringe cut is impossible to hide — you can’t tuck it behind your ear, you can’t slick it back (well, you can, but everyone will know), and you can’t wait for it to ‘grow into shape.’ You have to get it right the first time. This guide makes sure you do.
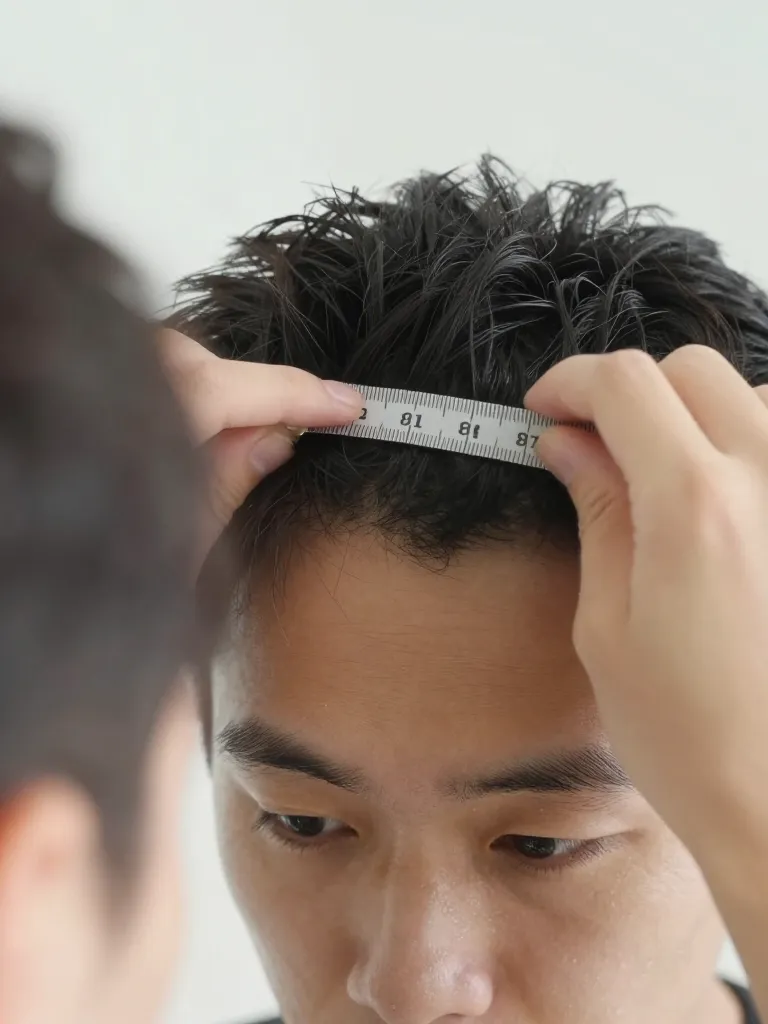
Step 1: Assess Your Current Hair
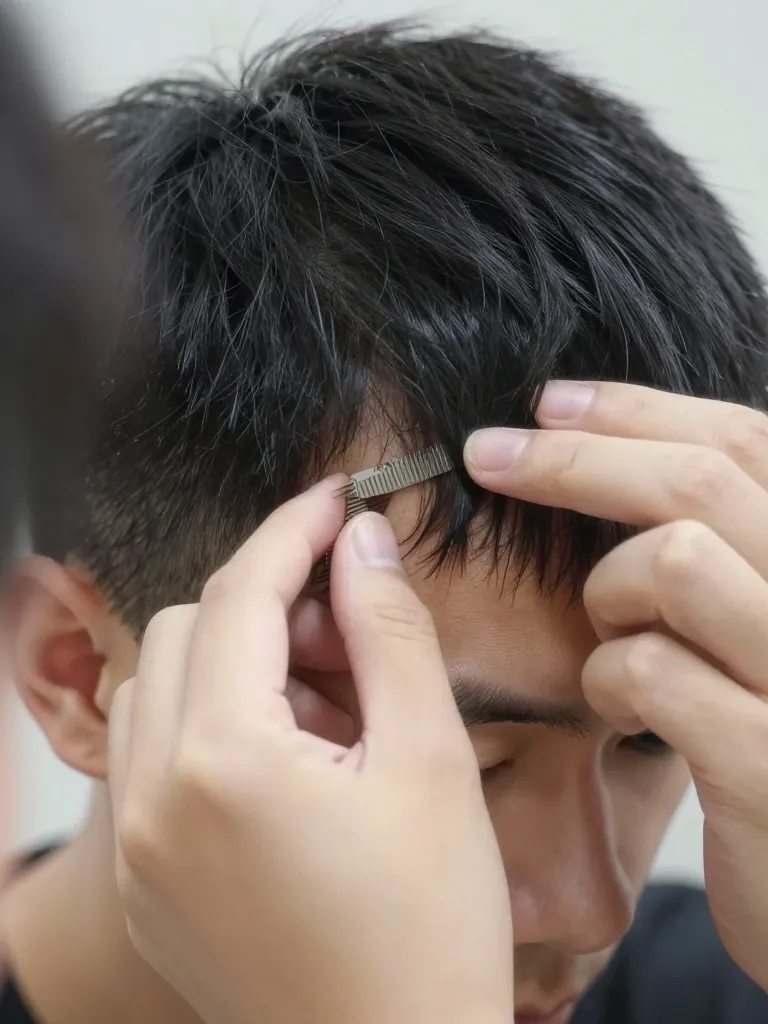
Before you pick up scissors, figure out what you’re working with. Stand in front of a mirror with good lighting. Pull your hair forward — does it reach your eyebrows? Your nose? Your chin? The starting length determines how much you need to cut. If your hair is longer than your eyebrows, you can cut a fringe. If it’s shorter than mid-forehead, you need to grow it first. Decide what type of fringe you want: blunt (straight across), textured (choppy and piecey), side-swept (angled), or curtain (split in the middle). Each requires a different cutting technique. Measure your target length by holding your hair against your forehead with your fingers — mark the spot with your finger, then cut 1/4 inch below it for safety.
Step 2: Section the Fringe
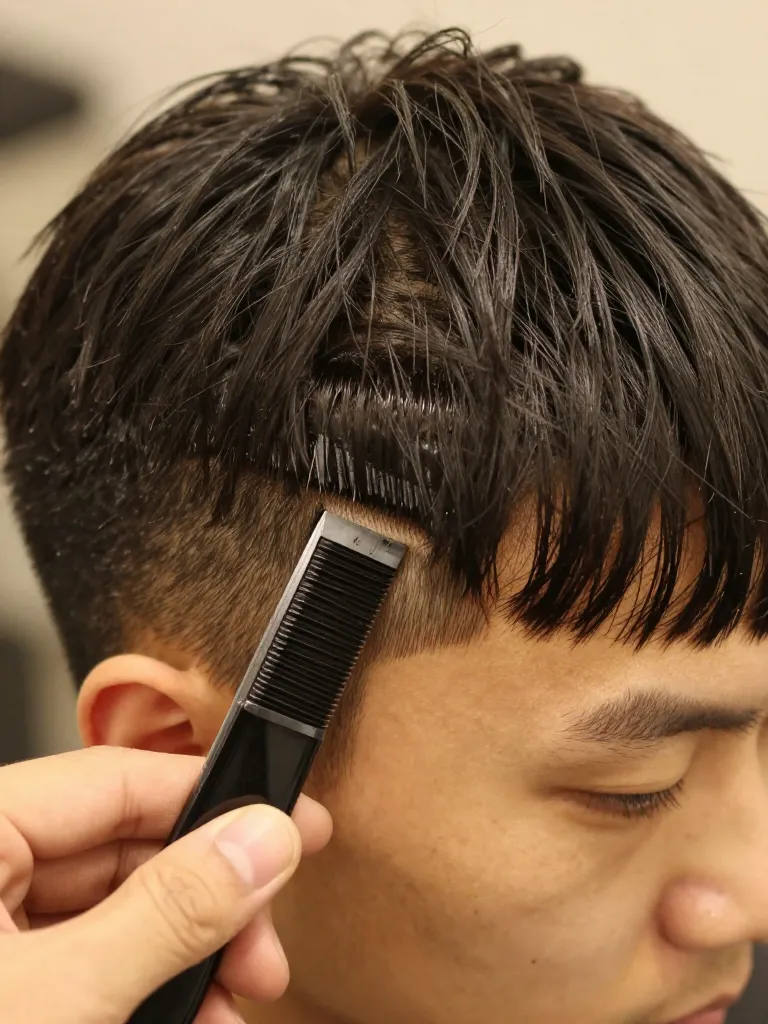
Not all of your hair becomes the fringe — only the front section. Use a comb to create a triangular section at the front of your head. The triangle’s base runs along your hairline from temple to temple, and the point extends back about 2-3 inches toward the crown. Clip the rest of your hair back — you don’t want to accidentally cut non-fringe hair. The wider the triangle, the thicker the fringe. A narrow triangle (temple to temple) creates a standard fringe. A wider triangle (past the temples) creates a fuller, more dramatic fringe. Start narrow — you can always widen it later.
Step 3: Cut the Fringe
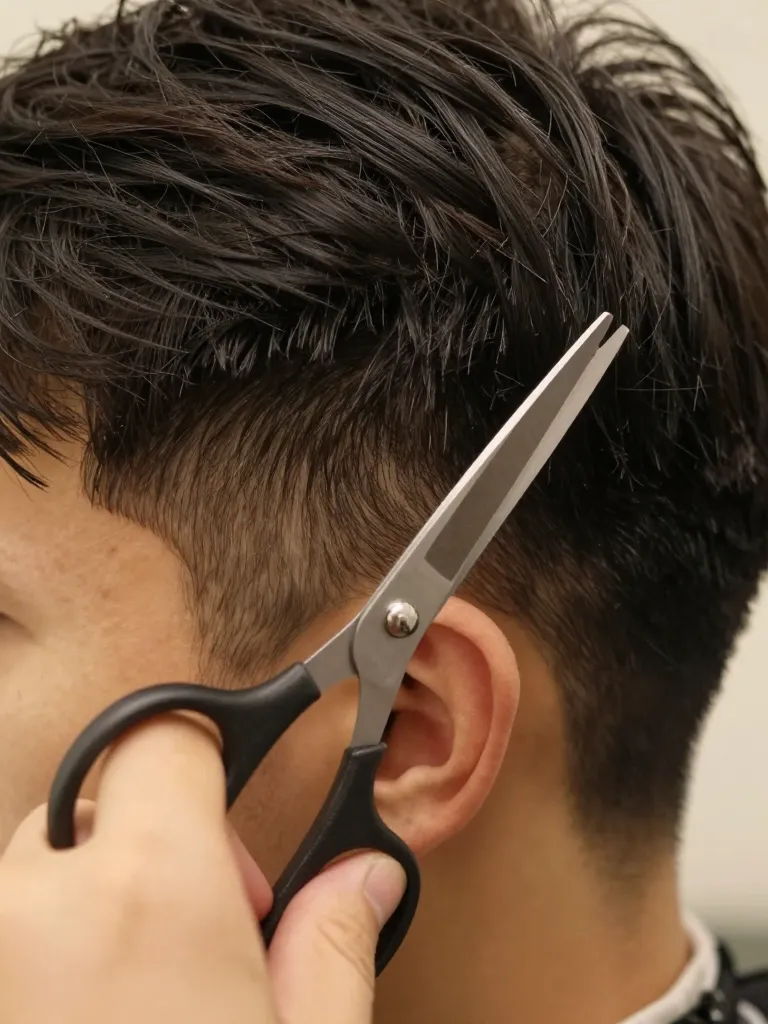
Pull the fringe section straight down between your index and middle fingers. Cut horizontally for a blunt fringe, or at a slight angle for a side-swept fringe. Always cut longer than your target — you can trim more, but you can’t add back. Cut about 1/4 inch at a time, checking the length against your target after each pass. For a textured fringe: after the initial blunt cut, hold the scissors vertically and point-cut into the ends (snip upward at 45-degree angles). This creates the choppy, separated texture that prevents the fringe from looking like a bowl cut. For a curtain fringe: cut the center shorter and angle outward toward the temples — the center should be at eyebrow length and the sides should be 1/2 inch longer.
Step 4: Refine and Style

Check the fringe from all angles — front, both sides, and with your head tilted down. Look for uneven spots, stray hairs that are longer than the rest, or areas where the line dips. Trim any inconsistencies. Then style: apply a small amount of matte clay or paste to damp hair, push the fringe forward and slightly to one side, and use your fingers to separate individual strands. Don’t use a comb — it will smooth out the texture you just created. The finished fringe should have visible separation between strands, a clean edge, and enough length to move naturally without falling into your eyes.
Safety Warnings
- Never use kitchen scissors — they crush the hair shaft and cause split ends
- If you’re unsure, cut 1/4 inch longer than your target — you can always trim more
Pro Tips
- Tools: Invest in a pair of hair scissors — $15-20 and they last years
- Frequency: Trim every 2-3 weeks to maintain the length — fringes grow fast
- Emergency: If you cut too short, sweep it to the side and wait 2 weeks — it’ll grow back to wearable length
The fringe cut is the one haircut element you can maintain yourself between barber visits. Ten minutes, a pair of scissors, and a mirror. No appointment. No $40 trim fee. No explaining what you want and hoping they understand. Just you and your forehead.
Scissors. Mirror. Ten minutes. Your fringe, your rules.
