Short Fringe: How to Cut and Style a Textured Crop Fringe
The French crop’s sharper cousin. Short, textured, and blunt enough to make a statement.
A short fringe is commitment. It sits above the eyebrows — sometimes well above — and it doesn’t sweep, flow, or move. It’s there. It’s blunt. And it changes the entire architecture of your forehead. This is how to cut one without making yourself look like a Lego figure.
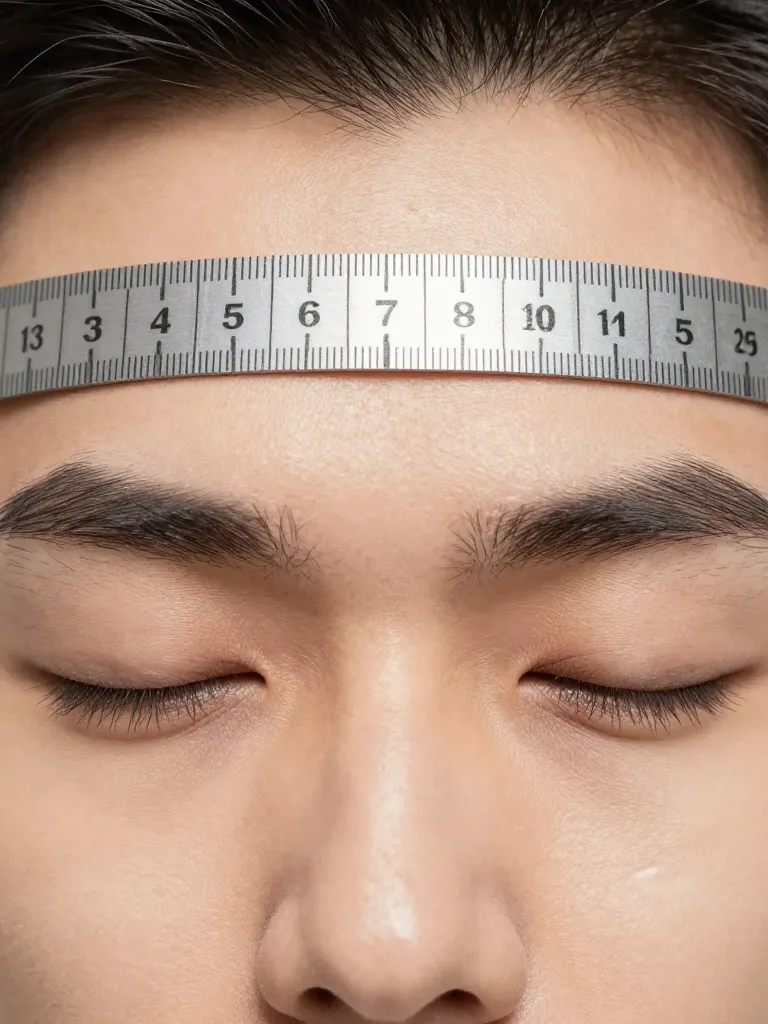
Step 1: Determine Your Fringe Length
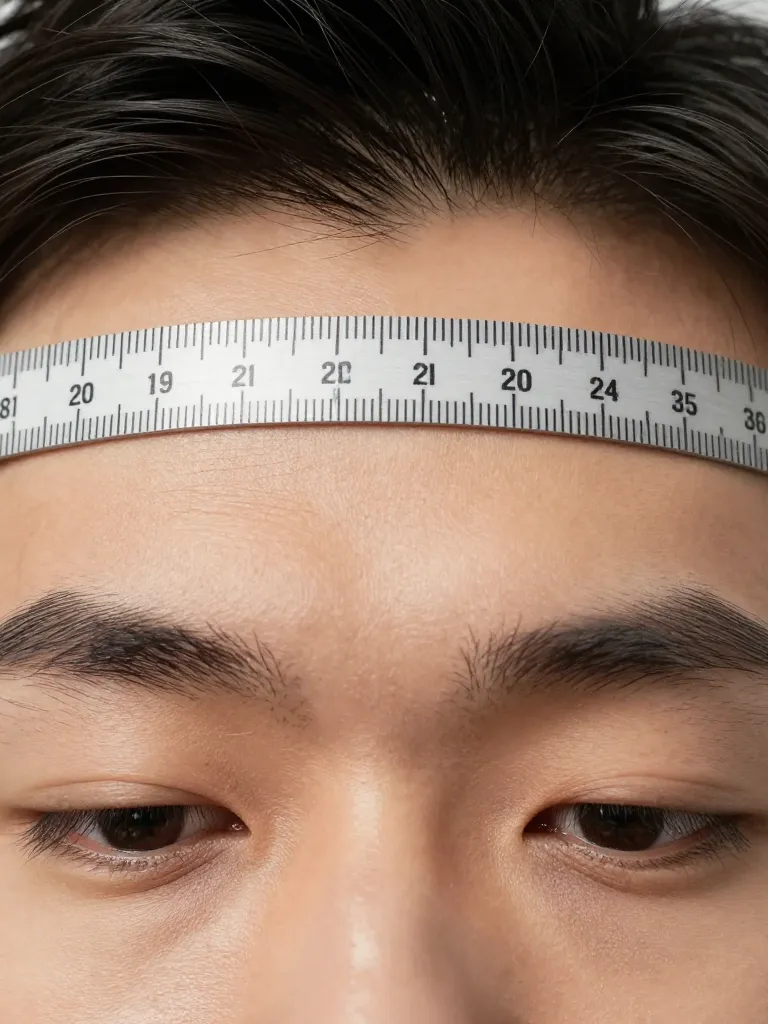
The short fringe sits between the mid-forehead and the eyebrow. Too short (above mid-forehead) and you look like you lost a bet. Too long (at or below the eyebrow) and it’s not a short fringe — it’s a regular fringe. The sweet spot is about 1-2 finger widths above the eyebrow. Mark this length on dry hair — wet hair shrinks, and cutting wet will leave you with a shorter fringe than intended. Part your hair forward and hold it flat against your forehead. Where the hair naturally falls is your starting point; you’ll trim from there.
Step 2: Cut the Fringe Line
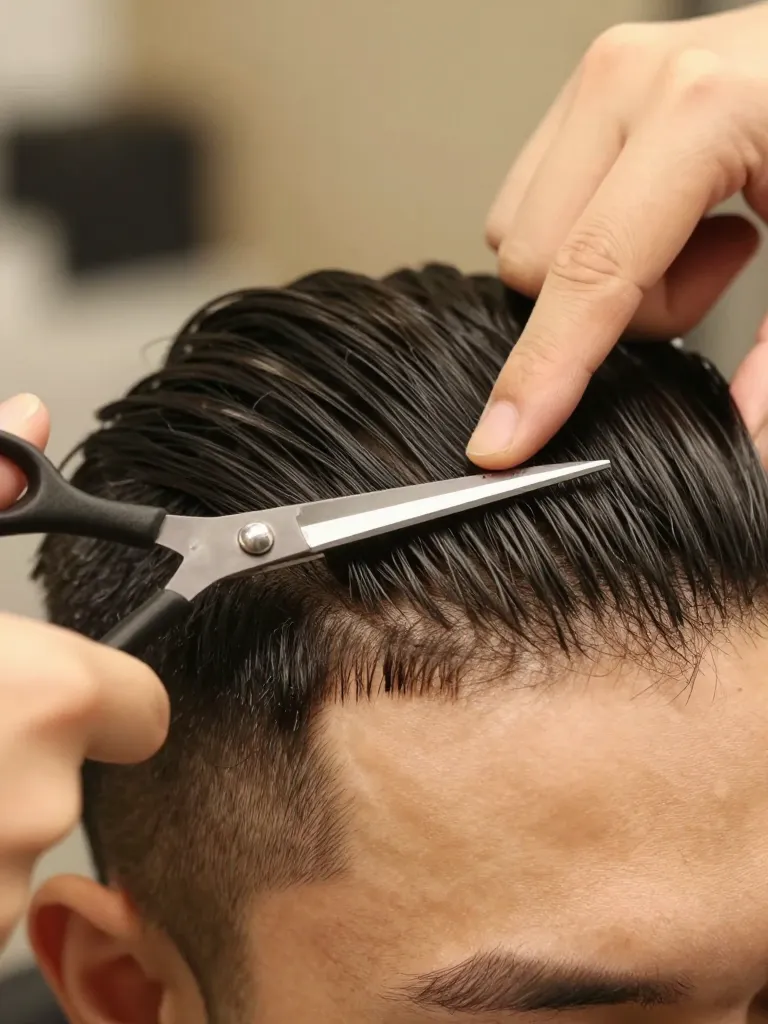
Hold the fringe section flat between your index and middle fingers, pulling it straight down. Cut horizontally across — NOT at an angle, NOT point-cutting, NOT with texture shears. You want a clean, blunt line first. The texture comes later. Cut about 1/4 inch longer than your target length — this gives you room to refine. Once the initial line is set, check it against your eyebrow: the fringe should be parallel to your brow line, not angled. If you want a slight angle (shorter in the center, longer at the temples), cut the center first, then angle the scissors outward toward the sides.
Step 3: Add Texture
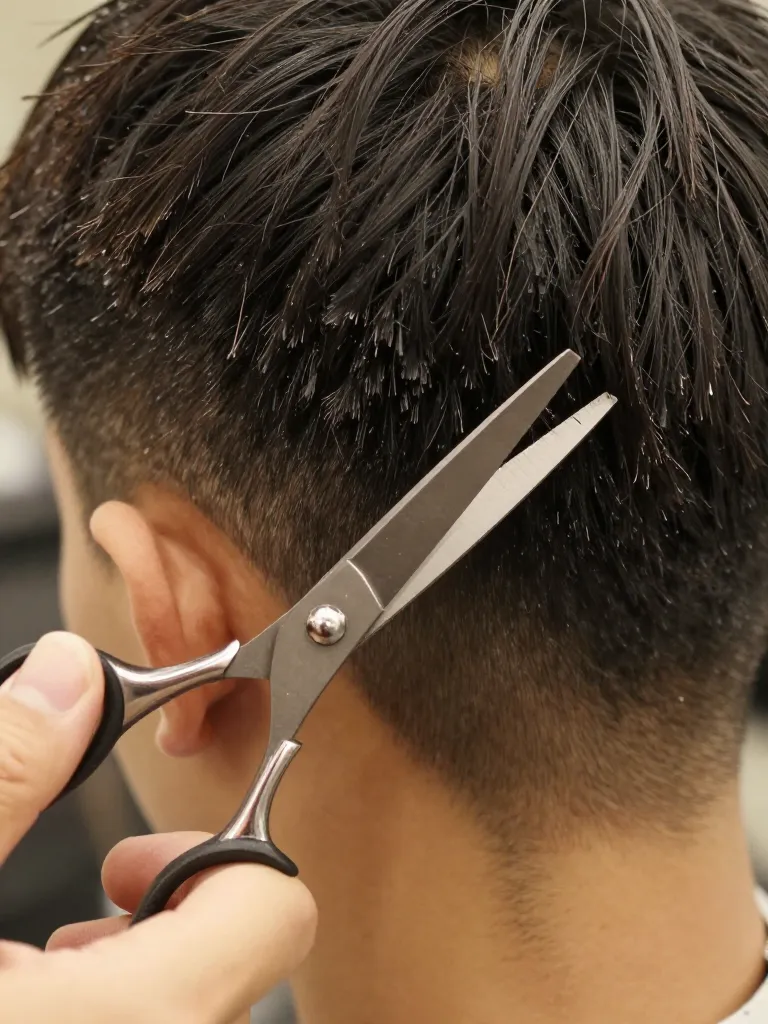
Now that you have a blunt line, it’s time to add texture. Hold the scissors vertically and point-cut into the ends — snip upward into the fringe at a 45-degree angle, removing small V-shaped chunks. This breaks up the blunt line and creates the piecey, textured look that separates a ‘good’ short fringe from a ‘Lego hair’ short fringe. Point-cut every 1/4 inch across the entire fringe. Then take texturizing shears (the ones with teeth) and cut into the middle of the fringe — not the ends — to remove bulk. This makes the fringe lie flat instead of puffing outward. The final fringe should have visible individual strands separated from each other, not a solid wall of hair.
Step 4: Style the Fringe
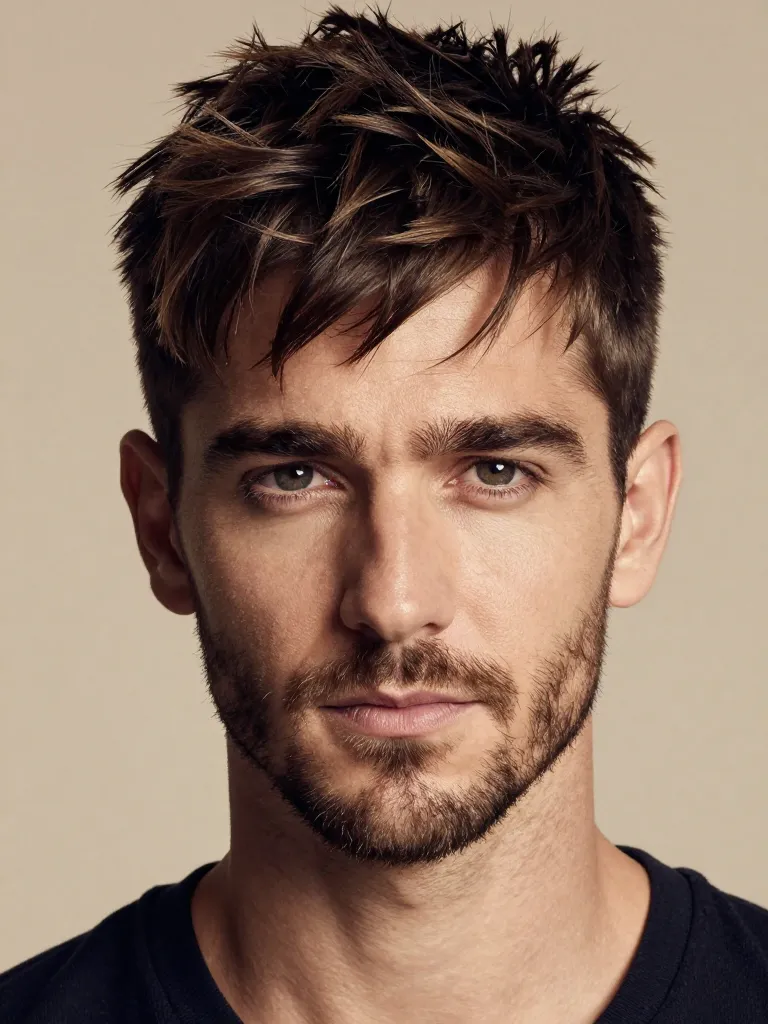
Apply a matte clay or paste to damp hair — not wet, not dry. Work the product through the fringe with your fingers, pushing it forward and slightly to one side. Use your fingers to separate individual strands — this is what creates the textured, piecey look. Don’t use a comb — a comb will smooth the texture you just created. Let it air-dry or blow-dry on low heat with a diffuser to set the shape. The finished fringe should look like individual strands that happen to fall in the same direction — not a solid block of hair. A light-hold spray can lock it in place without making it stiff.
Safety Warnings
- Don’t cut too short — you can always trim more but can’t add length back
- If you’re nervous, go to a barber for the first cut and maintain it yourself after
Pro Tips
- Maintenance: Trim every 2-3 weeks — the short fringe grows out of its sweet spot quickly
- Product: Matte clay, not wax — wax makes short fringe look wet and greasy
- Washing: The fringe gets oily faster than the rest of your hair — wash it daily if needed
The short fringe is the most deliberate haircut choice you can make. It sits front and center on your face. There’s no hiding it, no sweeping it away, no pretending it’s not there. It’s architecture on your forehead.
Blunt line. Textured ends. Forehead architecture.
