How to Cut a Textured Shag Mullet at Home: The Complete Guide
Scissors, a mirror, and the courage to cut the back longer than the front
A bad mullet looks like you forgot to get a haircut. A good mullet looks like you designed it. The difference is in the details: the gradient at the crown, the texture in the layers, and the weight distribution between front and back. You don’t need a barber to get a great textured shag mullet — you need sharp shears, a texturizing razor, and a clear understanding of the geometry.

Step 1: Section the Crown Gradient Zone
- Rat-tail comb
- Sectioning clips (4-6)
- Mirror (front and back view)
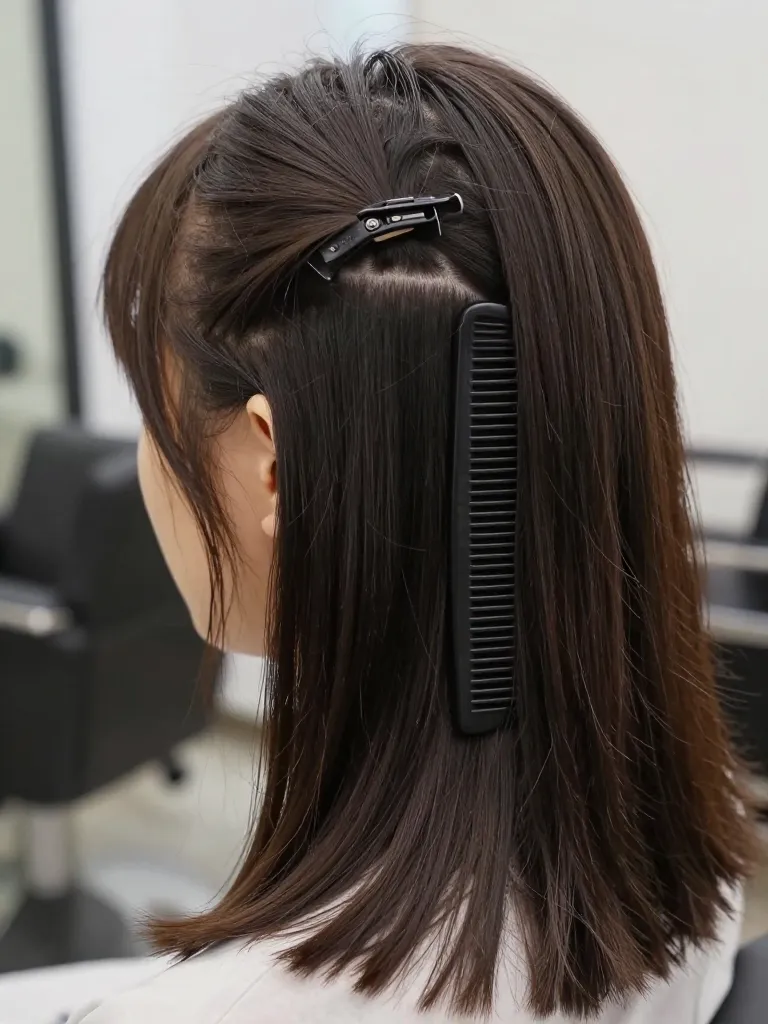
The crown gradient zone is where the mullet happens. This is the transition area between your short front/top and your long back. Start by parting your hair from ear to ear across the crown — the exact placement determines how much ‘party’ you get in the back. For a subtle mullet, place the part 1 inch above the occipital bone. For a standard shag mullet, place it at the crown’s apex. Clip the front/top section up and out of the way. The hair below this part is your ‘back’ — this is what will be longer. The hair above is your ‘front/top’ — this will stay shorter.
Step 2: Cut the Back Length
- Sharp hair-cutting shears
- Wide-tooth comb
- Mirror
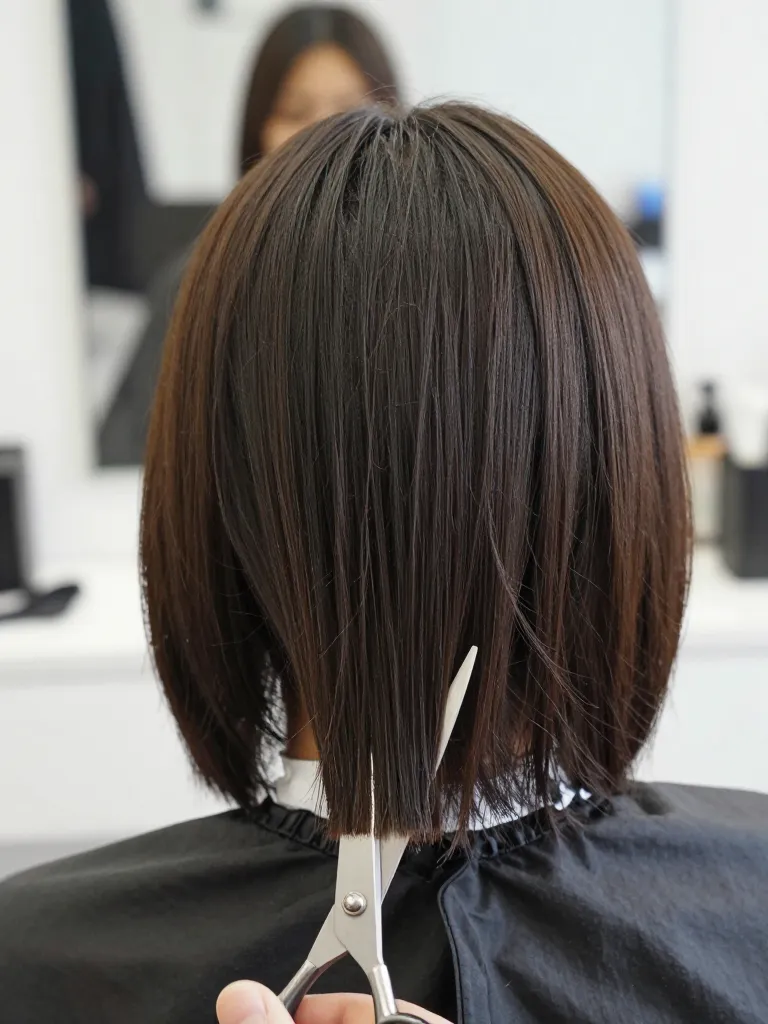
With the front/top clipped up, focus on the back section. Comb all the back hair straight down. Decide your target length — for a standard shag mullet, 4-6 inches past the shoulders is the sweet spot. Starting at the center back, pull a small section straight down between your fingers and cut to your target length. This is your guide length. Working outward from center to each side, pull each section down to meet the guide and cut. The side sections should be slightly shorter than the center — this creates the natural curve that follows your shoulders.
Step 3: Build the Front/Top Layers
- Sharp shears
- Rat-tail comb
- Mirror
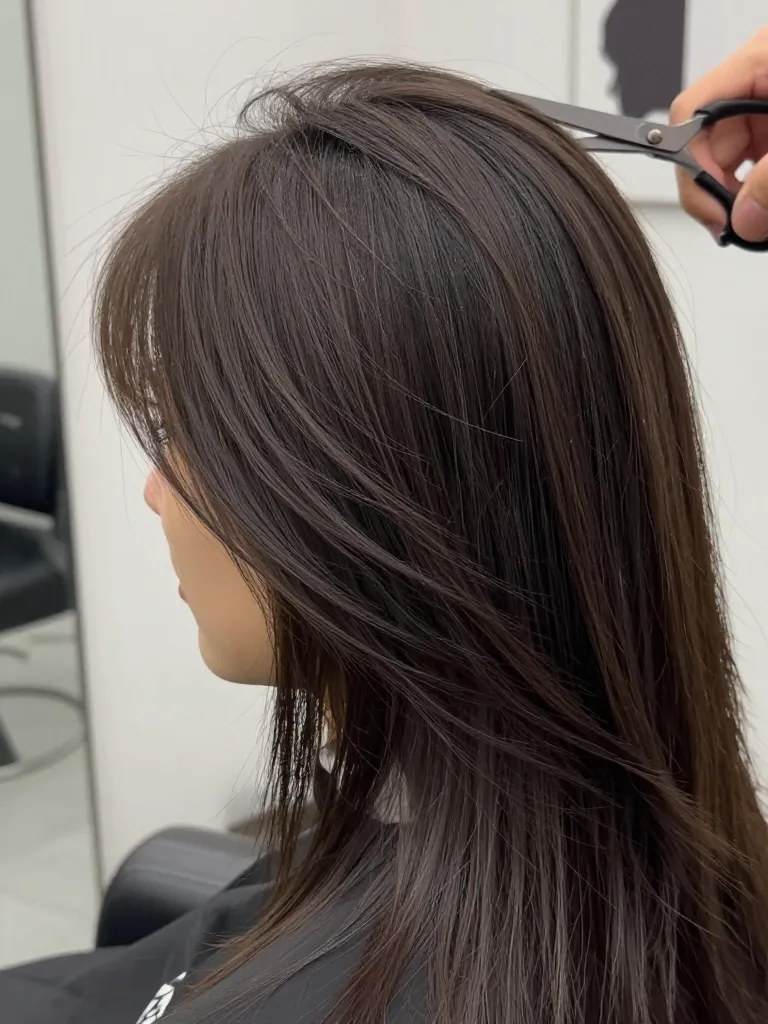
Release the clipped front/top section. This is where the ‘shag’ in ‘shag mullet’ lives. Starting at the crown, take vertical sections and point-cut into the ends — cutting into the hair at an angle rather than straight across. This creates the piece-y, textured look. The top layers should be 2-4 inches shorter than the back, creating the visible gradient. Face-framing layers should reach your cheekbones or jawline. Crown layers should be short enough to create volume (2-3 inches). As you work toward the back, gradually lengthen the layers so they blend into the back section.
Step 4: Texturize and Blend
- Razor comb or texturizing shears
- Regular shears for refinement
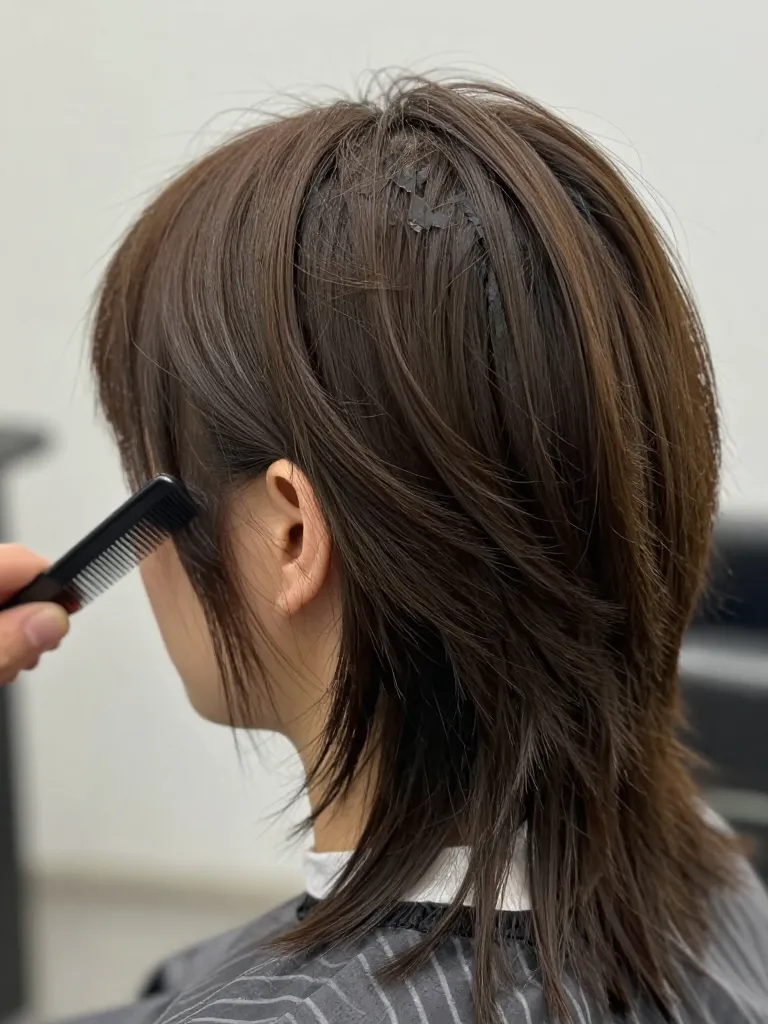
This is the step that turns a mullet into a shag mullet. Using a razor comb or texturizing shears, work through the mid-lengths and ends of the entire cut. Hold each section taut and run the razor down the shaft in short, choppy strokes — this removes bulk and creates the piece-y, lived-in texture. Focus extra texturing on the transition zone where short meets long to ensure the blend is seamless. The back ends should be razored for movement. The crown layers should be razored for lift and separation.
Step 5: Final Shape Check and Styling
- Hair dryer
- Texturizing spray or matte pomade
- Mirror (front and back)
Dry the hair completely and check the shape from every angle. The front should frame your face with soft, curtain-like layers. The crown should have volume and lift. The back should cascade with visible, piece-y texture. Apply a light-hold texturizing spray or matte pomade — work it through the mid-lengths and ends with your fingers, scrunching to activate the texture. Don’t brush it smooth — the shag mullet is meant to look effortless, not polished.

Why This Works
The textured shag mullet works because it separates the two jobs of a mullet: the front frames the face (functional), and the back makes a statement (aesthetic). The crown gradient zone is the engineering — it’s where the length transition happens, and its placement determines the mullet’s personality. The texturing step is what makes it a ‘shag’ rather than a blunt mullet — the razor work removes bulk, creates movement, and ensures the layers blend seamlessly.
Safety Warnings:
- Always use sharp hair-cutting shears — dull blades crush the cuticle and cause split ends
- Cut less than you think you need — you can always take more off
- If using a razor comb on curly hair, go slowly — removing too much weight causes unpredictable spring-back
Pro Tips
Cutting your own mullet is an act of structural engineering. You’re not just removing length — you’re designing a gradient, managing weight distribution, and creating texture through deliberate material removal. The textured shag mullet is the most forgiving variation: the layers hide mistakes, the texture disguises unevenness, and the overall shape is meant to look ‘undone.’
The scissors are in your hands. The geometry is in your head. The party is in the back. ✂️📐
