How to Cut a Mid Fade Haircut for Men: The Barbershop Balance Cut
Not too high, not too low. The fade that works everywhere.
The mid fade is the most requested haircut in barbershops — and it’s not because it’s boring. It’s because it’s balanced. The mid fade sits at the sweet spot between the aggressive skin fade (which can read as ‘just left boot camp’) and the subtle low fade (which can look like you didn’t do anything). It starts at the temple — right at the natural midpoint of the head — and gradients down to skin or near-skin at the sides. The result is a cut that works in the office, at the gym, on a date, and at a barbershop convention. It’s the Honda Civic of fades: reliable, clean, never out of place. Here’s how to build it from scratch.
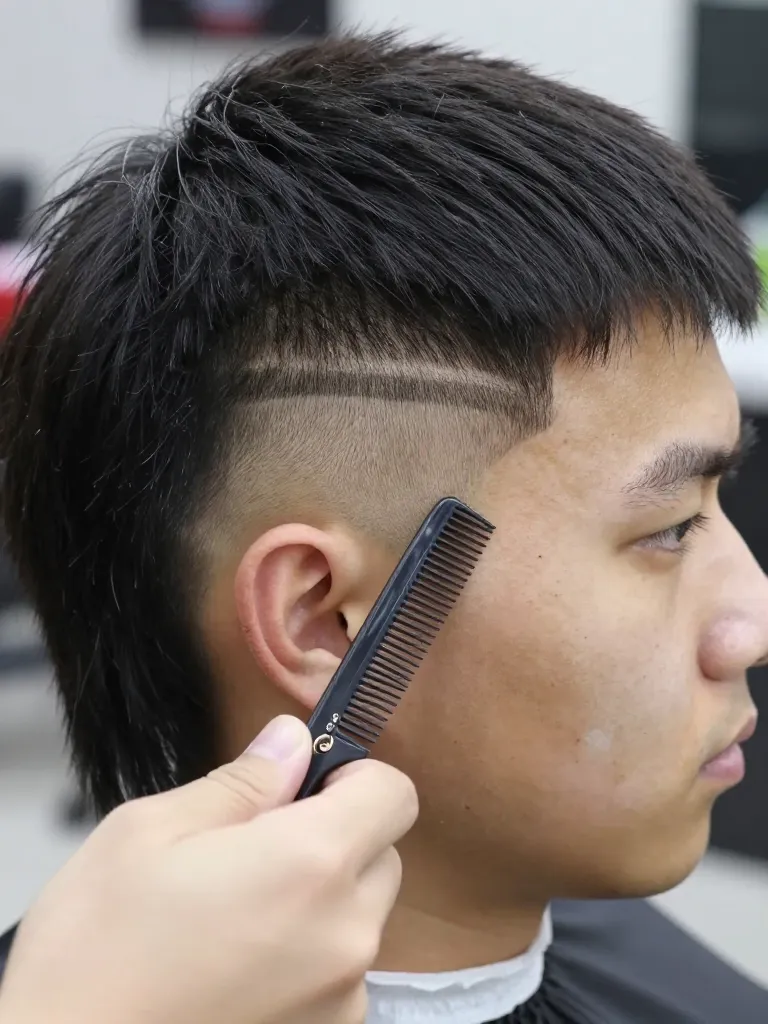
Step 1: Find the Mid Point and Establish the Guide
The mid fade starts at the ‘mid’ — the midpoint of the head, typically at the temple or just above the ear. To find it, place your finger at the top of your ear and slide it upward until you feel the skull start to curve toward the crown. That curve is your mid-point. Using clippers with a #2 guard, create a horizontal guideline that follows this curvature from the front hairline to the back of the head. This guideline is your reference line — everything below it will be faded, everything above it will transition into the top. The guideline must be level and symmetrical. Use a hand mirror to check both sides. A crooked guideline means a crooked fade — and it’s nearly invisible until the cut is finished.
Step 2: Fade Below the Guide with Progressive Guards
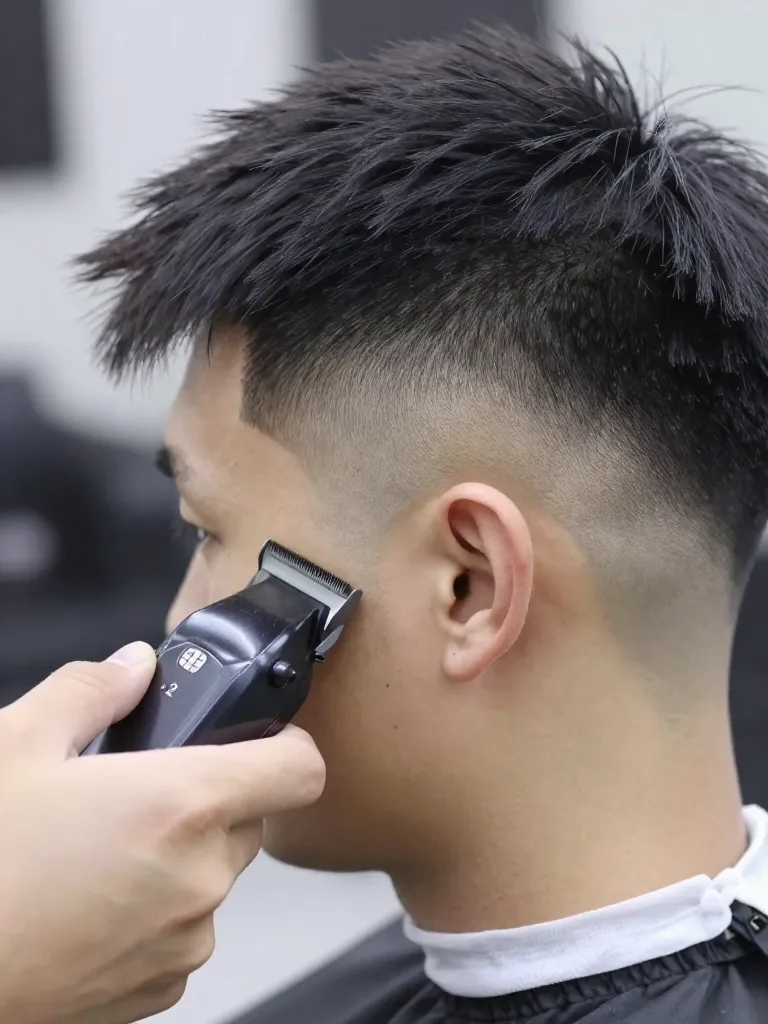
Below the #2 guideline, you’re building the gradient. Start with a #1.5 guard and work the area just below the guideline — flick upward into the #2 zone to blend. Then switch to #1 guard and work the next half-inch below. Then #0.5 (or lever-closed #1) for the area near the ear. Finally, use a foil shaver or zero-guard clippers for the lowest point — the sideburn and around the ear. Each guard length overlaps the one above by a quarter-inch, and each transition uses the flick/scoop technique to create a soft edge. The gradient should be 1.5 inches wide — from bare skin at the bottom to #2 at the top. Within that zone, you should have 4-5 distinct but seamlessly blended lengths.
Step 3: Blend the Top into the Fade Zone
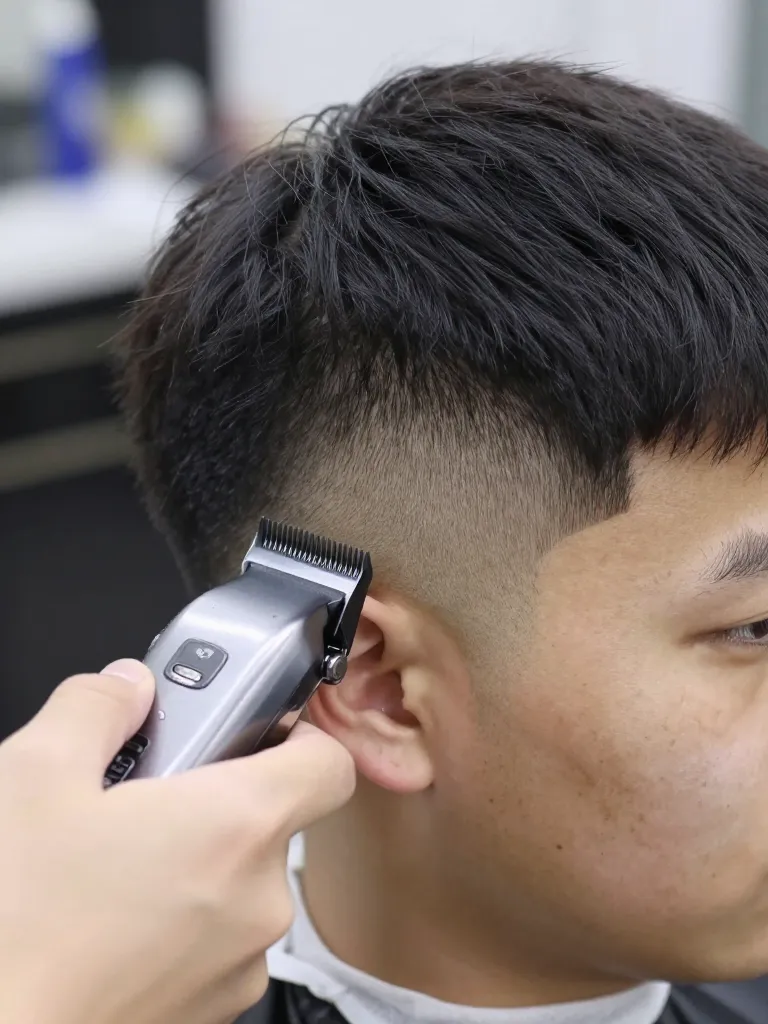
Above the #2 guideline is where the top meets the fade — and this transition is where most DIY fades fail. The hair above the guideline is longer (3-4 inches for a textured top), and it needs to blend seamlessly into the #2 fade zone. Use clipper-over-comb technique: hold a barber comb against the head at the transition point, and run clippers (with a #3 or #4 guard) over the comb. The comb acts as a guide, allowing you to cut the hair at a graduated length that bridges the gap between fade and top. Work from the front to the back, checking the blend from the side with a mirror. There should be no visible line, no ‘shelf,’ and no sudden jump in length. The transition should be as smooth as the fade below it.
Step 4: Shape and Texture the Top
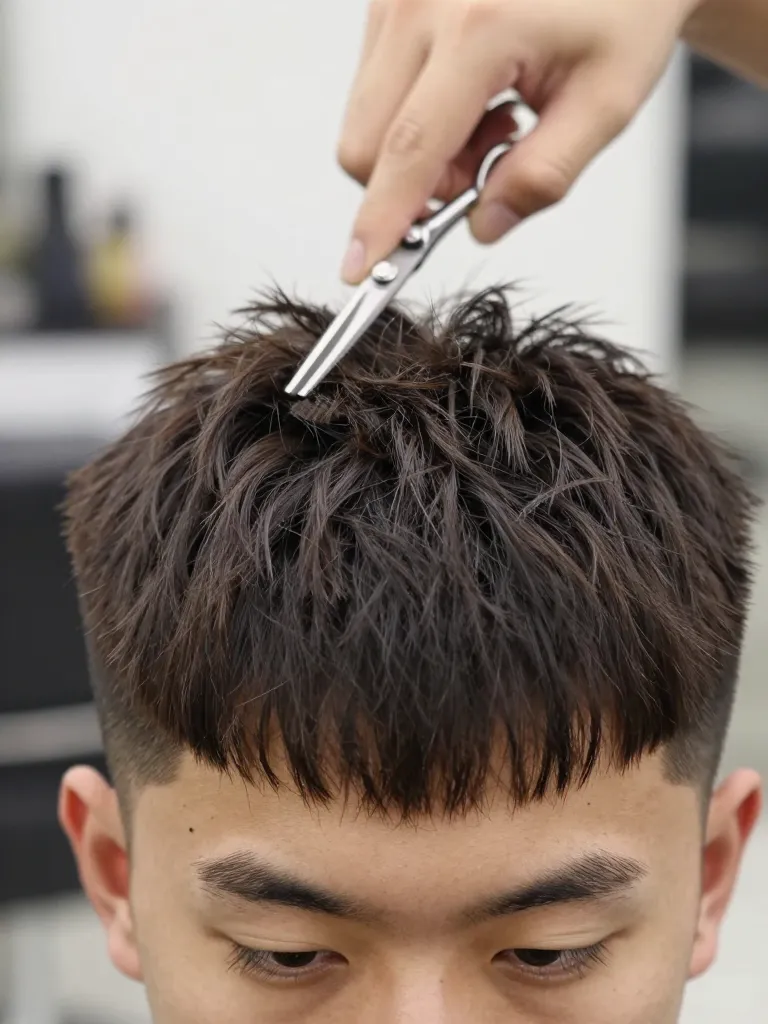
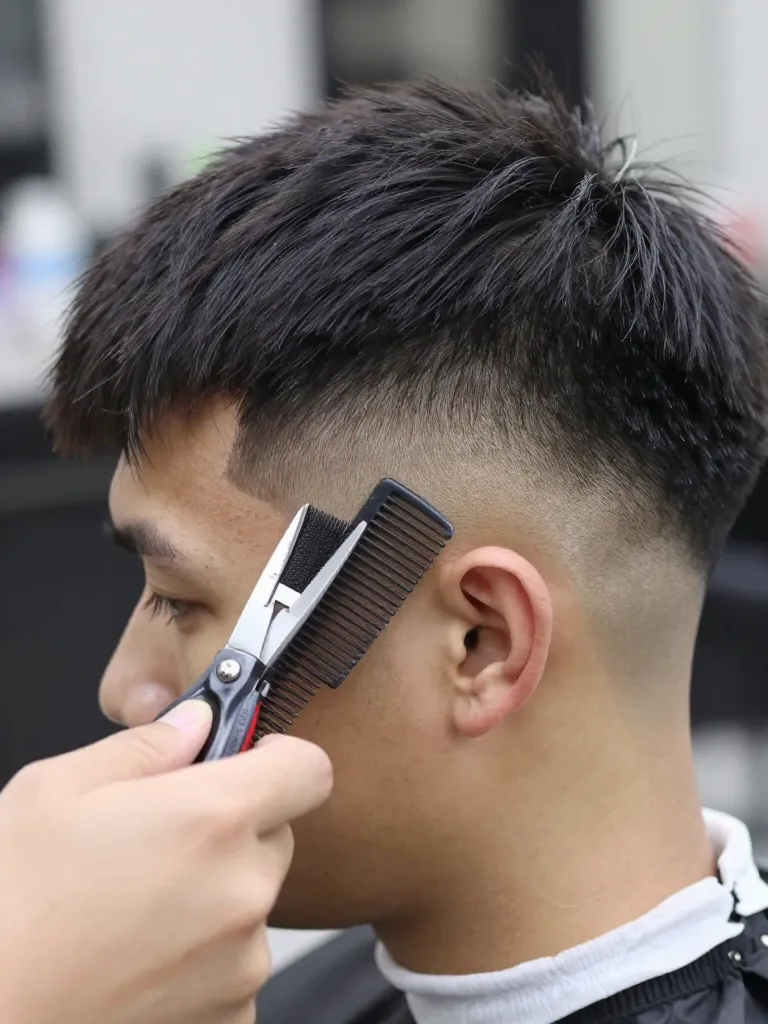
The top of a mid fade needs shape and texture — without it, the cut looks like a bowl sitting on top of a fade. Determine your target length and style: textured crop (2-3 inches), quiff (3-4 inches), or pompadour (4-5 inches). Using shears, point-cut into the ends at steep angles to create piece-y texture. For a textured crop, cut the fringe shorter in the center and longer at the temples. For a quiff, leave the front longest and gradually shorten toward the crown. The key is that the top should look intentional — not like you just stopped cutting. The texture is what makes the fade look finished rather than ‘work in progress.’
Step 5: Detail and Finish
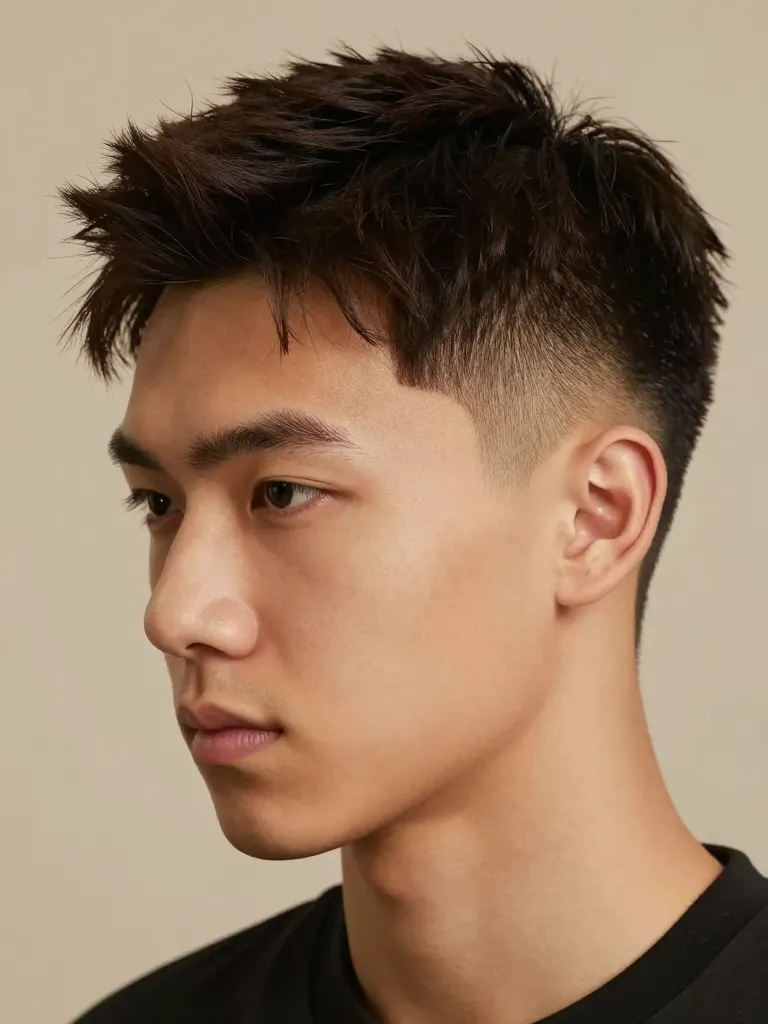
The finishing details are what make a mid fade look like a $60 barbershop cut rather than a $15 kitchen cut. Clean up the sideburns with trimmers — they should be sharp, straight, and symmetrical. Taper the neckline (or square it — your preference), with a clean defined edge. Around the ears, use trimmers to create a clean arc. Check both sides with a hand mirror for symmetry — most fade asymmetries are only visible from behind. Finally, apply a small amount of matte pomade or clay to the top, style as desired, and check the overall shape. The mid fade should look balanced, clean, and intentional from every angle.
⚠️ Safety Warnings
- Never use a foil shaver on irritated or broken skin — it will cause cuts and infection
- Clean your clippers and shaver with disinfectant before every use — barber hygiene prevents skin infections
- If you nick yourself, apply styptic powder immediately — don’t continue cutting over a wound
Why This Works
The mid fade works because of placement psychology. The ‘mid’ — the temple area — is the natural visual midpoint of the head. When the fade starts here, the eye reads it as balanced and intentional. High fades push the visual weight upward (aggressive, attention-grabbing). Low fades push it downward (subtle, conservative). The mid fade holds the center — which is why it works in every context. The gradient technique is identical to other fades, but the placement is what makes it the most versatile. It’s the fade that doesn’t need an explanation.
Pro Tips
Related Guides
Fade Haircut for Men — Overview of all fade variations
Step-by-step skin fade tutorial — The maximum-contrast fade
Taper fade maintenance — The low-maintenance fade option
The mid fade is the haircut that proves you don’t need to be extreme to be impressive. The gradient — starting at the temple and fading to skin — is precise, clean, and balanced. It works in every environment, with every top style, and on every face shape. It’s the fade that doesn’t try too hard — and that’s exactly why it works. When you want a fade that says ‘I know what I’m doing’ without screaming it, the mid fade is the answer.
Right in the middle. Perfectly balanced. That’s the mid fade. ✂️
