Braids for Men: The Complete Beginner’s Guide to Male Braiding
You don’t need a barber. You need patience, a comb, and this guide.
Every guy who wears braids had to learn once. The difference between ‘I tried braids’ and ‘I wear braids’ is technique — and technique is learnable. This guide takes you from zero braiding experience to executing clean cornrows, box braids, and two-strand twists on your own head.
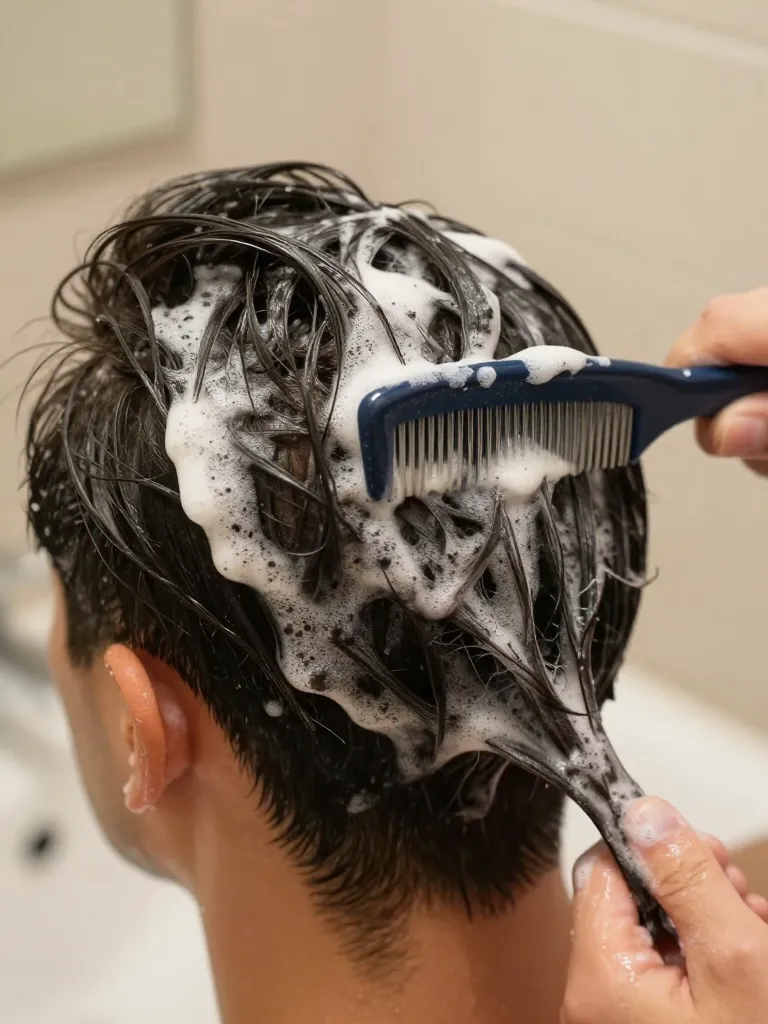
Step 1: Prep the Hair
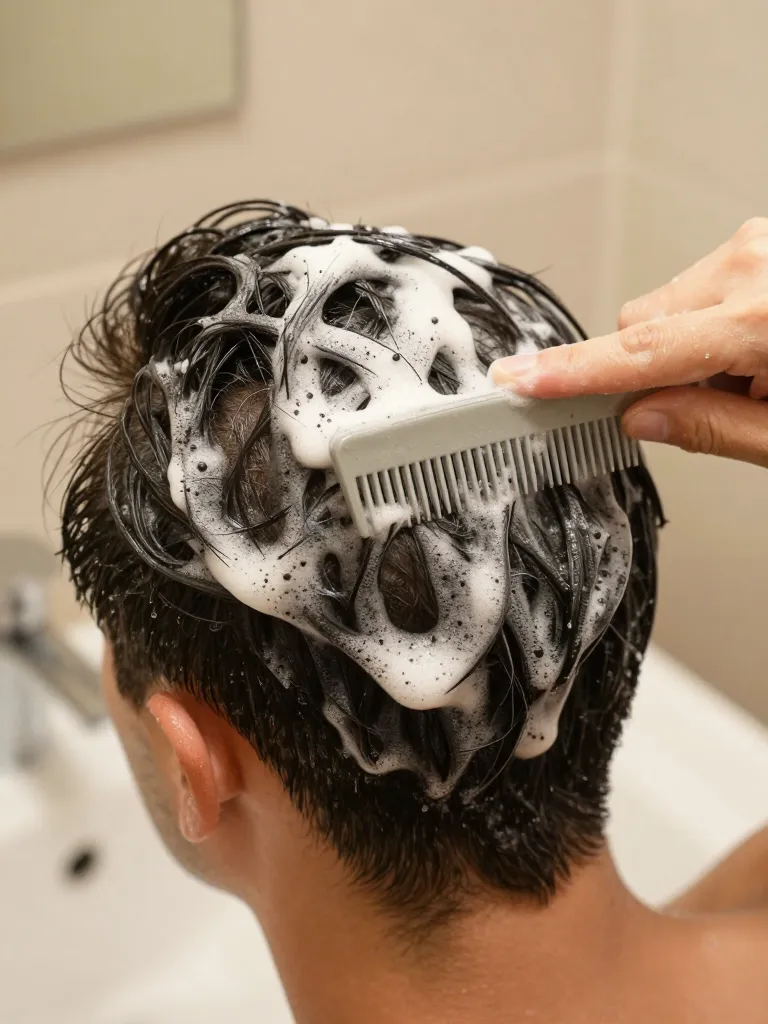
Clean hair braids better than dirty hair. Wash with a sulfate-free shampoo, condition thoroughly, and detangle with a wide-tooth comb while the conditioner is still in. Rinse and towel-dry until damp — not dripping, not dry. Damp hair is the sweet spot: it’s pliable enough to section cleanly but not so wet that it shrinks when it dries. Apply a leave-in conditioner or light oil to keep the hair moisturized during the braiding process. Dry, brittle hair breaks during braiding — moisturized hair bends.
Step 2: Section and Part
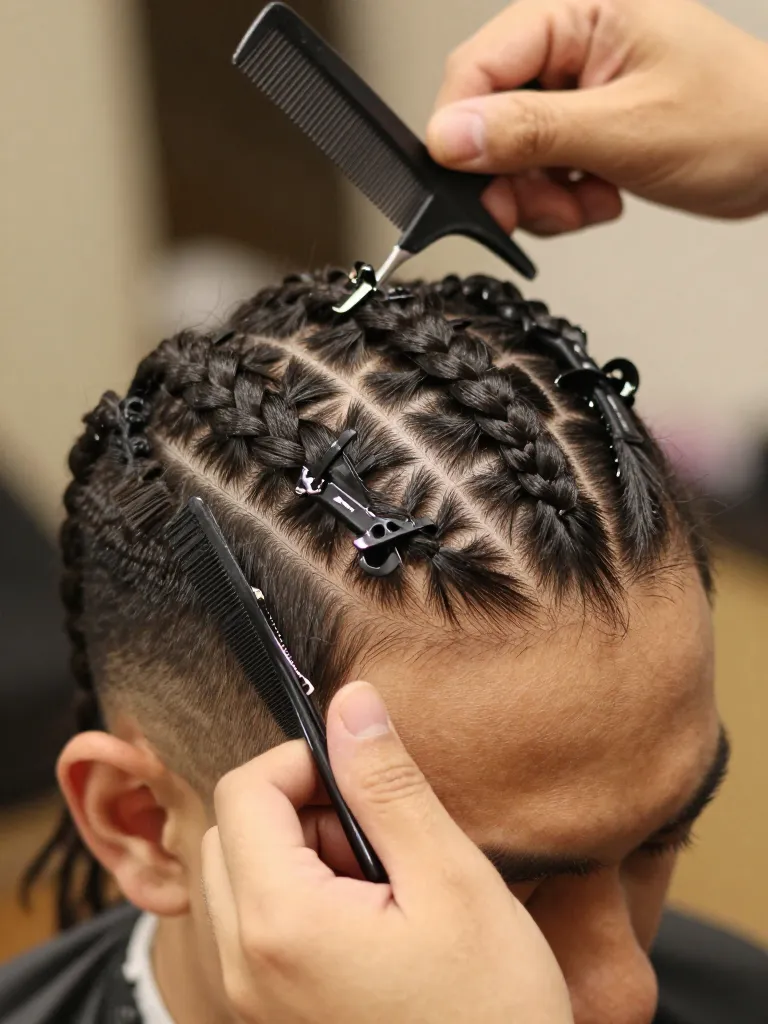
Use a rat-tail comb to create your parting pattern. For cornrows: create parallel rows from forehead to nape, each row 1-2 inches wide. For box braids: create a grid of square or rectangular sections across the entire head. For two-strand twists: create random or uniform sections, each about 1 inch wide. The cleaner your parts, the cleaner your braids. Clip each section out of the way as you work. The parting pattern IS the style — it determines where the braids sit and how they fall. Take your time here.
Step 3: Execute the Braid
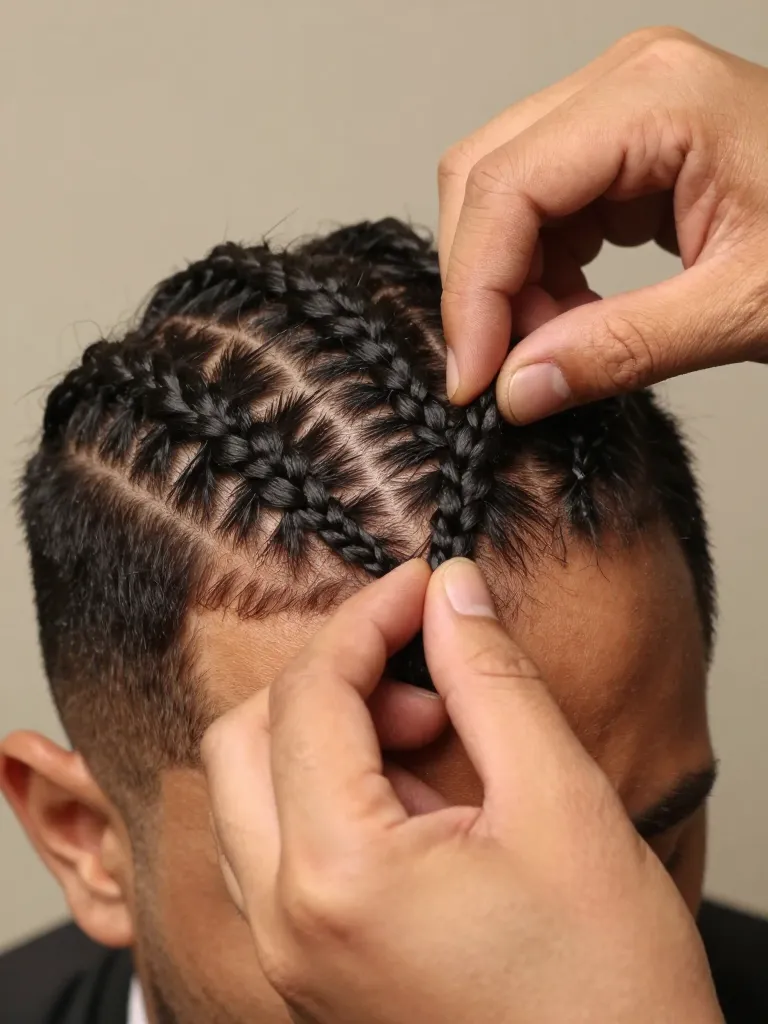
For cornrows: divide the first row into three equal sections. Cross the right section over the middle, then the left section over the middle — this is the basic three-strand braid. After the first two crosses, add a small amount of hair from the scalp to each section before crossing it over. This is the ‘feed-in’ that makes cornrows lie flat. Continue adding hair with each cross until you reach the nape, then braid the remaining length without adding hair and secure with an elastic. For box braids: braid each section independently using the same three-strand technique, adding synthetic hair for length if desired. For two-strand twists: split each section in two and twist the two strands around each other in the same direction until you reach the end.
Step 4: Finish and Maintain
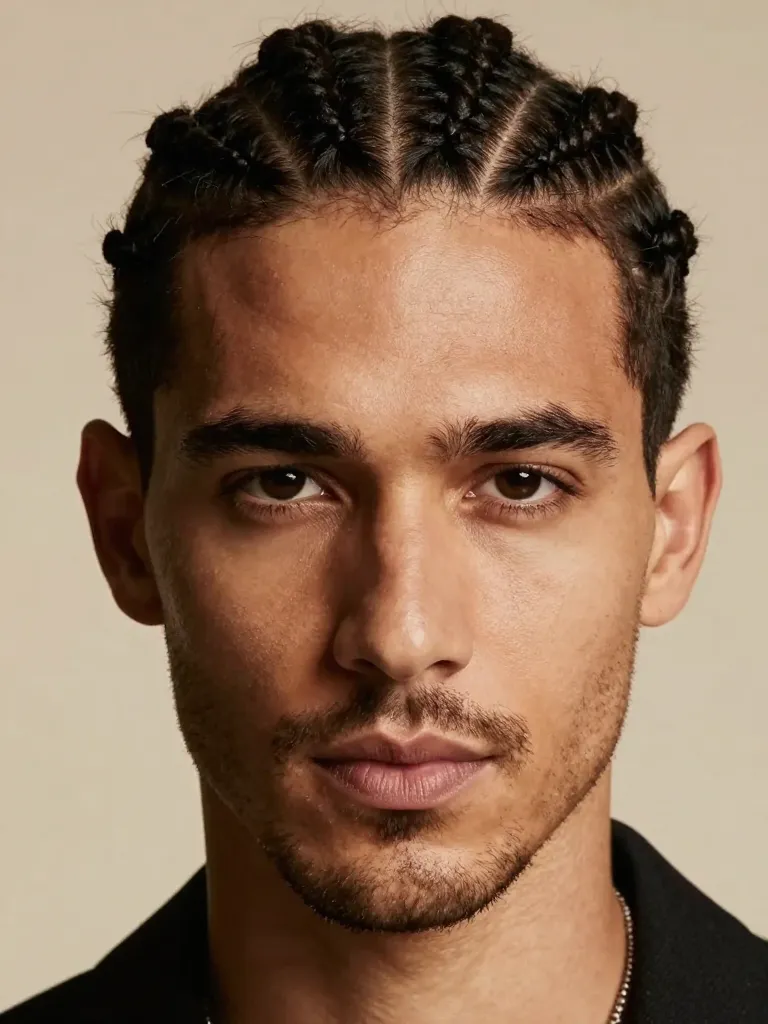
Once all braids are done, apply edge control along the hairline for a clean finish. Dip the ends of synthetic braids in hot water to seal them (skip this for natural hair). Apply a light oil or braid sheen spray to add shine. To maintain: sleep with a silk or satin bonnet to reduce friction. Moisturize the scalp every 2-3 days with a light spray. Don’t leave braids in longer than 4-6 weeks — extended wear causes matting and breakage at the roots. When removing braids, don’t just pull them out — carefully unravel each braid and detangle the roots before washing.
Safety Warnings
- Don’t braid too tight — tension alopecia at the hairline is permanent
- If your scalp throbs or you see bumps along the hairline, take the braids out immediately
Pro Tips
- Start simple: Two-strand twists before cornrows — they’re more forgiving and teach you tension control
- Tension check: If you can’t move the braid freely at the root, it’s too tight
- Practice: Do 10 practice braids on a mannequin head before attempting your own hair
Braiding isn’t talent. It’s technique. And technique is learned through repetition. Your first braids will be uneven. Your tenth will be passable. Your fiftieth will be clean. Start now.
Three strands. One skill. Infinite styles.
