How to Braid Cornrows on Men: The Complete Step-by-Step Guide
Cornrows look simple. They’re not. Here’s the technique that separates clean rows from chaos.
Cornrows are the most deceptive hairstyle in men’s grooming. They look straightforward — just braid close to the scalp, right? Wrong. Cornrows require consistent tension, precise parting, and a braiding rhythm that most people don’t develop without practice. The difference between cornrows that look ‘fresh from the barber’ and cornrows that look ‘my cousin did these in the dark’ comes down to three things: clean parts, even tension, and the feed-under technique. This guide breaks down each step so you can either do them yourself or understand exactly what your braider should be doing.
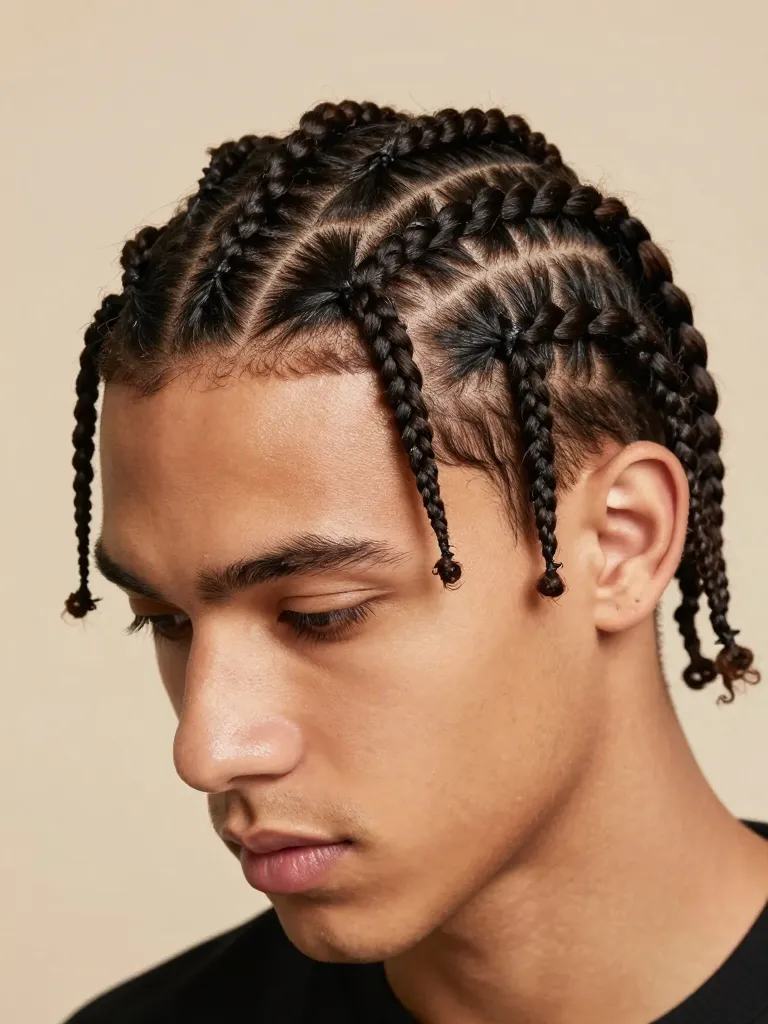
Step 1: Prep the Hair — Wash, Condition, and Stretch
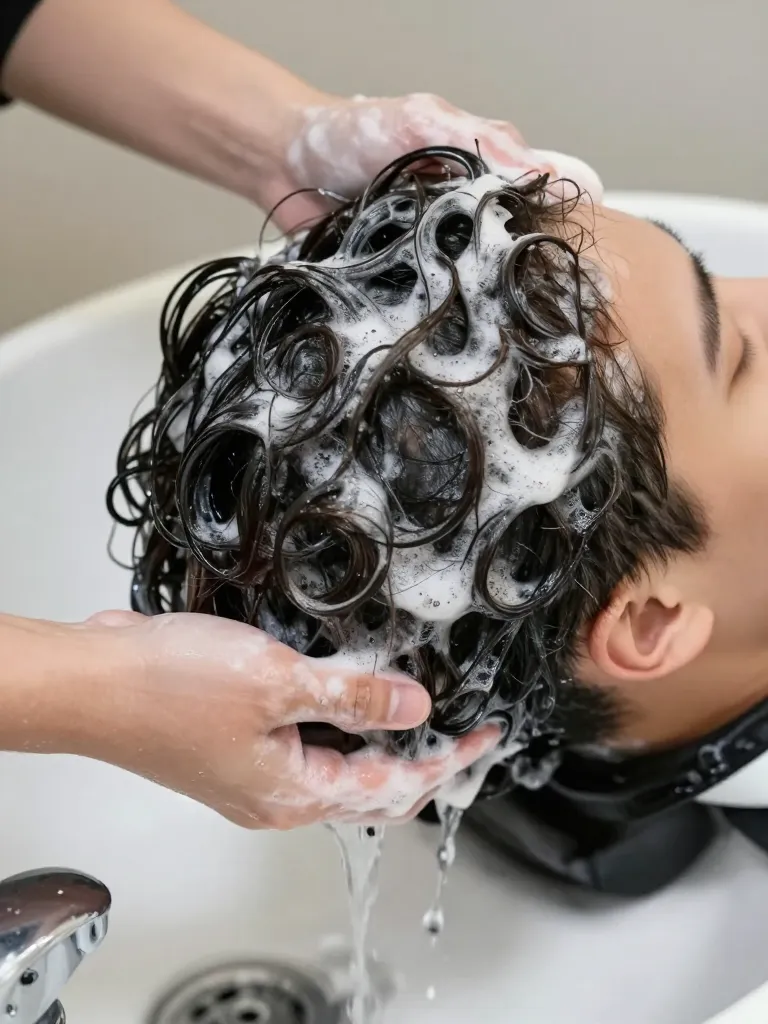
Cornrows start in the shower, not the chair. Wash with a clarifying shampoo to remove product buildup, dirt, and oil — braids grip clean hair better than dirty hair. Follow with a moisturizing conditioner, focusing on the mid-lengths and ends. Rinse with cool water to seal the cuticle. For coily hair (type 4), stretch the hair before braiding — either blow-dry on low heat with a concentrator nozzle or use the banding method (wrapping sections with elastic bands overnight). Stretched hair is easier to part, easier to braid, and produces smoother cornrows. Braiding wet, shrunken coily hair leads to uneven rows and painful tension as the hair dries and contracts.
Timing: 20-30 minutes
Prerequisites: Clarifying shampoo, Moisturizing conditioner, Blow dryer with concentrator (optional)
Step 2: Create the Part Map — The Foundation of Clean Cornrows
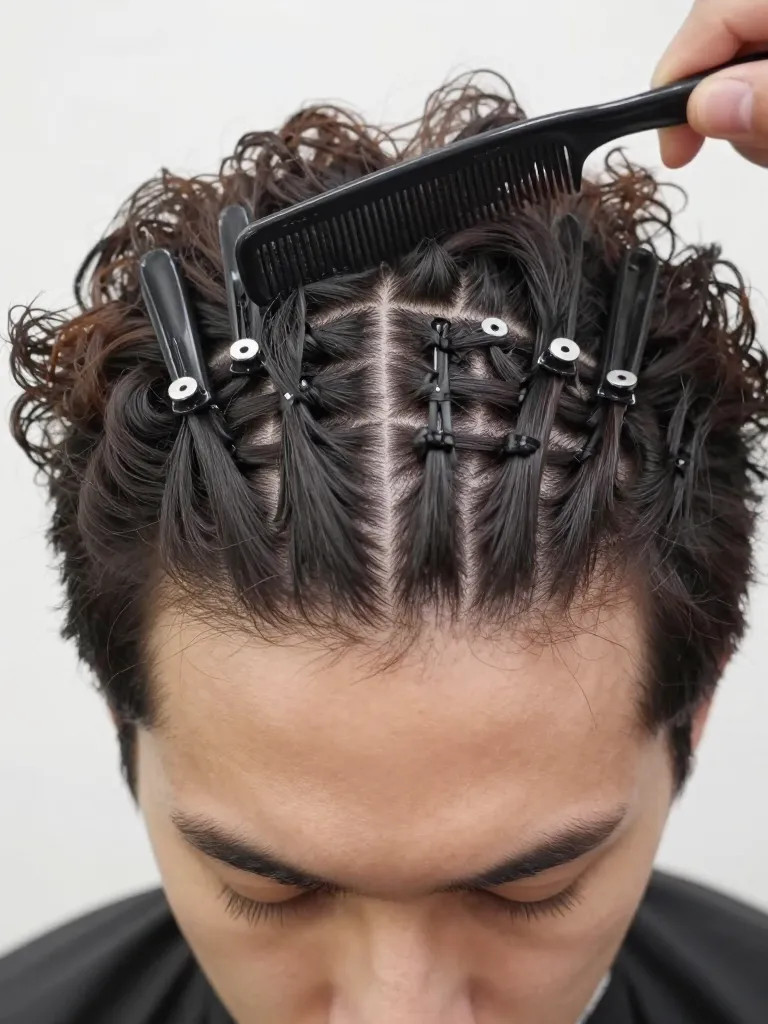
The part map is the most important step — and the one most people rush. Using a rat-tail comb, create straight parts from the hairline to the nape. The spacing determines the braid width: 1-inch parts create medium cornrows, 1.5-inch parts create thicker ones. The key is consistency — every part should be the same width. Use the pointed end of the rat-tail comb to draw the line, then follow with the comb teeth to separate the section cleanly. Clip each completed section out of the way. For beginners, start with 6-8 rows — fewer braids means wider sections, which are easier to manage. The part map should look like a grid of parallel lines when you’re done. If the parts are crooked, the braids will be crooked. No amount of braiding skill can fix a bad part map.
Timing: 15-20 minutes
Prerequisites: Rat-tail comb, Sectioning clips, Mirror (hand-held for checking the back)
Step 3: Braid the First Row — The Feed-Under Technique
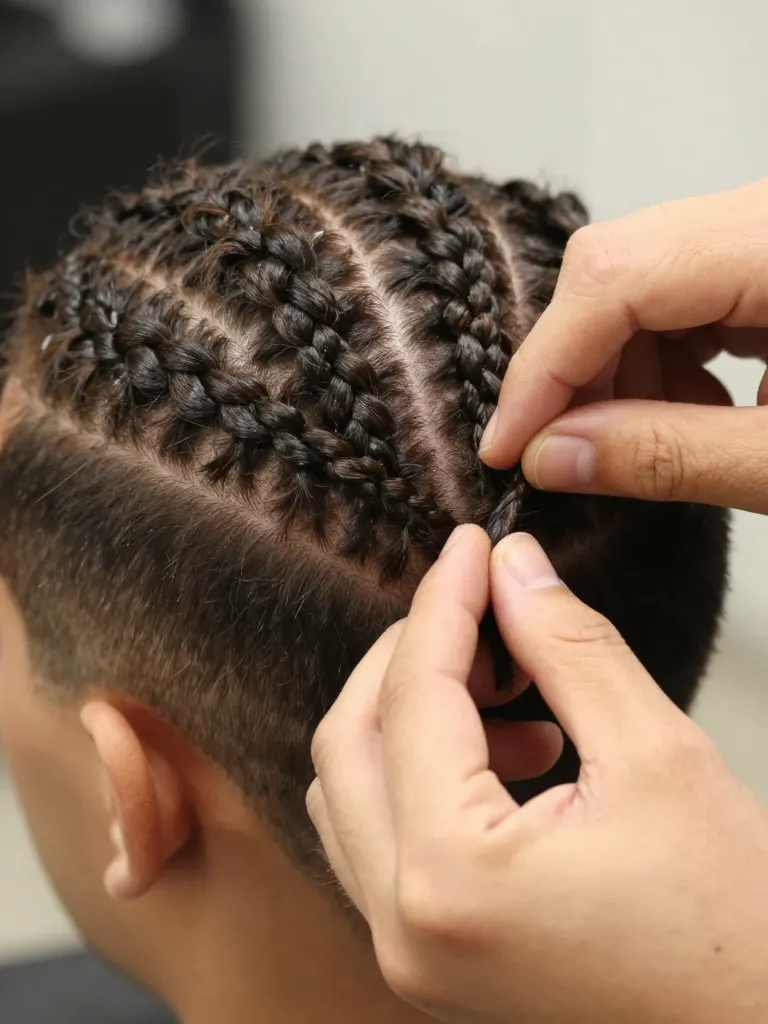
Take the first section at the hairline. Divide it into three equal strands. Begin a standard braid — right strand over middle, left strand over middle — for two to three stitches to anchor it. Then switch to the feed-under technique: instead of braiding the strands over each other, braid them under. This is what makes cornrows sit flat against the scalp rather than puffing up. As you braid back, add small amounts of hair from the parted section into each strand before crossing it under. The key is consistency — add the same amount of hair to each strand, at the same interval, with the same tension. The braid should feel snug but not painful. If it’s pulling the skin, your tension is too tight — this causes breakage and traction alopecia over time.
Timing: 10-15 minutes per row
Prerequisites: Rat-tail comb, Braiding gel or edge control, Steady hands
Step 4: Secure the Ends and Repeat
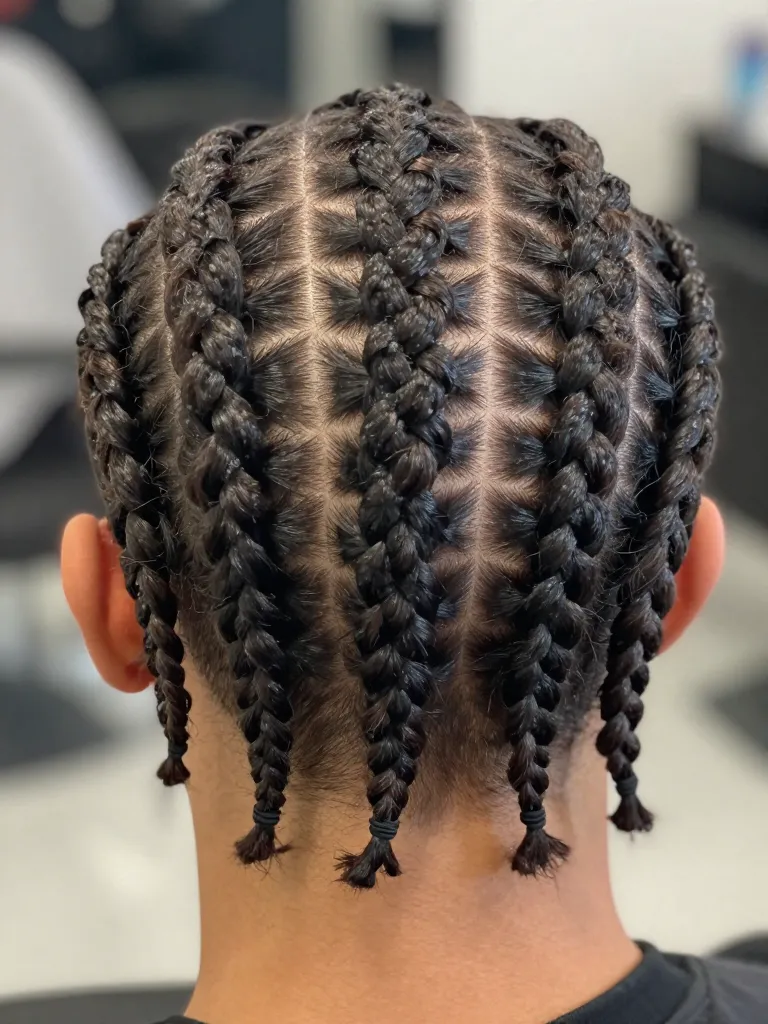
When you reach the nape — where the hair ends — secure the braid with a small elastic band. For a cleaner finish, you can also dip the ends in hot water (10 seconds in boiling water, then towel-dry) to seal synthetic braiding hair, or simply wrap the natural ends with a tiny rubber band. Move to the next row and repeat the process. Work from the center rows outward — this keeps the tension balanced on both sides. Each row should mirror the one next to it in width, tension, and angle. The entire head of cornrows typically takes 6-10 rows depending on head size and desired braid width. When all rows are complete, apply a light edge control or gel to the hairline baby hairs for a polished finish.
Timing: 60-90 minutes total for all rows
Prerequisites: Small rubber bands, Edge control, Patience
Step 5: Maintain and Protect the Style
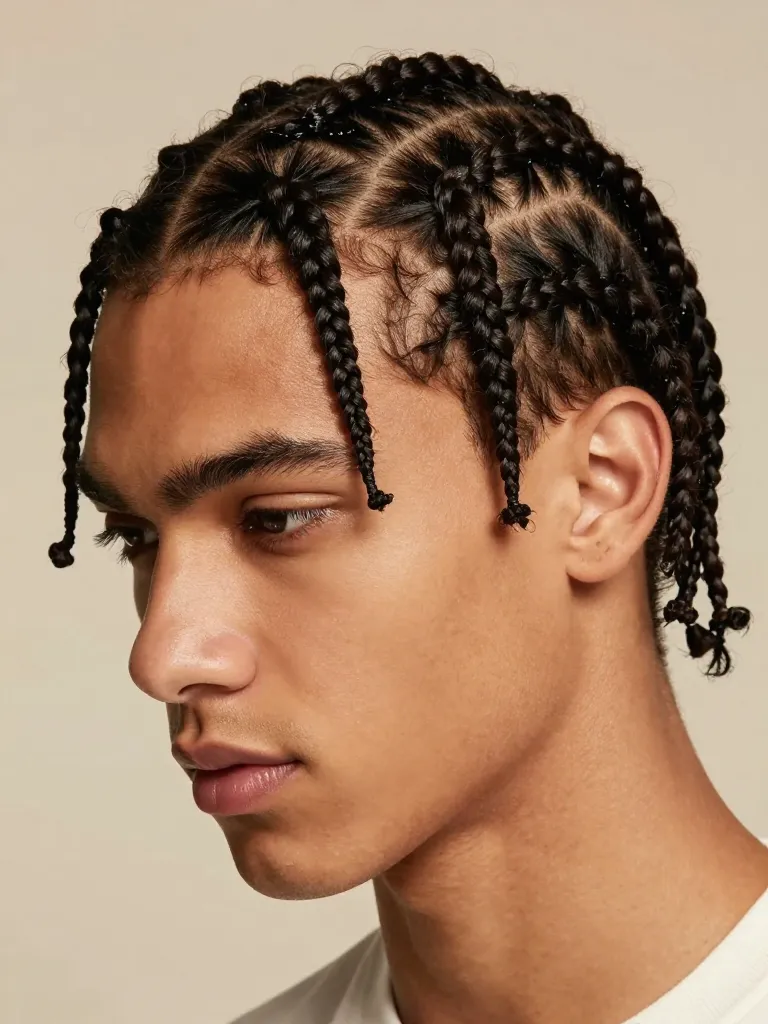
Cornrows are a protective style — but only if you actually protect them. Every night, wrap your head in a satin durag or sleep on a satin pillowcase. Cotton absorbs moisture from the hair and creates friction that causes frizz and premature unraveling. Every 2-3 days, apply a lightweight oil (jojoba, argan, or coconut) to the scalp between the braids — use the nozzle tip of the bottle to reach the scalp directly. Don’t use heavy products on the braids themselves — they cause buildup and attract lint. When the braids start looking fuzzy (usually after 1-2 weeks), you can refresh the edges with edge control and a soft brush. Most cornrows last 2-3 weeks before they need to be taken down and re-done.
Timing: 5 minutes daily maintenance
Prerequisites: Satin durag or bonnet, Lightweight oil, Edge control
Safety Warnings
⚠️ Never braid too tight — traction alopecia is permanent and caused by excessive tension on the hair follicles
⚠️ If your scalp feels like it’s being pulled or you see bumps forming along the hairline, take the braids down immediately
⚠️ Give your hair 1-2 weeks rest between cornrow installations to prevent cumulative tension damage
Why This Works
Cornrows work because they protect the hair while creating a controlled aesthetic. The braiding locks in moisture, reduces daily manipulation, and shields the ends — the oldest, most fragile part of the hair — from environmental damage. The flat-to-scalp construction distributes tension evenly across the scalp rather than concentrating it at a single point (like a ponytail). The feed-under technique is what makes cornrows different from French braids: by braiding under rather than over, the braid sits flush against the scalp, creating the characteristic flat profile. The consistency of tension is what makes the difference between professional and amateur results — the braider’s hands become a calibrated machine, adding the same amount of hair at the same interval with the same force for every single stitch.
Pro Tips
- Clean hair grips better: Braiding dirty hair is like building on sand — the braids will slip and unravel within days
- Parts are the foundation: Spend 15-20 minutes on the part map — it determines the entire look
- Feed under, not over: This is the single most important technique — it’s what makes cornrows flat
- Consistent tension is everything: Too tight causes breakage, too loose causes unraveling — find the middle and hold it
- Satin every night: Cotton kills braids — satin durag extends the life from 1 week to 3 weeks
- Rest between installations: 1-2 weeks of rest prevents traction alopecia — your follicles need recovery time
Cornrows are the foundation of men’s braided styling. Master the feed-under technique, nail the part map, maintain consistent tension, and you’ll have braids that look professional and last for weeks. The technique takes practice — your first attempt won’t be perfect, and that’s fine. The principles are the same whether you’re braiding your own hair or evaluating your braider’s work. Clean parts, even tension, feed under. That’s the formula.
Clean parts, steady hands, consistent pull. The rest is practice. ✂️
